MCPT
**What is MCPT?**
MCPT is a Minecraft shader meant for taking high quality, photorealistic screenshots. It is a brute-force spectral volumetric path tracer that makes use of hardware raytracing through Vulkanite. These shaders are not meant for gameplay as they require you to stand still and wait for the image to render.
**Features**
– Spectral Rendering
– Volumetric Path Tracing
– Atmosphere Simulation
– Water Parallax Mapping
– Refractive/Reflective Caustics
– Path Traced Anti-Aliasing
– Path Traced DoF
– Full Lens System Simulation
– Bloom
– Configurable settings for all of the above.
### _**WARNING**_
MCPT requires Vulkanite, which is currently in a very unstable and buggy state, so there is no gaurantee that these shaders will work on your system (specifically AMD cards). For the best chances of getting these shaders to run, **follow these requirements exactly:**
**Requirements**
– A hardware raytracing capable GPU
– Minecraft 1.20.1
– [Sodium 0.5.2](https://modrinth.com/mod/sodium/version/mc1.20.1-0.5.2)
– [Iris 1.6.8](https://modrinth.com/mod/iris/version/1.6.8+1.20.1)
– [Vulkanite 0.0.3 pre-alpha](https://modrinth.com/mod/vulkanite-mod/version/0.0.3-pre-alpha)
– A LabPBR resourcepack that supports Minecraft 1.20.1 or later (I use AVPBR Retextured R5).
### **IMPORTANT: restart the game whenever you change resourcepacks or the textures will appear glitched (Vulkanite bug).**
### **IMPORTANT: If your game crashes on startup, try adding this to your launch arguments: `-Dorg.lwjgl.system.stackSize=8192`**
**How to Use**
Press F1 to begin a render, and F2 to take a screenshot.
**Feedback**
As Vulkanite is very unstable, you’ll find a lot of bugs in the shader. There’s a 99% chance that a bug you find is due to Vulkanite and not the shaders. For reporting non-Vulkanite issues and requesting features, feel free to DM me on discord: johnpayne.
Lymbo Shader
### ABOUT
A simple Minecraft shaderpack that adds grayscale, bloom and noise effects. Explore a Minecraft world transformed by a scary shader of the unnatural. When you go into this gray world, you might feel curious. The landscapes you know from Minecraft look different now, covered in a ghostly covering of shades.
### ADDITIONAL INFORMATION
who sitting on V1.0 please update to the new version of the shader, as it does not work with Iris.
### INSTALLATION
– Download and install Optifine
– Download the shaderpack
– Put the shaderpack inside `.minecraftshaderpacks`
– Launch Minecraft
– Enjoy!
thank you for accepting my idea and using it for different scenarios and scenes
Lumina Shader – Event Horizon
Lumina Shaders is a complete visual overhaul for Minecraft, specifically engineered for users with high-performance hardware who refuse to compromise on realism.
Why Lumina?
Unlike basic edits, Lumina introduces custom-coded features that provide a distinct cinematic identity:
Procedural Atmospheric Flicker: A custom time-based light flickering effect for immersive environments.
Cinematic Grain System: A dynamic noise generator that enhances the filmic texture of the game.
Artistic Post-Processing: Unique desaturation and vignette curves designed for Lumina’s visual style.
Optimized Lighting: Fine-tuned shadows and global illumination for high-end setups.
📜 Credits & License
Developed by Benjiaa.
IMPORTANT: This shader is based on Complementary Shaders by EminGT. Special thanks for his incredible work.
Original Project: https://modrinth.com/shader/complementary-reimagined
Support the Project If you enjoy Lumina Shaders, consider supporting my work! You can find dev logs and early previews here:
👉 Support benjiaa on Ko-fi: https://ko-fi.com/lumina_dev/goal?g=0
💬 Join our community on Discord: https://discord.gg/JK6rTQ9T
Youtube Channel: www.youtube.com/@LuminaShadersDev
LIGHT Shaders
## LIGHT Shaders
As light as light, as beautiful as painting.
Make you have both high FPS and good image quality.
—
### Gallery
!
(https://cdn.modrinth.com/data/UuwCHIS3/images/00b5c65dd6fc249bd5a505a704a12016d0903857.png)
—
### Features
#### FPS in your hands.
Optimized based on Chocapic13’s Shaders,
Removed some unnecessary features,
Some bugs have also been fixed,
Let you have an excellent FPS.
#### Crisp and bright picture.
Removed some features of Chocapic13’s Shaders,
But it’s not one-size-fits-all like some shaders,
Instead, it retains excellent picture manifestation:
– Water reflections
– Water surface ripples
– Good shadows
– Outstanding performance in different weather
– Clouds that move with the wind
– TAA anti-aliasing (optional)
– and more…
And added a few features of it own.
#### Exclusive Atmosphere.
Gives you a unique atmosphere.
#### Excellent field of view brightness.
Doesn’t make you feel so dark in the Nether instead of you can’t see anything like the usual shaders.
—
### Requirements
– Iris Shaders, Oculus Shaders or OptiFine.
– OpenGL 1.2 support.
– An ordinary GPU. (even extremely below average)
—
### *If you want to support my work, you can subscribe my [Patreon](https://www.patreon.com/Author87668/join) membership.*
Image Shader
# Image Shader
Only use a shader to display an image on your screen~
**Note: compiling the shader may take some time!**
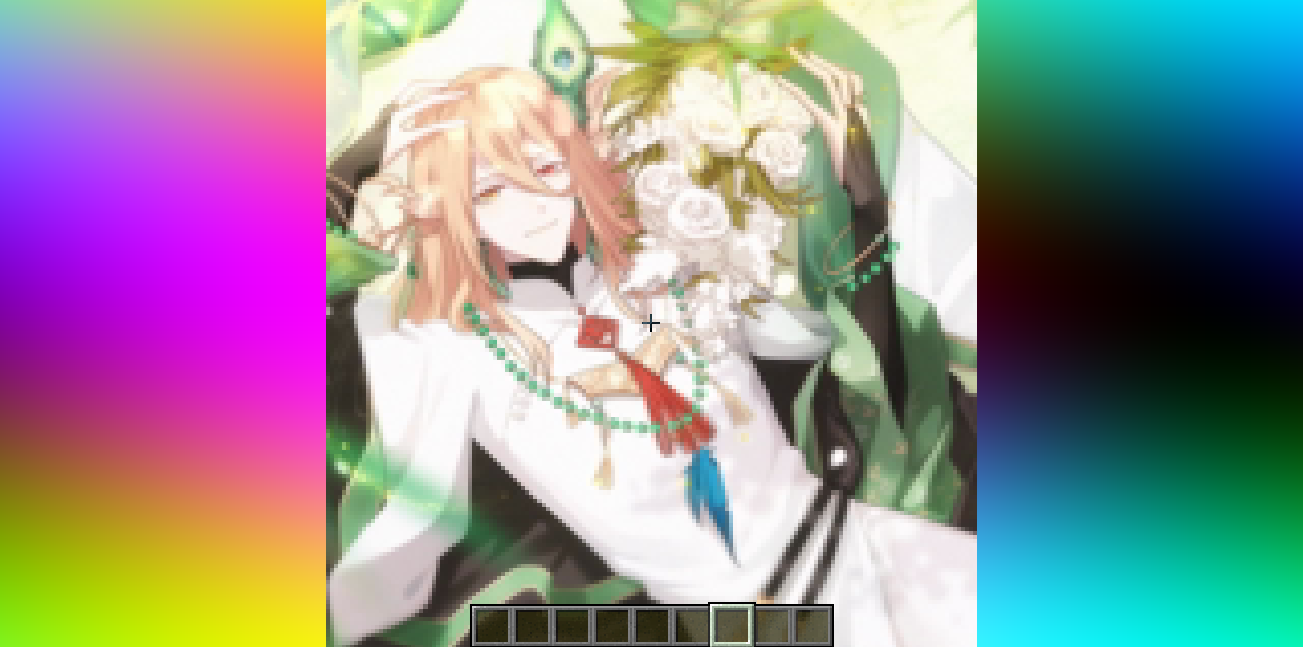
### How to prepare a custom image~
First, use ffmpeg (or any tool) to resize your image to **160×160 pixels**.
“`bash
Using ffmpeg:
ffmpeg -i Input.png -vf scale=160:160 image.png
“`
Then place the resized image in the same directory as the Python script below.
Run the script to produce an `image_chunks` folder, then copy the 16 **.glsl files** inside into `shaders/data/image_chunks` (you need to unpack the shader pack first).
Enter the game, enable the custom image option in the shader settings, and wait for the shader to finish compiling — Then it’s ok~
A Python Script
“`python
from PIL import Image
import os
def generate_glsl_chunks(image_path, output_dir=”image_chunks”):
try:
img = Image.open(image_path).convert(‘RGBA’)
except FileNotFoundError:
print(f”Error: Image file not found at {image_path}”)
return
width, height = img.size
if width != 160 or height != 160:
print(f”Error: Image must be 160×160 pixels, but it is {width}x{height}.”)
print(f”You can use:”)
print(f”ffmpeg -i image.png -vf scale=160:160 output.png”)
print(f”to adjust the image resolution.”)
return
os.makedirs(output_dir, exist_ok=True)
chunk_size = 40
num_chunks_x = width // chunk_size
num_chunks_y = height // chunk_size
for chunk_y in range(num_chunks_y):
for chunk_x in range(num_chunks_x):
left = chunk_x * chunk_size
upper = chunk_y * chunk_size
right = left + chunk_size
lower = upper + chunk_size
sub_img = img.crop((left, upper, right, lower))
pixel_data = list(sub_img.getdata())
array_name = f”image_data_{chunk_y}_{chunk_x}”
output_file_path = os.path.join(output_dir, f”{array_name}.glsl”)
glsl_array = f”vec4 {array_name}[{chunk_size * chunk_size}] = vec4[{chunk_size * chunk_size}](n”
for i, pixel in enumerate(pixel_data):
r, g, b, a = pixel
glsl_array += f” vec4({r/255.0}, {g/255.0}, {b/255.0}, {a/255.0})”
if i < len(pixel_data) - 1:
glsl_array += ","
if (i + 1) % 4 == 0:
glsl_array += "n"
glsl_array += ");n"
with open(output_file_path, 'w') as f:
f.write(glsl_array)
print(f"Generated file: {output_file_path}")
# --- Config ---
image_file = "image.png"
output_directory = "image_chunks"
generate_glsl_chunks(image_file, output_directory)
```
Hex’s Default Shaders Rewrite
if you want to publish an modified version, or just modify it to help me as an colaborator, fork this github and send an pull request
[Hex’s Github Rep](https://github.com/HexBrasil/Hex-Vanilla-Shaders-Reworked/tree/main)
## What happened to Hexs Vanilla Shaders or Legacy Shaders?
They are still here, but now i am focusing on the new Rewrite one, fixed most of the bugs from older versions.
## What is HDFR?
It’s my Own shader! But now i rewrited some useful parts, and fixed most of the bugs.
Made for myself, but now for everyone! Now working with Iris 1.6.17+.
## Github Repository
I am needing ppl to help me to fix these things:
Gbuffers_Terrain / Composite: Every entity is transparent, and i dont know how to fix it.
Skylightleak: In night time, there is some lights coming out of nowhere.
If you can help me, send an request to the git rep.
# Credits
> [saada2006 Shader Tutorial](https://github.com/saada2006/MinecraftShaderProgramming/tree/master) – Used as the first base to the shader.
> [Acerola’s Channel](https://www.youtube.com/@Acerola_t) – Watched the Shaders video, then created some post processing techniques.
i hate shadows
[](https://discord.gg/XgH4EpyPD2)
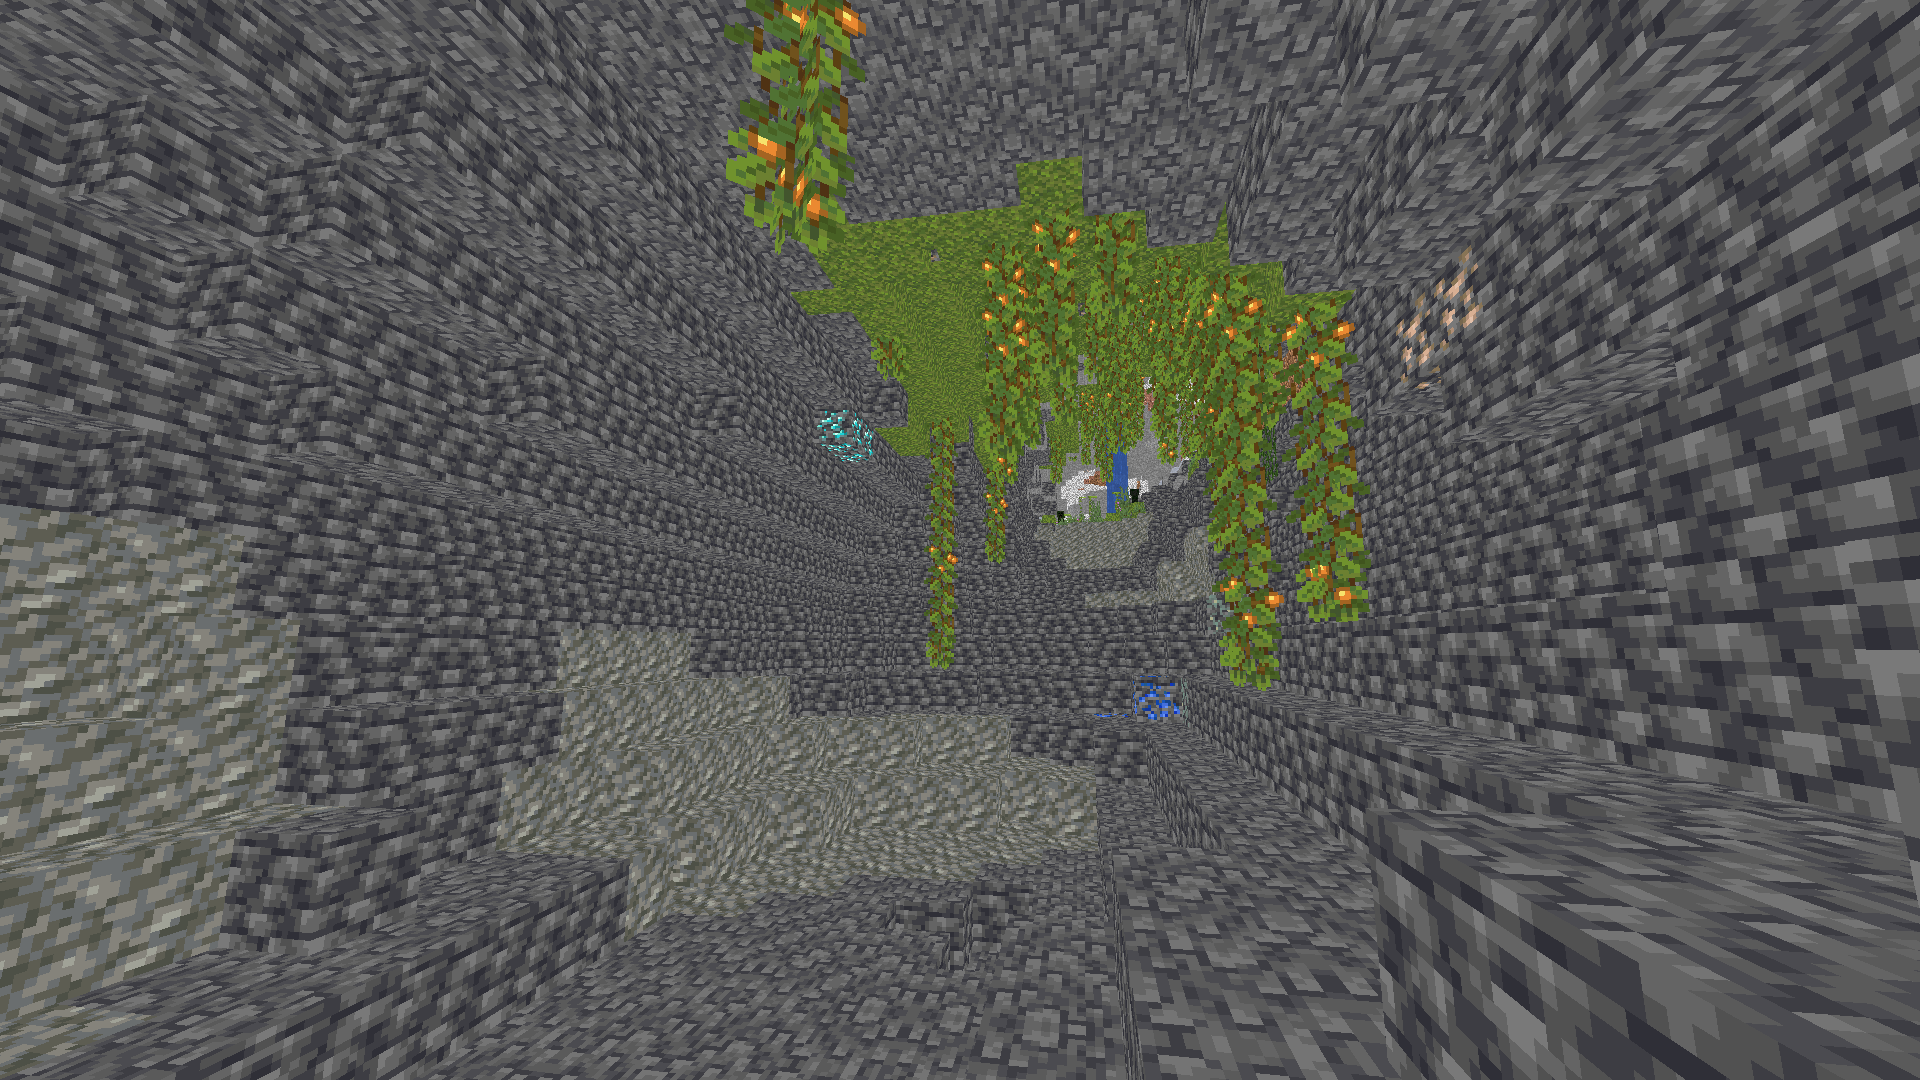
**✨ I REALLY HATE SHADOWS…** **i hate shadows** is a lightweight Minecraft shader that does one thing — and does it perfectly:
it _removes every single shadow_. 🌞
No dark corners, no spooky vibes — just pure, bright daylight everywhere you look.
Perfect for players who love minimal visuals, boosted performance, and a world that never hides in the dark.

### 🌟 Features
* ❌ No shadows at all
* ⚡ FPS-friendly, super lightweight
* 🌞 Always bright, clean visuals
* 🎮 Works great on low-end systems


[](https://kcbhosting.com/aff/xsoras)


**🧠 Lamapi: Next-Gen Open Source AI**
Pushing the boundaries of accessible intelligence. Whether you need lightweight efficiency or industrial-grade reasoning, the **Next Series** delivers.
**Why build with Lamapi?**
– ⚡ **High Efficiency:** From compact 1B models to powerful 70B reasoning engines.
– 🌍 **Multilingual Mastery:** Optimized for superior performance in English & Turkish.
– 🛠️ **Ready to Deploy:** State-of-the-art open weights available immediately.
**Explore our models and start building:**
🔗 https://huggingface.co/Lamapi

**🚀 KCB Hosting: Power Meets Reliability**
Looking for a host that takes your gaming experience as seriously as you do? We provide robust infrastructure ensuring smooth gameplay and enterprise-grade uptime.
**Why switch to us?**
– 💎 **7-Day Free Trial:** Experience the quality risk-free (No commitment).
– 🛡️ **99.9% Uptime SLA:** Your server stays online, guaranteed.
– ⏰ **24/7 Support:** Expert help whenever you need it.
🔥 Experience the difference with 25% off your first month,
Use code **XSORAS**
**Deploy your server now:**
🌐 [https://kcbhosting.com](https://kcbhosting.com/aff/xsoras)
💬 https://discord.gg/kcbhosting
 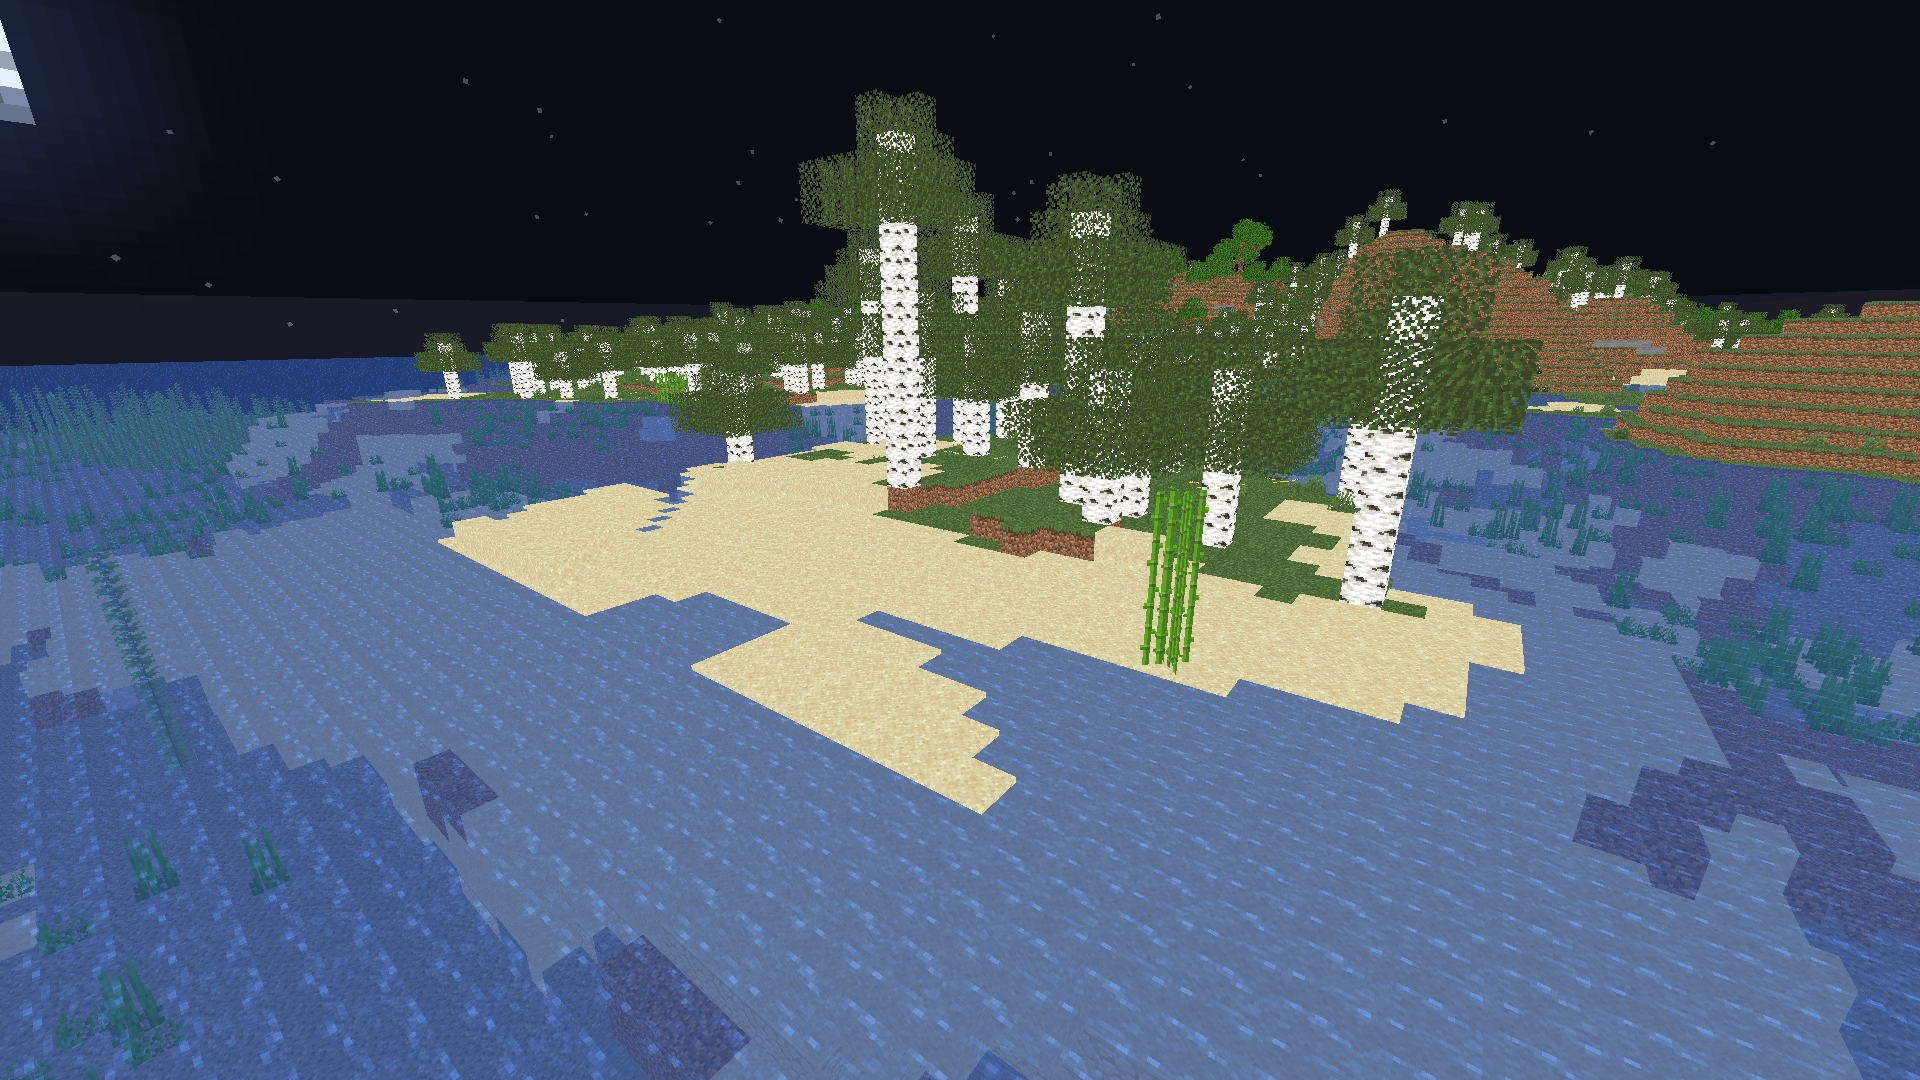 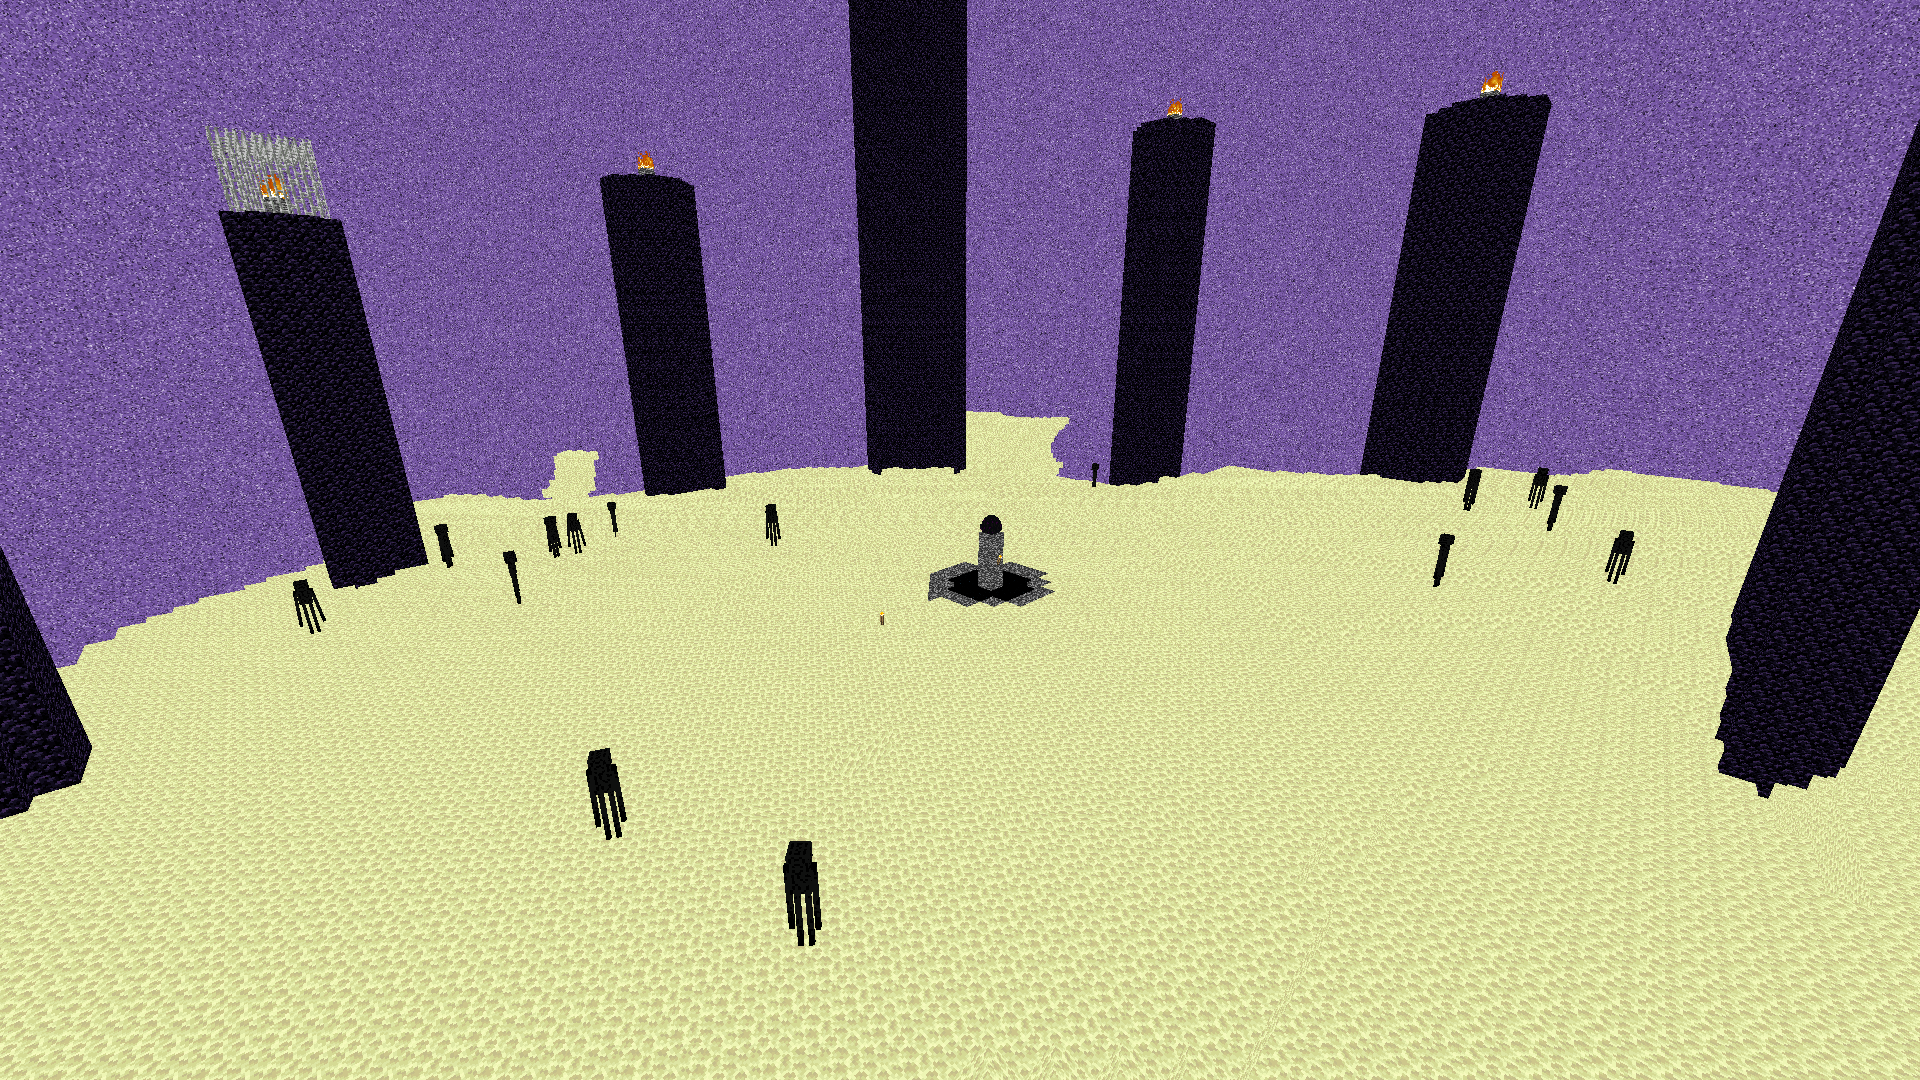  **Shadows removed, forever.**
Dirt RT
A path tracing shaderpack for vulkanite mod,better than demo pack
github:[Dirt RT](https://github.com/sjrsjz/Dirt-RT)
use SVGF to denoise,support bloom,Tyndall effect,auto exposure
**YOU NEED TO LOAD A PBR RESOURSEPACK AND USE VULKANITE 0.0.4 TO MAKE THE SHADER WORK CORRECTLY**
**WARNING:Make sure that your resourcepack fit your game version. Otherwise, you will get a black world!!!**
DERCODE
**RECODERS: DureXXX / M1zora / Sone4ka / Frs0n**
Shader Profile System Broken pls use High profile
# **About**
**DERCODE is a recode based on the Derivative shader that adds various effects and improvements**
**It also fixes various bugs from the original Derivative shader**
**At the moment, the shader has BAD-optimization due to poorly implemented PT functions**
**This project started development in late 2024 based on the Bliss shader, but was later moved to Derivative because older Bliss builds did not allow implementing the features that were achieved here**
**The shader will continue to receive updates in the future, and it may eventually be rewritten from scratch instead of being just a recode**

Everything related to RECODE will be documented in the changelogs.
## Shader profiles
Low, Medium, High, Film, Derivative, Survival
## **Performance**
optimization on HIGH profile DERCODE 1.6
MC 1.21.11 only SODIUM + IRIS + FullHD + 8RAM
gtx1650 laptop 4VRAM 22chunks = 100-130 fps
## **Links**
My Discord server link
there will be news, polls, etc and also feel free to report bugs there : [DerivativeRECODE](https://discord.gg/UavqfqAwzv)
CurseForge link
Changelogs e.t.c : [CurseForge](https://www.curseforge.com/minecraft/shaders/dercode)
Cursed Fog


EN 🌐
# ABOUT:
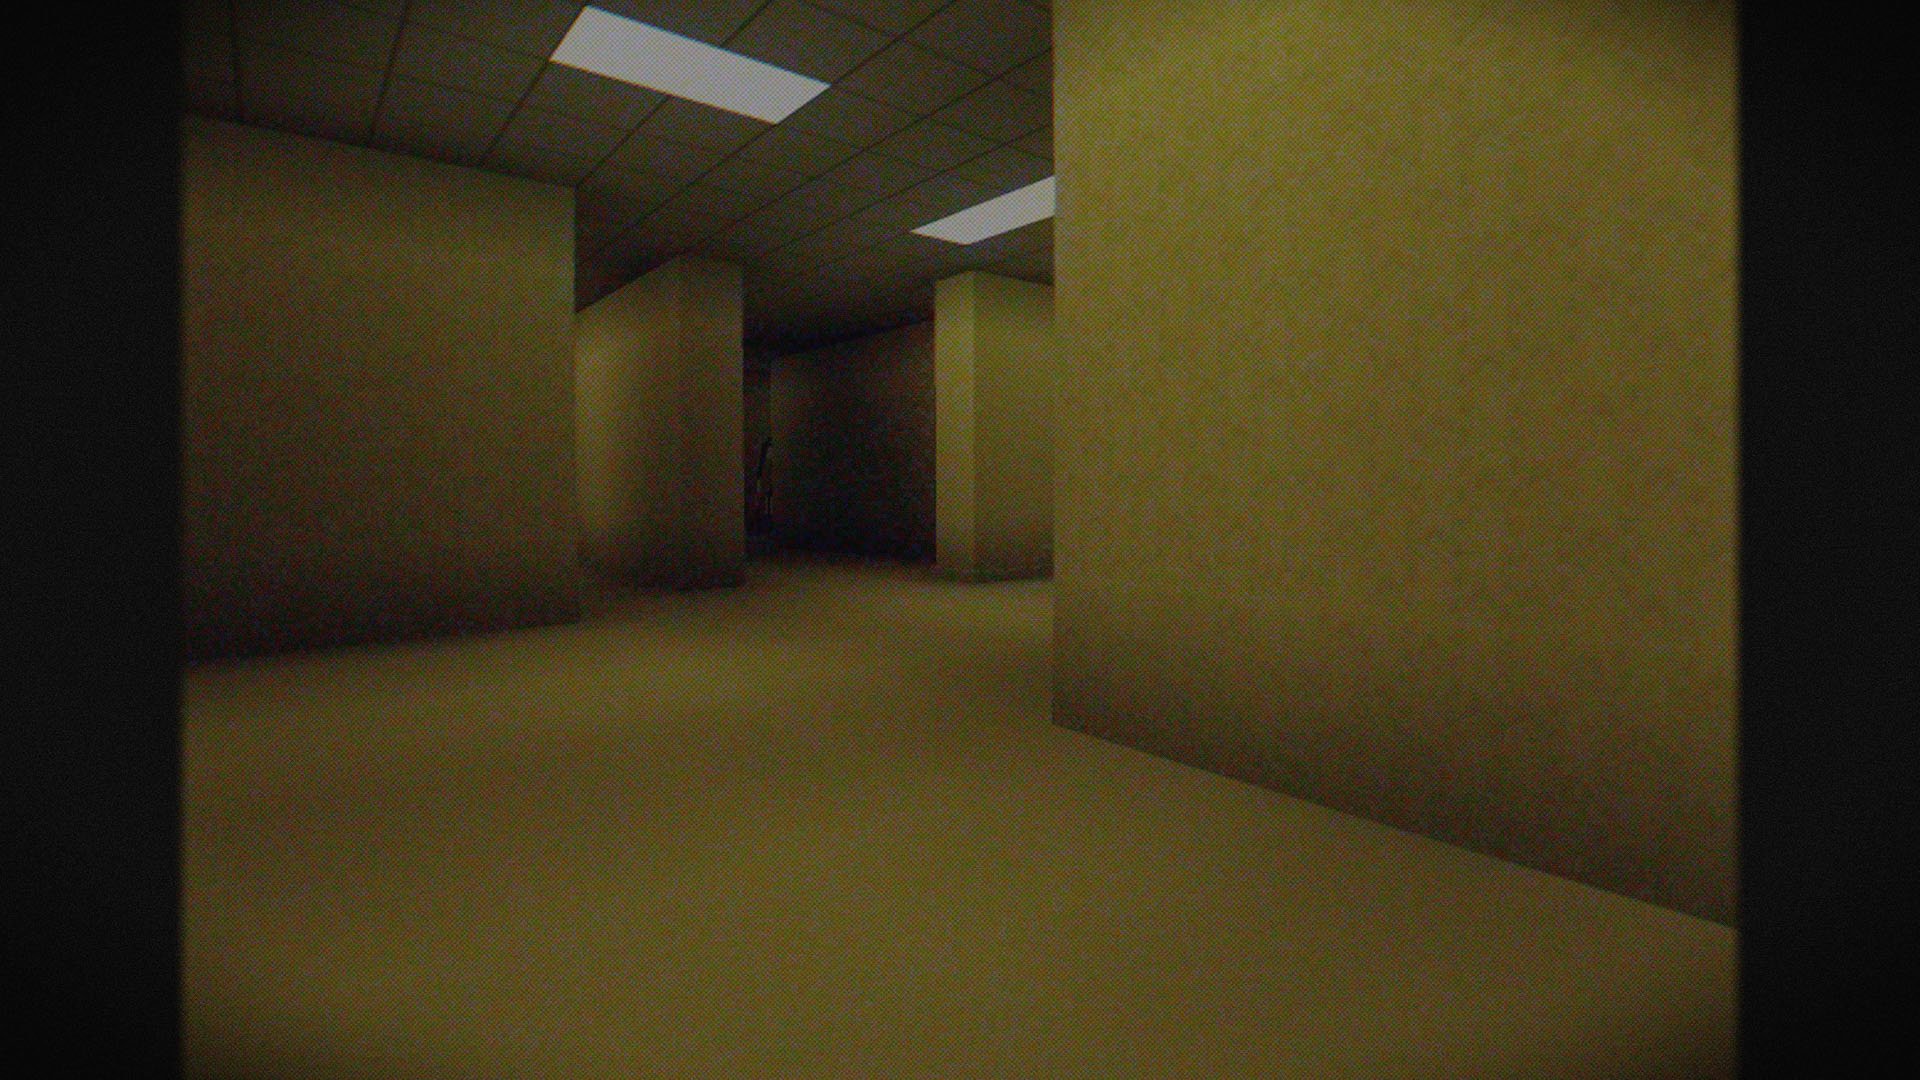
**Hi, I’m LoLip_p! I developed this shader to create a tense and eerie atmosphere, perfect for horror modpacks. I would be delighted if it were included in your projects. It features a CRT mask, various video artifacts, noise effects, and more. If any effects don’t match your preferences, all parameters are fully customizable, allowing you to easily toggle settings on or off. Support the author on [Patreon](https://patreon.com/lolip_p).**
### SCREENSHOT:
## LINKS:
– [Discord](https://discord.gg/Cz2sCWz5Wh) (Discuss, Bug Reports, Etc.)
– [YouTube](https://www.youtube.com/@lolip_p)
– [Telegram](https://t.me/LoLip_p_Community)
## INSTALL THE SHADERS
– Download Client Which Supports Installing Shaders Such As Optifine And Iris
– Download The Shaders
– Copy Shaders to /.minecraft/shaderpacks
– Launch Minecraft, Go To Options –> Video Settings –> Shaders
– Choose **Cursed Fog**
## DEMO VIDEO
RU 🐻
# О:
**Привет, я LoLip_p! Я разработал этот шейдер, чтобы создать напряженную и жуткую атмосферу, идеально подходящую для модпаков в жанре хоррор. Я был бы рад, если бы он был включен в ваши проекты. Он включает в себя маску CRT, различные видеоартефакты, шумовые эффекты и многое другое. Если какие-либо эффекты не соответствуют вашим предпочтениям, все параметры полностью настраиваемы, что позволяет легко включать или отключать настройки. Поддержите автора на [Patreon](https://patreon.com/lolip_p).**
### СКРИНШОТ:

## ССЫЛКИ:
– [Discord](https://discord.gg/Cz2sCWz5Wh) (Discuss, Bug Reports, Etc.)
– [YouTube](https://www.youtube.com/@lolip_p)
– [Telegram](https://t.me/LoLip_p_Community)
## УСТАНОВИТЬ ШЕЙДЕР
– Загрузите клиент, поддерживающий установку шейдеров, таких как Optifine и Iris
– Загрузите шейдеры
– Скопируйте шейдеры в /.minecraft/shaderpacks
– Запустите Minecraft, перейдите в «Настройки» –> «Настройки видео» –> «Шейдеры»
– Выберите **Cursed Fog**
## ДЕМО ВИДЕО
CH 🐉
# 关于:
**你好,我是LoLip_p!我开发了这款着色器,旨在营造紧张诡异的氛围,特别适合恐怖模组合集。若能将其纳入您的项目,我将深感荣幸。它包含CRT滤镜、多种视频伪影、噪点效果等特色功能。若某些效果不符合您的偏好,所有参数均可自由调整,您可轻松启用或禁用各项设置。支持作者请访问 [Patreon](https://patreon.com/lolip_p).**
### 屏幕截图:

## 链接:
– [Discord](https://discord.gg/Cz2sCWz5Wh) (Discuss, Bug Reports, Etc.)
– [YouTube](https://www.youtube.com/@lolip_p)
– [Telegram](https://t.me/LoLip_p_Community)
## 安装着色器
– 下载支持安装着色器的客户端(如Optifine和Iris)
– 下载着色器资源包
– 将着色器复制到 /.minecraft/shaderpacks 目录
– 启动Minecraft,进入选项 –> 视频设置 –> 着色器
– 选择 **诅咒雾**
## 演示视频
DE 🍺
# ÜBER:
**Hallo, ich bin LoLip_p! Ich habe diesen Shader entwickelt, um eine spannende und unheimliche Atmosphäre zu schaffen, die perfekt für Horror-Modpacks geeignet ist. Ich würde mich sehr freuen, wenn er in Ihren Projekten verwendet würde. Er verfügt über eine CRT-Maske, verschiedene Videoartefakte, Rauscheffekte und vieles mehr. Wenn Ihnen bestimmte Effekte nicht gefallen, können Sie alle Parameter vollständig anpassen und die Einstellungen ganz einfach ein- oder ausschalten. Unterstützen Sie den Autor auf [Patreon](https://patreon.com/lolip_p).**
### SCREENSHOT:

## LINKS:
– [Discord](https://discord.gg/Cz2sCWz5Wh) (Discuss, Bug Reports, Etc.)
– [YouTube](https://www.youtube.com/@lolip_p)
– [Telegram](https://t.me/LoLip_p_Community)
## INSTALLIEREN SIE DIE SHADER
– Client herunterladen, der die Installation von Shadern wie Optifine und Iris unterstützt
– Shader herunterladen
– Shader nach /.minecraft/shaderpacks kopieren
– Minecraft starten, zu Optionen –> Videoeinstellungen –> Shader gehen
– **Cursed Fog** auswählen
## DEMO VIDEO
