JustVanilla
# JustVanilla Shader Pack
JustVanilla is a lightweight Minecraft shader pack focused on a clean, vanilla-friendly look.
## Features
– Terrain, water, and entity shader passes
– Shadow pass support
– Composite and final post-processing stages
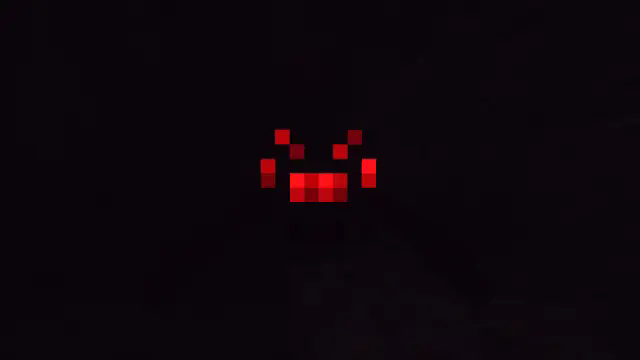
– Separate eye/spider-eye rendering passes
## Folder Structure
This pack uses the standard shaderpack layout:
“`text
JustVanilla/
shaders/
*.vsh
*.fsh
shaders.properties
“`
## Installation
1. Place the `JustVanilla` folder in your shaderpacks directory.
2. Launch Minecraft with a shader-capable mod:
– OptiFine, or
– Iris + Sodium
3. Open `Options -> Video Settings -> Shaders`.
4. Select `JustVanilla`.
## Notes
– Designed to keep the game close to vanilla visuals.
– If the pack does not appear, make sure `shaders/shaders.properties` exists and the folder is not nested twice.
## License
MIT
Just Colored Lighting
Just Colored Lighting and Dynamic Lights added to a very fast shader for Potato computers, with optional shadows, texture upscaling, and great PBR support (even from block lights). Distant Horizons and Voxy are also supported.
It is the fastest colored lighting shader I could make, and the optional Global Illumination has no fps impact.
Beta versions are not tested on all hardware yet. Please let me know if it works for you, or if you get bugs, on discord.
If you find anything in mods that doesn’t glow right, let me know and I’ll try to add support asap. All modded blocks that are light sources should automatically work, and pbr textures can optionally also turn anything into colored light sources.
concrete can also be optionally turned into colored lights for all your neon light needs.
The shader might work on older versions, I just haven’t tested them so let me know!
john
# john
John is a really fast shader, high fps anywhere from intergrated graphics to high end GPU’s!
It looks best when you use PBR resource packs!
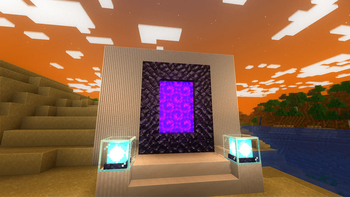
**This shader has:**
– waving plants/leaves/water
– simple specular sky reflections
– emmisive textures support
– colored shadows
– fog
– clouds
– outlines
– high fps on any machine
_Iris only at the moment_
Javier’s improved fog
Javier’s Improved Fog – Minecraft Java Shader
Javier’s Improved Fog replaces Minecraft’s default fog system with a custom density curve for a more realistic and immersive visual experience.
Unlike vanilla fog, which can appear too close or fade abruptly, this shader delivers a smooth, natural transition.

Main Features:
Distant & soft fog – starts farther from the player, giving clear visibility nearby and gradual haze in the distance.
Custom progressive curve – almost linear at first, then smoothly blending into full fog, avoiding sharp cutoffs.
Enhanced realism – perfect for exploration and scenic builds.
Fully compatible with vanilla shaders and resource packs that don’t modify the fog core shader.
Recommended settings:
Set your render distance to 32 chunks for the best experience.
Installation:
Download the .zip file of Javier’s Improved Fog.
Place it in your resourcepacks folder.
Enable it from Minecraft’s Resource Pack settings.
Enjoy a smooth and immersive fog effect.
Want to edit it?
I’ll leave a YouTube video link so you can customize it yourself.
Javier’s Improved Fog – Shader para Minecraft Java
Javier’s Improved Fog reemplaza el sistema de niebla predeterminado de Minecraft por una curva de densidad personalizada para una experiencia visual más realista e inmersiva.
A diferencia de la niebla vanilla, que puede aparecer demasiado cerca o desvanecerse bruscamente, este shader logra una transición suave y natural.
Características principales:
Niebla lejana y suave – comienza más lejos del jugador, manteniendo la visibilidad clara cerca y un velo gradual en la distancia.
Curva progresiva personalizada – casi lineal al inicio y suavizada hacia el final, evitando cortes bruscos.
Mayor realismo – ideal para exploración y construcciones panorámicas.
Totalmente compatible con shaders vanilla y packs de recursos que no modifiquen el shader base fog.
Ajustes recomendados:
Configura tu distancia de renderizado a 32 chunks para la mejor experiencia.
Instalación:
Descarga el archivo .zip de Javier’s Improved Fog.
Colócalo en tu carpeta resourcepacks.
Actívalo desde el menú de Paquetes de Recursos de Minecraft.
Disfruta de un efecto de niebla suave e inmersivo.
¿Quieres editarlo?
Te dejaré un enlace a un video de YouTube para que puedas personalizarlo a tu gusto.
InvertColors-Shader
This is a shader pack that makes your minecraft graphics render in inverted colors.
It supports the default view fog of minecraft and it could toggle the rendering of light level of the blocks.
It supports OptiFine HD and IRIS Shader (1.1.0 supported iris shader, do not run 1.0.0 under iris shader because it will crash your game!)
It supports English and Chinese in shaderpack settings
Ink Shader
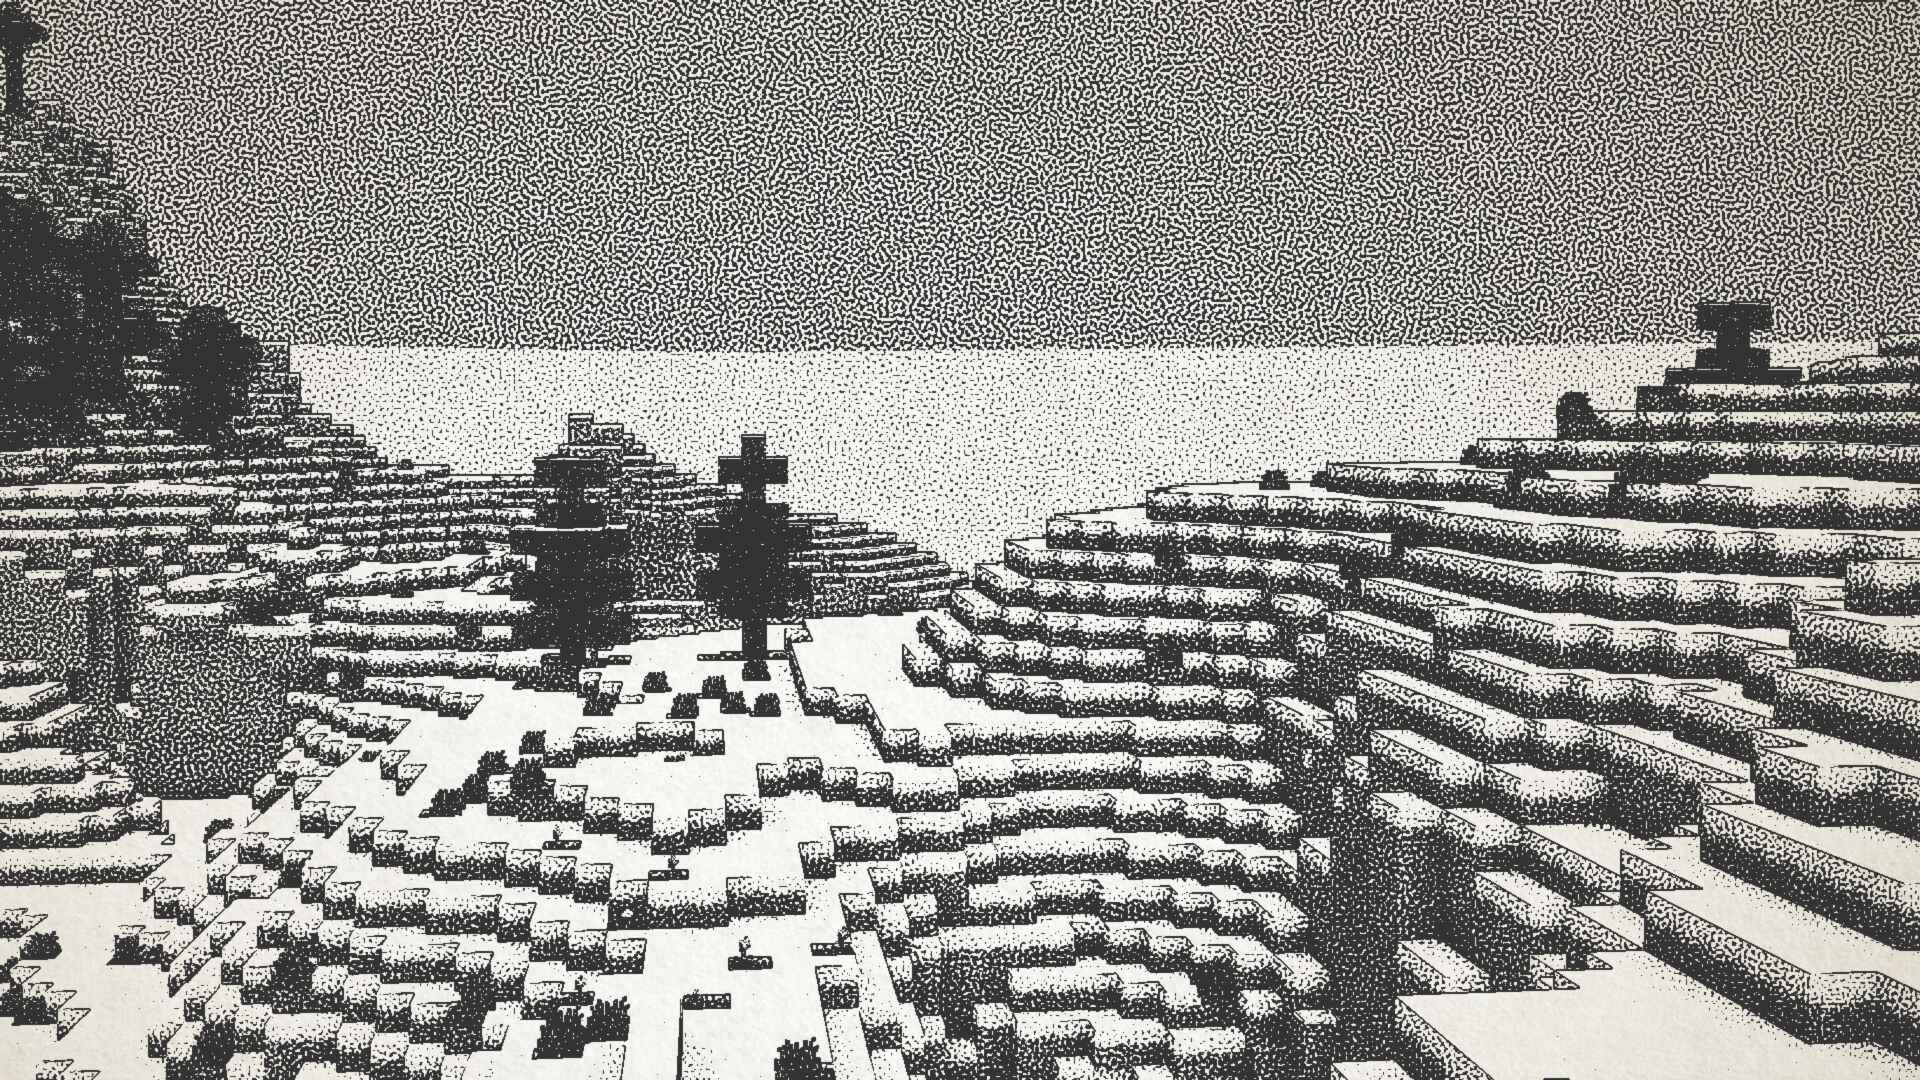
## Ink Shader tries to visualise Minecraft as if it was printed with ink!
Current features include:
– Color Customisation
– Blur Effect
– Stippling
– Edge Detection
– and more!
_This shader was heavily inspired on Acerolas video and uses the paper asset that he uses_
### I mostly tested on Iris 1.21, other versions might not work. If you find any bugs or incompatibilities, you can always report them, it helps me and others out 😀
### Installation
1. First you need to install either OptiFine or the Iris mod to be able to load shaderpacks. (Choose Iris if you are unsure)
1. Then you need to launch the game, and get to the Shaderpacks/Shaders menu in Video Settings.
1. Open the shaderpacks folder by clicking the button in the menu.
1. Download the Ink Shader and put it in the shaderpacks folder.
1. Get back in the game, and choose Ink_Shader in the shaderpacks menu. (Refresh the menu if it doesn’t appear)
INeon Shaders

Mist Shaders keeps Minecraft looking true to vanilla, preserving all textures, water, and blocks exactly as they are. What sets it apart is the subtle glowing tone applied across the world, giving every scene a gentle, luminous quality without changing the game’s original style. It’s perfect for players who want a calm, immersive, and visually enhanced experience while still enjoying the classic Minecraft look.
INeon Shaders – Features
Vanilla Look: Keeps all blocks, water, and textures exactly like Minecraft’s default.
Glowing Tone: Adds a gentle, soft glow across the entire world.
Calm & Immersive: Enhances the atmosphere without altering gameplay or colors drastically.
Smooth Visuals: Creates a subtle, visually pleasing effect for landscapes, skies, and environments.
Lightweight: Runs smoothly without heavy performance impact.
ImprovedVanillaLighting
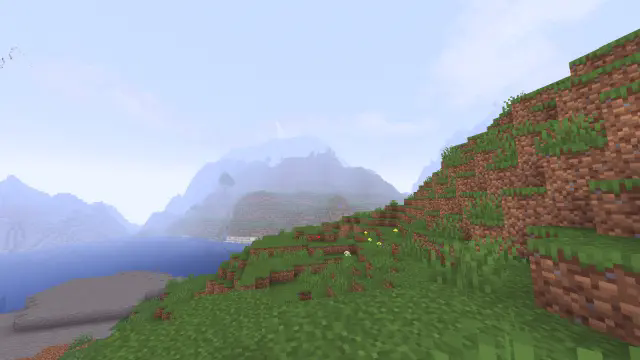
A simple high performance shader to make the game look smoother and wamer.Aswell making it more atmospheric with tweaks to the fog.Aswell as some added bloom effects in the newest version.
Based off: https://modrinth.com/shader/base-shader?version=1.21.1(licenced under CC0, so is this but please modify it (in some noticeable way) if you do intend to upload it to other places.)
Image Shader
# Image Shader
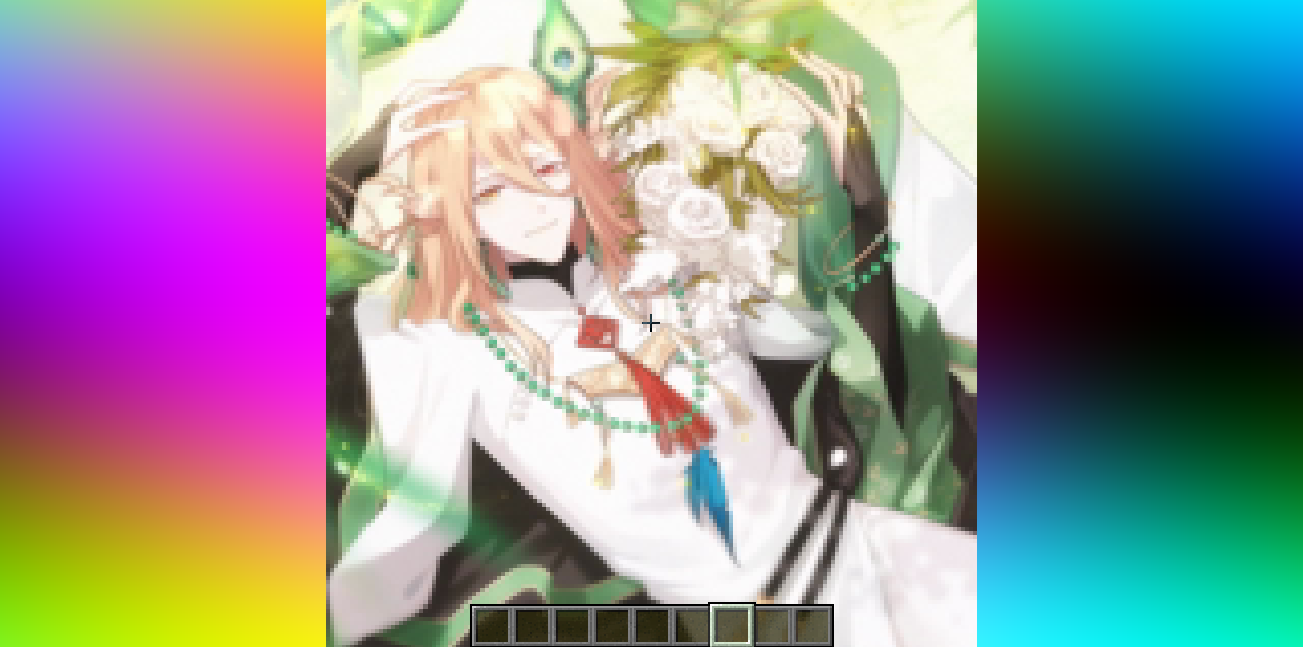
Only use a shader to display an image on your screen~
**Note: compiling the shader may take some time!**
### How to prepare a custom image~
First, use ffmpeg (or any tool) to resize your image to **160×160 pixels**.
“`bash
Using ffmpeg:
ffmpeg -i Input.png -vf scale=160:160 image.png
“`
Then place the resized image in the same directory as the Python script below.
Run the script to produce an `image_chunks` folder, then copy the 16 **.glsl files** inside into `shaders/data/image_chunks` (you need to unpack the shader pack first).
Enter the game, enable the custom image option in the shader settings, and wait for the shader to finish compiling — Then it’s ok~
A Python Script
“`python
from PIL import Image
import os
def generate_glsl_chunks(image_path, output_dir=”image_chunks”):
try:
img = Image.open(image_path).convert(‘RGBA’)
except FileNotFoundError:
print(f”Error: Image file not found at {image_path}”)
return
width, height = img.size
if width != 160 or height != 160:
print(f”Error: Image must be 160×160 pixels, but it is {width}x{height}.”)
print(f”You can use:”)
print(f”ffmpeg -i image.png -vf scale=160:160 output.png”)
print(f”to adjust the image resolution.”)
return
os.makedirs(output_dir, exist_ok=True)
chunk_size = 40
num_chunks_x = width // chunk_size
num_chunks_y = height // chunk_size
for chunk_y in range(num_chunks_y):
for chunk_x in range(num_chunks_x):
left = chunk_x * chunk_size
upper = chunk_y * chunk_size
right = left + chunk_size
lower = upper + chunk_size
sub_img = img.crop((left, upper, right, lower))
pixel_data = list(sub_img.getdata())
array_name = f”image_data_{chunk_y}_{chunk_x}”
output_file_path = os.path.join(output_dir, f”{array_name}.glsl”)
glsl_array = f”vec4 {array_name}[{chunk_size * chunk_size}] = vec4[{chunk_size * chunk_size}](n”
for i, pixel in enumerate(pixel_data):
r, g, b, a = pixel
glsl_array += f” vec4({r/255.0}, {g/255.0}, {b/255.0}, {a/255.0})”
if i < len(pixel_data) - 1:
glsl_array += ","
if (i + 1) % 4 == 0:
glsl_array += "n"
glsl_array += ");n"
with open(output_file_path, 'w') as f:
f.write(glsl_array)
print(f"Generated file: {output_file_path}")
# --- Config ---
image_file = "image.png"
output_directory = "image_chunks"
generate_glsl_chunks(image_file, output_directory)
```
I don’t know what to call this shader
I truly don’t know what to call this or how to explain how it works so I will just tell you that I put “gl_Position = ftransform() * gl_TextureMatrix[0] * gl_MultiTexCoord0;” instead of “gl_Position = ftransform();” and got this shader. But I can try to explain that mobs are their 2D texture maps and they scale with how far away you are until you can’t see them, blocks are somehow see though and not at the same time, some blocks even move differently from other blocks. I don’t know how much more I can explain this shader.