YearCalendar
### ⚠️ This plugin is no longer being updated.
# YearCalendar
**Original Calendar plugin.**
*Let your players check the date!*
—
## Features
– GUI: Keep it simple with only `/calendar` command
– Edit: Edit months, days, colors in config.yml
—
## Commands & Permissions
| Command | Alias | Description | Permission |
|—————|——-|———————|——————–|
| `/calendar` | – | Opens main gui | `calendar365.use` |
—
## Images / Screenshots
Section “**Gallery**”
—
## Files
config.yml
“`yaml
messages:
no-permission: “§cYou don’t have permission to use this command!”
player-only: “§cThis command can only be used by players!”
gui:
month-selector-title: “§7§lCalendar 365”
back-button-name: “§c« Back to Months”
months:
– name: January
days: 31
title: “§7Days: §f31”
– name: February
days: 28
title: “§7Days: §f28”
– name: March
days: 31
title: “§7Days: §f31”
– name: April
days: 30
title: “§7Days: §f30”
– name: May
days: 31
title: “§7Days: §f31”
– name: June
days: 30
title: “§7Days: §f30”
– name: July
days: 31
title: “§7Days: §f31”
– name: August
days: 31
title: “§7Days: §f31”
– name: September
days: 30
title: “§7Days: §f30”
– name: October
days: 31
title: “§7Days: §f31”
– name: November
days: 30
title: “§7Days: §f30”
– name: December
days: 31
title: “§7Days: §f31”
date-display:
today-status: “§f§lTODAY”
past-status: “§a§lPast”
future-status: “§c§lFuture”
day-format: “§e{month} {day}, {year}”
status-prefix: “§7Status: ”
click-to-view: “§7Click to view!”
“`
[Documents](https://github.com/Primly-Project/Documentation)
Yet Another World Protector
# Yet Another World Protector
Yet Another World Protector (YAWP) is _the_ admin tool to protect your minecraft server (dedicated or LAN as well as single-player!). It’s available for (Neo-) Forge and Fabric.
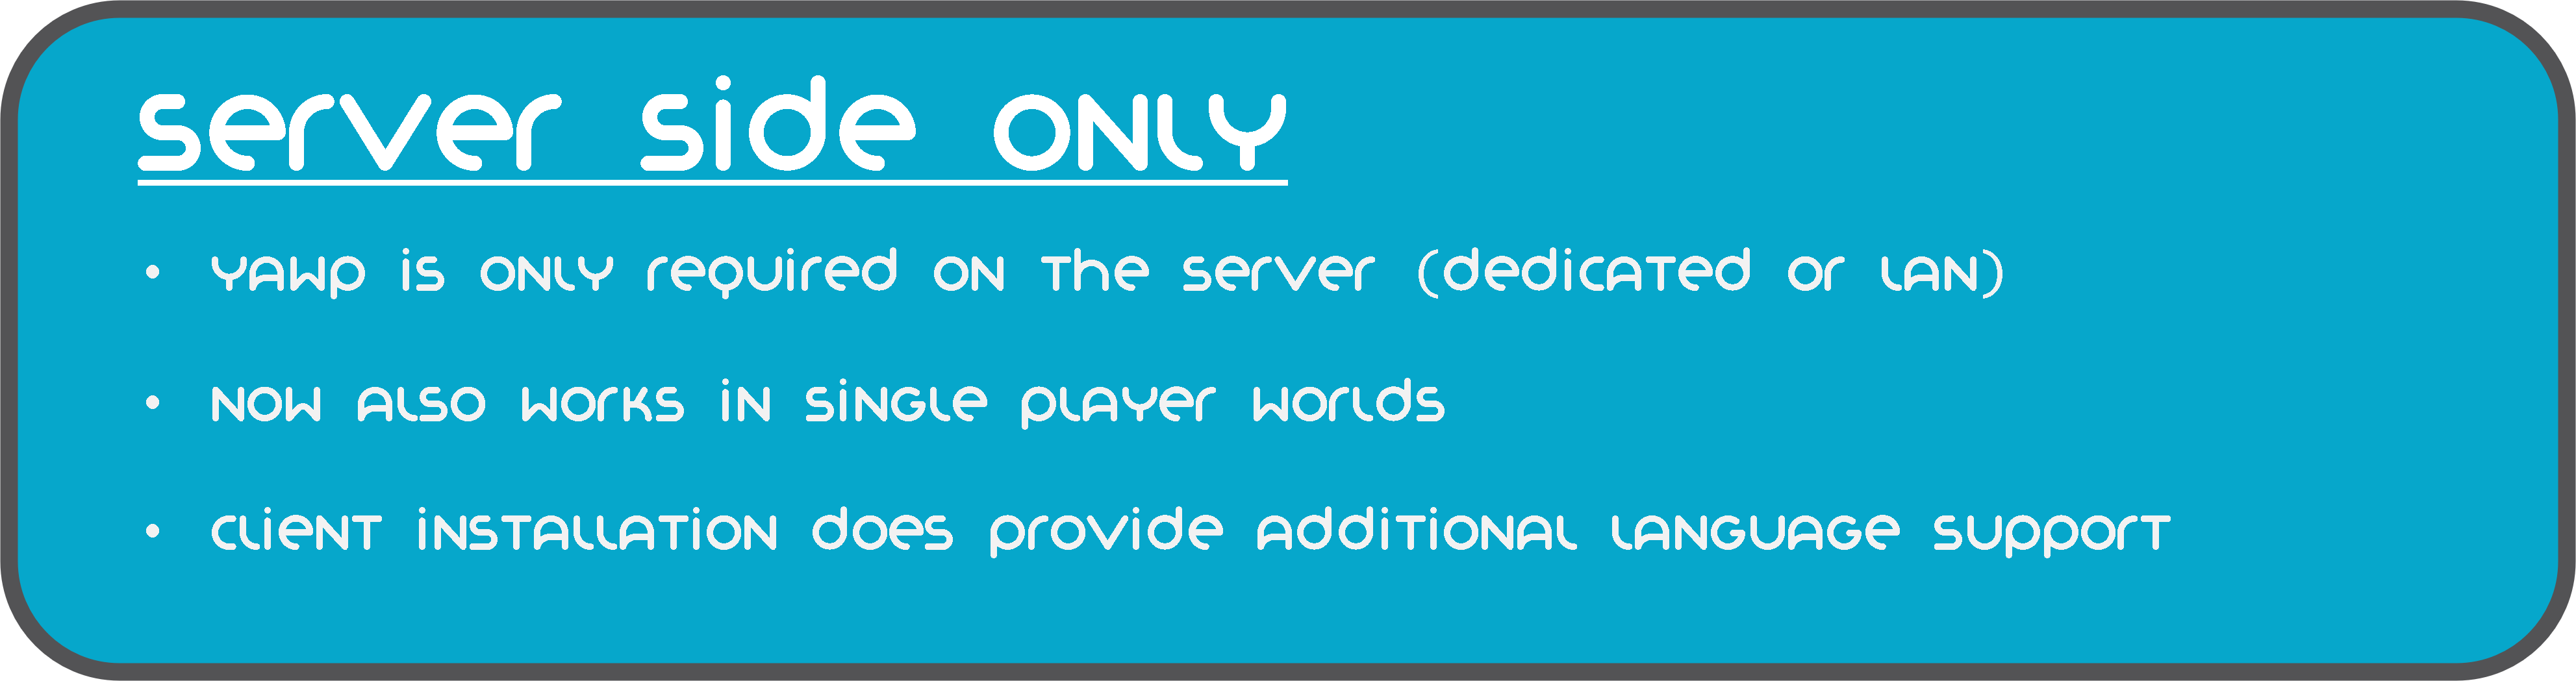
YAWP designed to be used on dedicated servers, but can also be used in single player worlds and worlds opened to LAN.
It allows admins (and players with assigned permission) to protect their creations against various events/actions of
players, mobs and
the environment.
Create regions for your builds and apply region flags to protect them.
Assign players or vanilla teams to regions, so they can manage their own regions.
YAWP was inspired by the forge mod [WorldProtector](https://www.curseforge.com/minecraft/mc-mods/worldprotector) and
the [WorldGuard](https://dev.bukkit.org/projects/worldguard) plugin.
Join our discord if you have any questions or suggestions: [YAWP Discord](https://discord.gg/d7hArKCUtm)
***
| [Discord](https://discord.gg/d7hArKCUtm) | [Paypal](https://www.paypal.com/donate/?hosted_button_id=XV65M85SPMD3Y) | [Patreon](https://www.patreon.com/z0rdak) | [Github](https://github.com/Z0rdak/Yet-Another-World-Protector) | [Wiki](https://z0rdak.github.io/yawp-docs/) | [Issues](https://github.com/Z0rdak/Yet-Another-World-Protector/issues) | [Curseforge](https://www.curseforge.com/minecraft/mc-mods/yawp) | [Modrinth](https://modrinth.com/mod/yawp) |
|:—————————————-:|:———————————————————————–:|:—————————————–:|:—————————————————————:|:——————————————————————:|:———————————————————————-:|:—————————————————————:|:—————————————–:|
***
***The mod is currently in its beta state, with many features not yet implemented but to come. These features will
include most of the things you know from WorldProtector and WorldGuard.***
This mod will be released for Minecraft versions 1.16.5+. If you are living in the past and are looking for a version for Minecraft 1.12.2, I suggest looking into using [WorldDefender](https://www.curseforge.com/minecraft/mc-mods/world-defender).
Starting with Minecraft **1.20.4**, YAWP will no longer be available for Forge and adapt **NeoForge** instead.
***

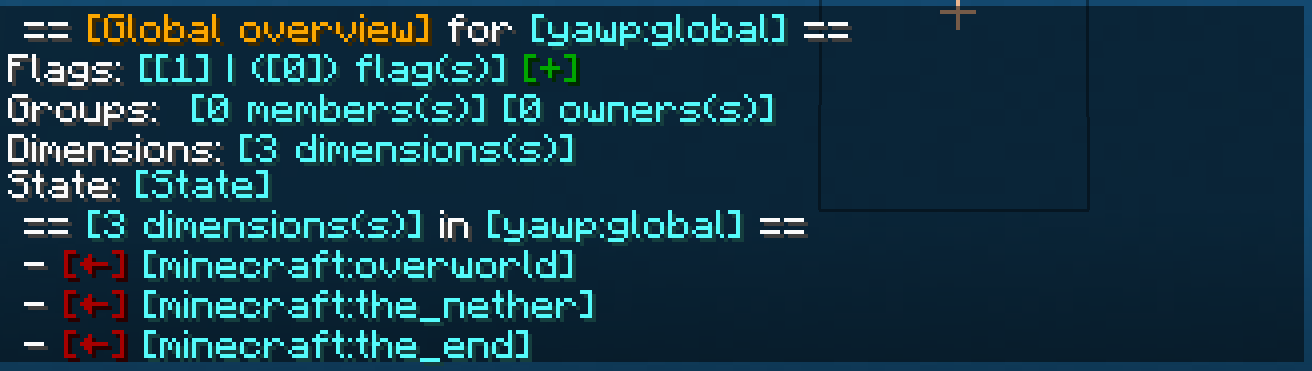
In YAWP there are three different kinds of regions to protect your server:
## *The* Global Region
The Global Region is… well global. Flags set in the Global Region, apply to all dimensions of the server and thus all
Local Regions.
## Dimensional Regions
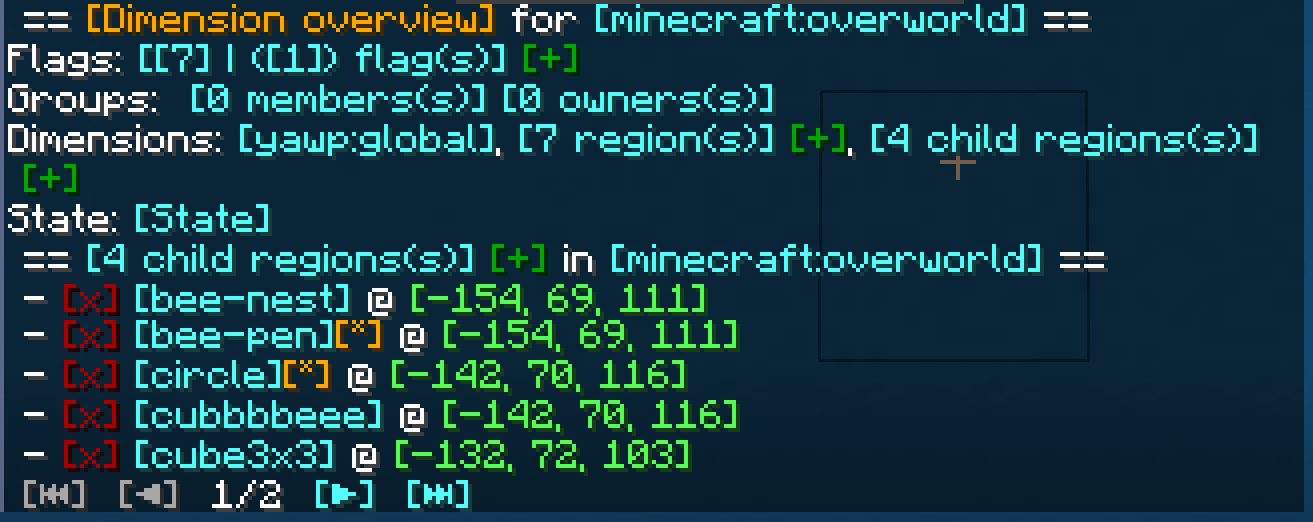
Dimensional Regions are special regions which are tied to one dimension – like gamerule-flags for different dimensions.
Dimensional Regions have no spatial restrictions in the corresponding dimension. Dimensional Regions work like normal
regions, but are tied to a dimension.
They can’t be created manually. They are in fact automatically generated with each new dimension. The first Dimensional
Region for the overworld is created when the server is created.
The following Dimensional Regions are created whenever a player travels to a new dimension, thus creating the new
dimension with their respective Dimensional Region. Modded dimensions are supported as well.
## Local Regions
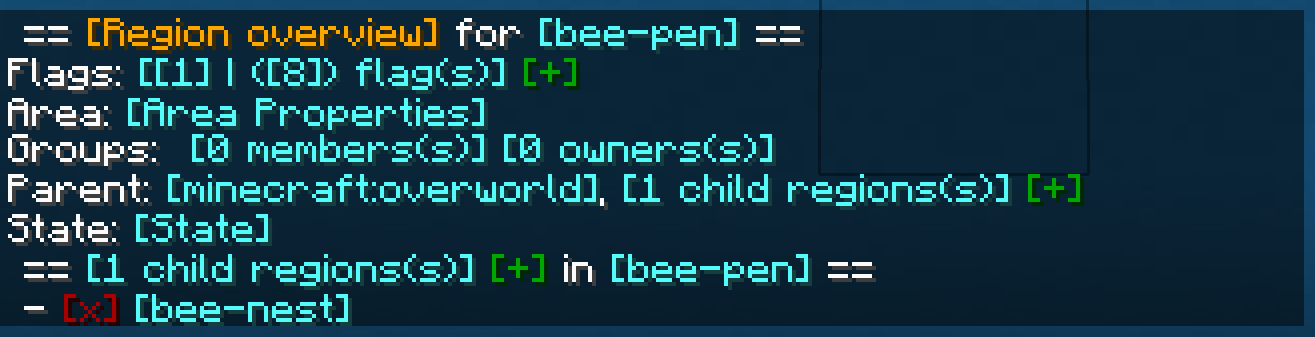
Local Regions are the regions you most likely now from WorldGuard or WorldProtector. They have a defined area in which
they work in and which they are limited to.
With Local Regions you are able to create areas in your world, which you want to protect from certain actions/events
which are caused by players, other entities or the environment.
To create a Local Regions you will need to have the permission of the parent region or permission from the config.
[Local Regions can be created](https://github.com/Z0rdak/Yet-Another-World-Protector/wiki/Commands#creating-a-local-region)
by marking the area with a RegionMarker and executing the corresponding command or by just using a command without the
RegionMarker.
For now the area of a region can be defined as in a cuboid or spherical shape, but I am planning to add more shapes for
region areas in future updates.
***
## Properties of regions
The properties of regions, flags, groups, etc. can all be managed through
an [interactive CLI](https://github.com/Z0rdak/Yet-Another-World-Protector/wiki/Interactive-CLI).
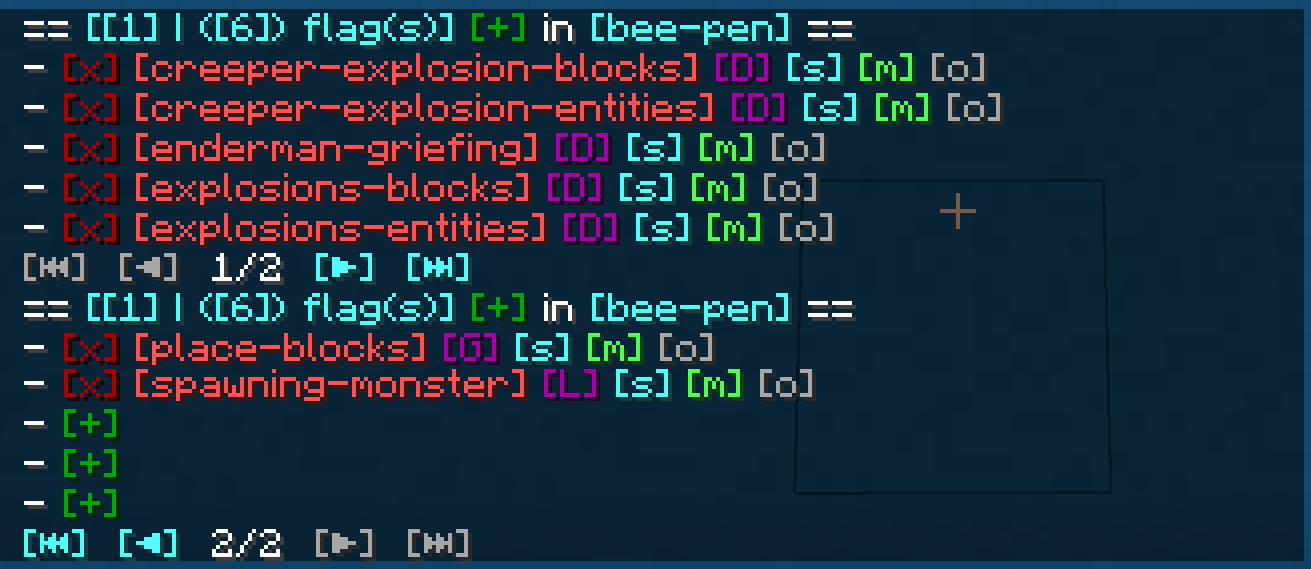
The colored text indicates interactive shortcuts commands or command suggestions. All colored text have a tooltip hint
which explains shortly what clicking on the corresponding link does.
Clicking on them gives the player a suggestion for executing a command or sometimes straight execute the command which
is hinted by the hover text.
Regions can only be managed by their owners, or by players which have the required OP level or have an entry in the
configuration. For more information, visit the wiki.
***

Whenever a new Local Region is created without supplying a parent region, the parent is set to the Dimensional Region
which the new Local Region is created in.
Local Regions can also have child regions. The children of a Local Regions need to be contained in the area of the
parent region. The region hierarchy also defines the region priorities. Child regions always must have a higher priority
than their parent.
Dimensional Regions always have the Global Region as a parent, and thus the Global Region all Dimensional Regions as
child regions.
***

Regions have owners and normal members. Owners are allowed to manage the region and bypass the flags, members are
only allowed to bypass the flags set in the region.
Owners and Members can be individual players or a [team](https://minecraft.fandom.com/wiki/Commands/team).
Groups allow you assign specific region permissions to different players and teams. Currently, there are only two
default groups: **owners** and **members**.
***

– **Owners** can manage their region themselves and add other players/teams to the region. They can also create their
own sub-regions within their region, manage flags, ect. and of course owners bypass flags.
– **Members** are only allowed to bypass flags only.
I am planning on adding a [LuckPerms](https://www.curseforge.com/minecraft/mc-mods/luckperms) integration with a future
update, so you can define your own groups and permissions.
If you have trouble with setting up regions, visit the discord for help.
***

Flags are the core of the region protection system. They define which actions are allowed or denied in a region. Flags
can be set to
– **Allowed**, to allow the corresponding action,
– **Denied**, to deny the corresponding action,
– **Disabled**, to disable the specific flag for flag checks.
Child regions inherit the flags from their parent regions. It is further possible to override the flag state for child
regions by setting the **override** property of the flag of the parent region accordingly.
See the [Flags](https://github.com/Z0rdak/Yet-Another-World-Protector/wiki/Flags) page for more details about the
different flags.
I am planning to add more flag in the future. A list of suggested flags which I’ll slowly add to the mod can be found
here: [Flag suggestions](https://github.com/Z0rdak/Yet-Another-World-Protector/issues/66)
There will also be more complex flags in the future. Like *ListFlag* which will allow you to define a list of allowed
blocks/entities/.. which are forbidden in the context of a flag.
***

***
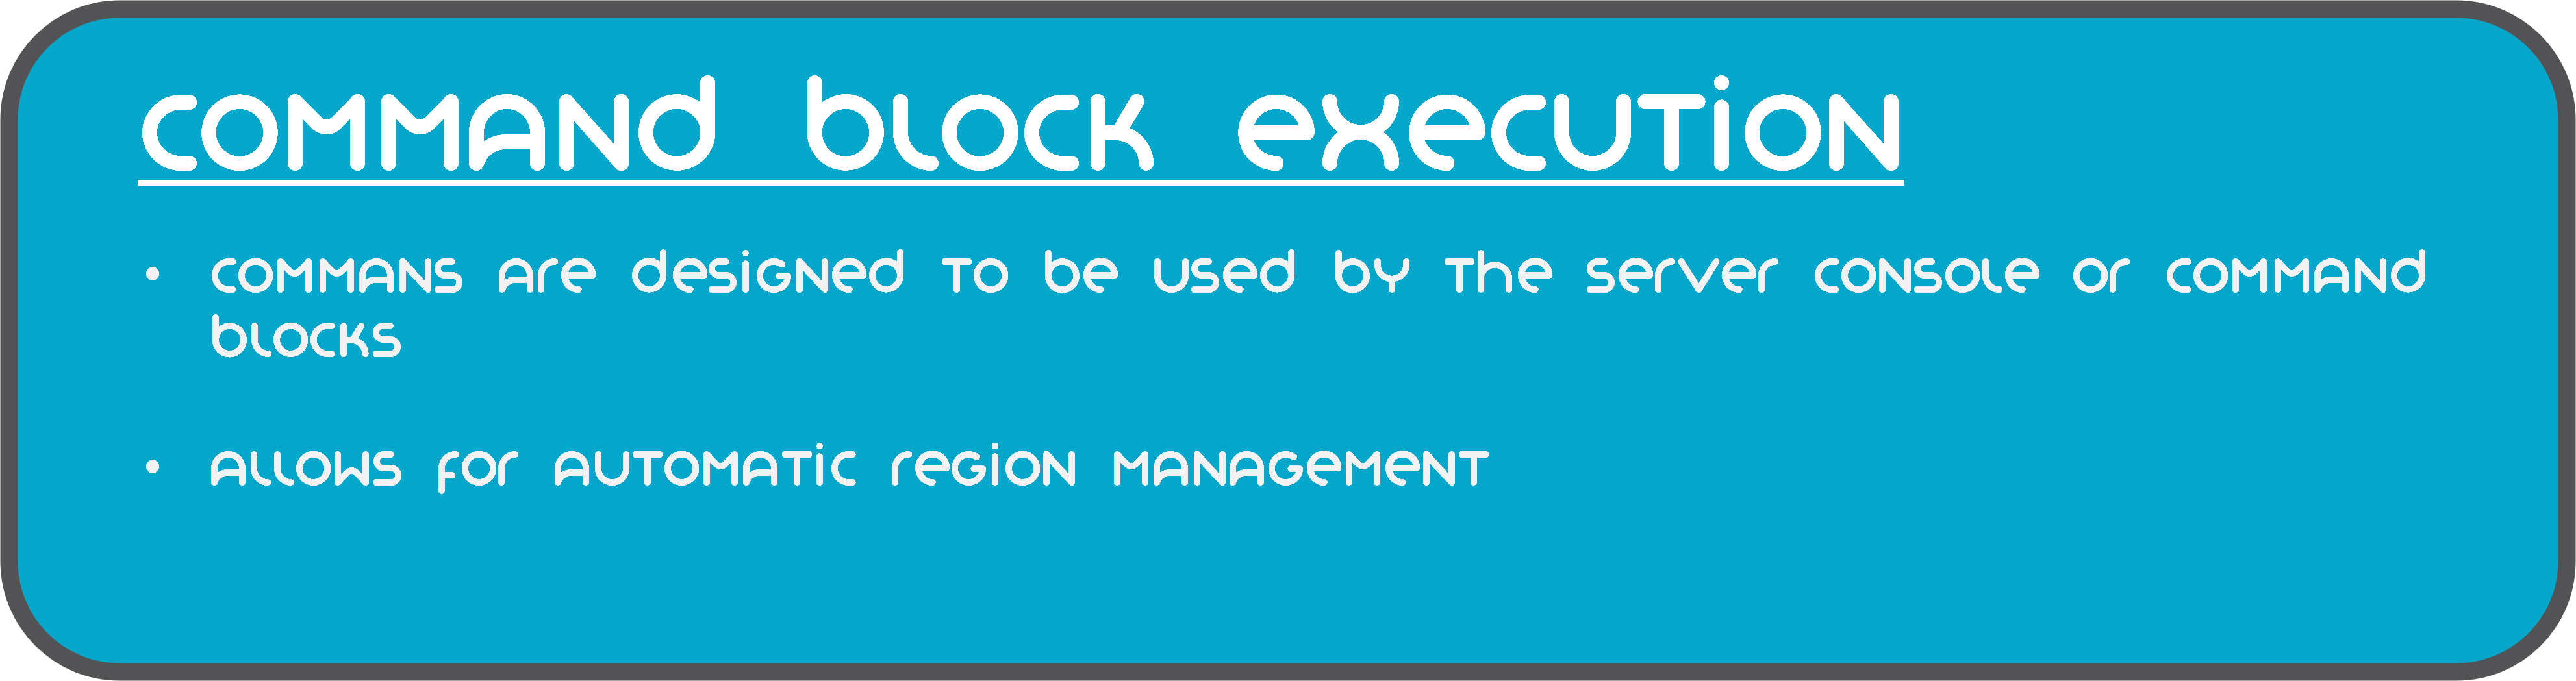
The commands of mod are also designed to be used by the server console and can be executed by command blocks.
This allows you to automate region setups, add/remove players, enable or disable regions, etc.
***
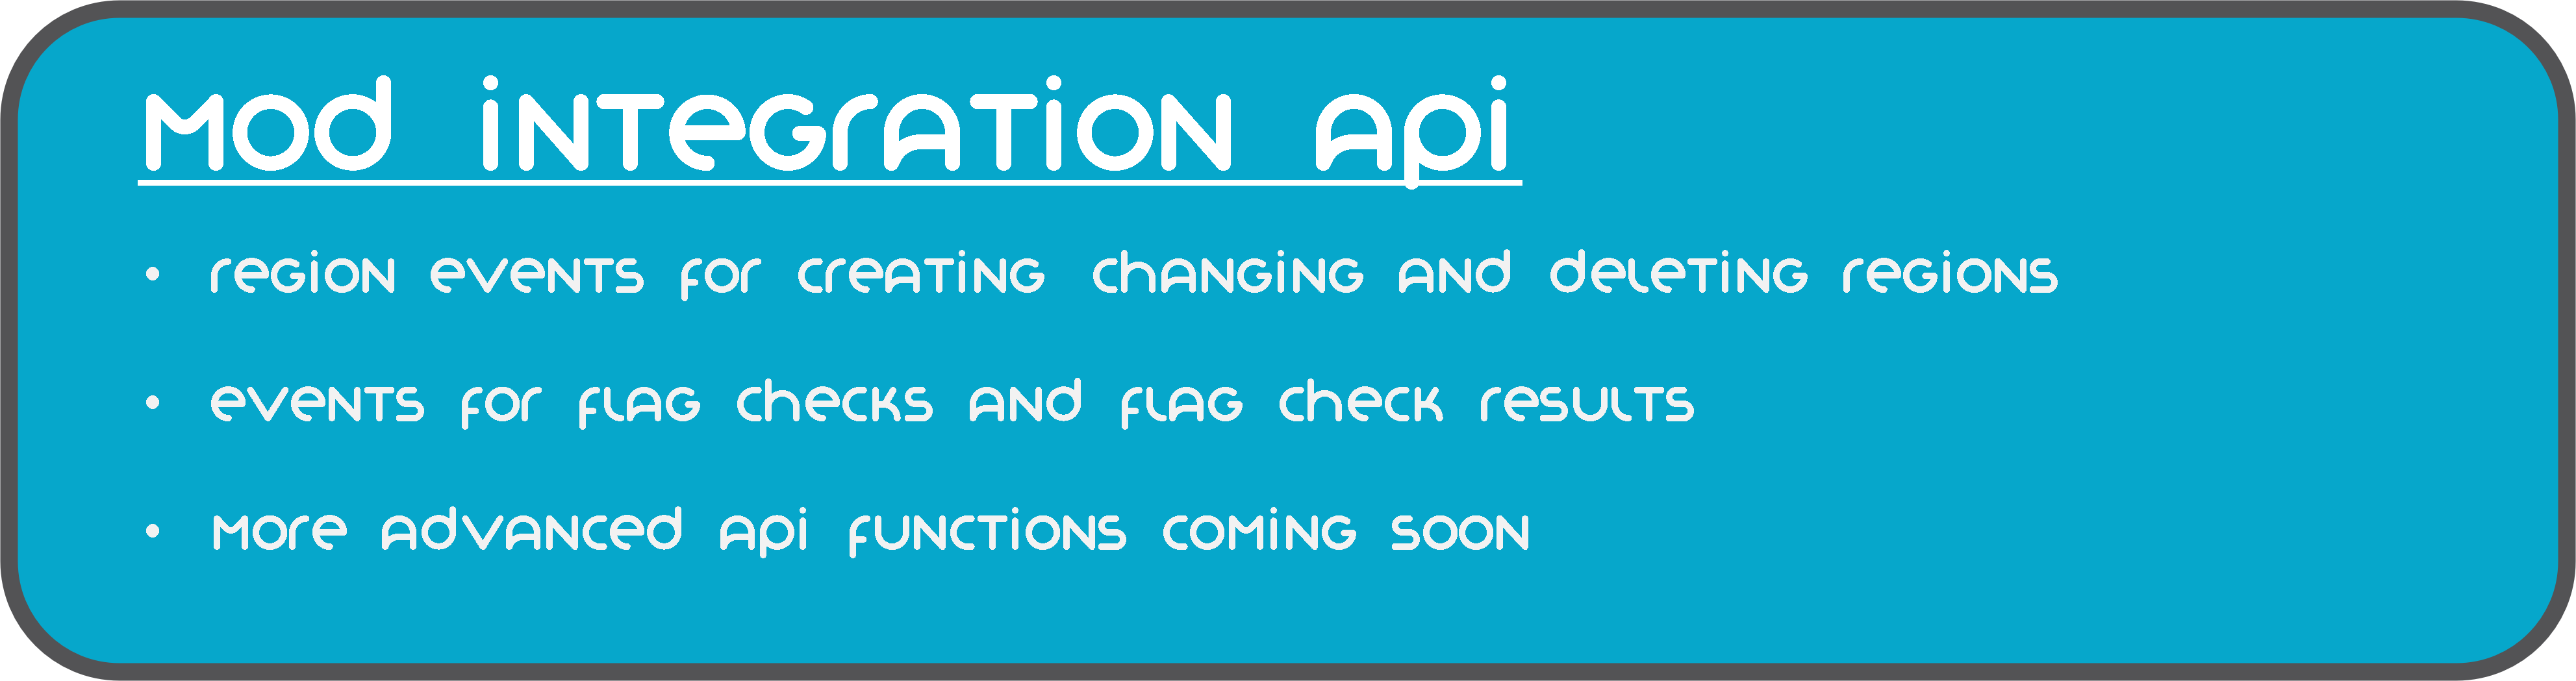
YAWP provides a growing mod integration API for easier mod and modpack integration. Currently, the API allows other mods
to listen for events for region creation, changes and deletion and cancel these events to prevent them from happening.
Additionally, there are events for flag checks and their results, which can be used to manipulate the outcome of the
flag check.
***
[](https://github.com/Z0rdak/Yet-Another-World-Protector/wiki)
The client side installation of the mod provides language support (I18n) in form of a resource pack. Currently, english,
german and russian language is supported.
Starting with mod version 0.0.2.9-beta2 and Minecraft Version 1.19.4, YAWP provides a default english translation.
If your language is not yet supported, feel free to reach out to me via discord or issue a pull request via github! 🙂
***
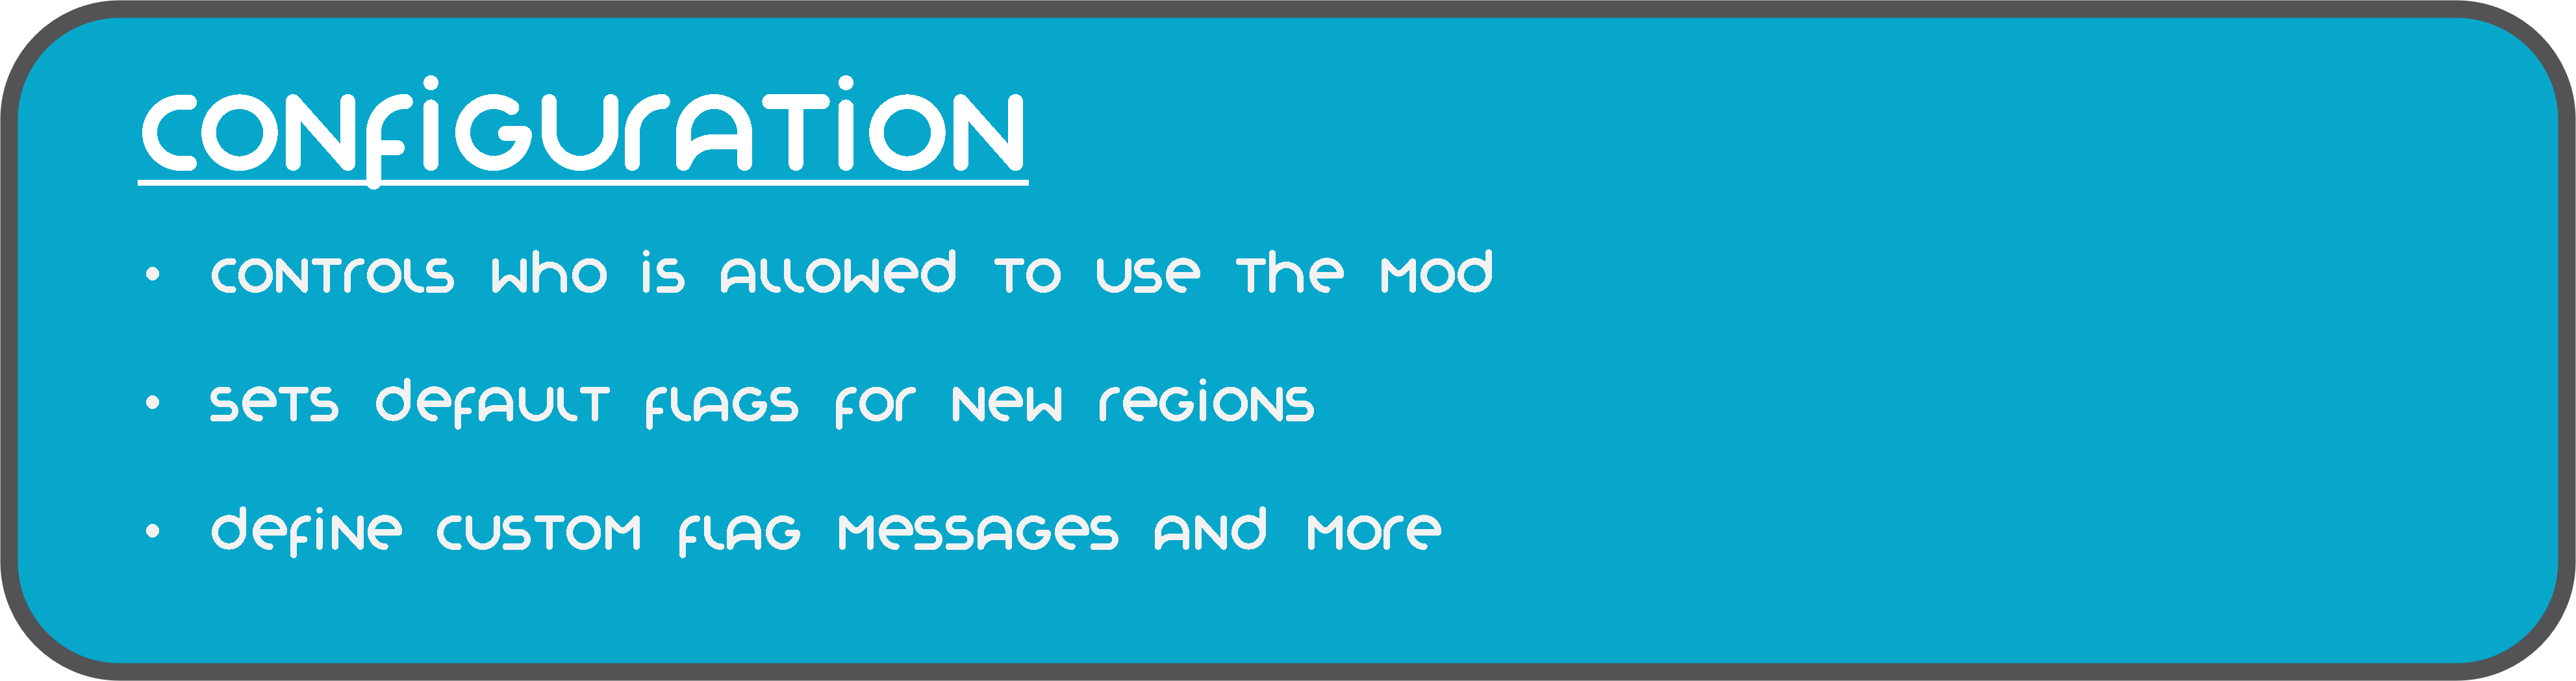
The configuration of the mod allows you to control which is allowed to use the mod, sets default flags for Local and
Dimension Regions, command line interface options, etc.
The configuration is split in different files, covering different topics.
– `yawp-common.toml` – config for command permissions
– `yawp-flags.toml` – config for flags, custom flag messages, etc
– `yawp-region-defaults.toml` – config for default region properties
Since YAWP is a server-side mod, the config for it is found in the directory `/serverconfig` in your minecraft world
directory.
***
[](https://github.com/Z0rdak/Yet-Another-World-Protector/wiki)
The documentation of the mod is small but growing. I am trying to keep up with the content. You can find the
documentation [<< here >>](https://github.com/Z0rdak/Yet-Another-World-Protector/wiki).
The documentation covers
* descriptions of different regions
* getting started & FAQ
* available commands & flags
* configuration
* and more …
If something is not covered feel free to hop on our discord server and ask your question there. 🙂
___
## Roadmap
There are many more features to come. The mod is in active development!
The following list is not comprehensive.
* Different flag types (List, Effect, …) for more granular control
* Data pack driven flag configuration
* Region boundary visualization
* Define your own region groups for more granular management of regions (LuckPerms)
* More granular permission system (combined with the more granular group features)
* Region templates for easier managing same regions with different spatial properties
* Region triggers for entering/leaving a region (for displaying messages, executing commands, etc)*
* Regions with different shapes (Cylinder, Prism, 3DPolygon)*
*
YetAnotherWhitelistPlugin (YAWL)
# YAWL (Yet Another Whitelist Plugin)
**YAWL** is an incredibly simple, lightweight, and efficient whitelist plugin designed exclusively for the **Velocity** proxy. If you need a no-fuss, easy-to-manage whitelist solution that just works, this is the plugin for you.
## 🚀 Overview
The core philosophy of YAWL is **simplicity**. In a world of complex plugins, YAWL stands out by doing one thing and doing it well. It manages a server whitelist through a plain text file (`whitelist.txt`), making it easy to view, edit, and manage without needing databases or complicated commands. It’s built to be as performant and unobtrusive as possible, ensuring zero impact on your server’s performance.
## ✨ Why Choose YAWL?
* **⚡ Lightweight:** The plugin has a minimal footprint. It’s written to be extremely efficient and won’t add any bloat or lag to your proxy.
* **✏️ Simple Text-Based Management:** All whitelisted players are stored in a simple `whitelist.txt` file. You can edit this file directly and reload the plugin in-game.
* **⚙️ Straightforward Configuration:** A clean `config.toml` file allows you to toggle the whitelist, change message languages, and set case sensitivity with ease.
* **🌍 Multi-Language Support:** YAWL comes with multiple pre-packaged languages (`en`, `ar`, `de`, `es`, `fr`, `ja`, `ru`, `uk`, `zh-cn`, `pt-br`, `tr`). It can even **automatically display messages in a player’s client language**!
* **🔄 Live Reload:** No need to restart your entire proxy. A simple command reloads the configuration and the whitelist instantly.
* **🔒 Permissions-Ready:** Fine-grained permission nodes give you complete control over who can manage the whitelist.
## 📦 Installation
1. Download the latest version of the plugin.
2. Place the downloaded `.jar` file into the `plugins` folder of your Velocity proxy.
3. Start or restart your proxy.
4. The default configuration (`config.toml`), locales, and an empty `whitelist.txt` file will be generated in `plugins/yawl`. Edit them to your liking!
## ⚙️ Configuration
The configuration is handled in the `plugins/yawl/config.toml` file.
“`toml
[settings]
# Enable or disable the whitelist. If false, the plugin will not kick anyone.
enabled = true
# Sets the language for plugin messages.
# Corresponds to a file name in the ‘locales’ folder (e.g., “en”, “ru”).
locale = “en”
# If true and the client has a language set that exists in the plugin’s locales folder, it will be displayed.
# If false, it will display default locale defined by upper setting.
use-client-locale = false
# If true, player names in the whitelist will be case-sensitive (e.g., “Player” is different from “player”).
# If false, case will be ignored (“Player” and “player” are the same).
# It’s recommended to keep this ‘false’ for user-friendliness.
case-sensitive = false
# Kick active player immediately after whitelist removal or expiry.
# If false, the player will remain connected until they reconnect or reload occurs.
kick-active-on-revoke = true
# Placeholder reload interval in minutes
placeholder-reload-interval = 2
“`
## 🆔 Placeholders
Starting with version 1.2, you can use the `%yawl_duration%` placeholder, which contains the amount of time remaining for the player. To use placeholders, you need to install [YetAnotherWhitelistCompanion](https://github.com/renwixx/YetAnotherWhitelistCompanion) and [PlaceholderAPI](https://www.spigotmc.org/resources/placeholderapi.6245/) on your backend server(s).


## 💬 Commands
All commands start with `/yawl`.
| Command | Description |
| ——————————— | ————————————————— |
| `/yawl` | Displays the plugin help message. |
| `/yawl add ` | Adds a player to the whitelist. |
| `/yawl add []` | Adds a player to the whitelist for a specific time. |
| `/yawl extend [] [add|replace]` | Adds time for a specific player. If the white list timer has expired, it will suggest replacing the time based on the actual time or adding to the old time limit. |
| `/yawl remove ` | Removes a player from the whitelist. |
| `/yawl list` | Shows a list of all whitelisted players. |
| `/yawl reload` | Reloads the config and `whitelist.txt`. |
## 🔑 Permissions
Grant these permissions to your staff groups to control who can manage the whitelist.
| Permission | Description |
| ———————- | ————————————————————- |
| `yawl.bypass` | Allows a player to join the server even if not on the whitelist. |
| `yawl.command.add` | Allows using the `/yawl add` command. |
| `yawl.command.extend` | Allows using the `/yawl extend` command. |
| `yawl.command.remove` | Allows using the `/yawl remove` command. |
| `yawl.command.list` | Allows using the `/yawl list` command. |
| `yawl.command.reload` | Allows using the `/yawl reload` command. |
YATPAS
YATPAS is a simple but robust Player-to-Player Teleport (TPA) system for Bukkit/Spigot/Paper servers. It features clickable requests, configurable cooldowns, timeouts, and automatic cancellation upon movement or damage, ensuring a balanced gameplay experience.
***
## 🇮🇹 IMPORTANT NOTE ON LANGUAGE
The default language for the messages inside the plugin’s `config.yml` is **Italian**. You can easily translate all messages to English or any other language by editing the `messages:` section of the configuration file.
***
## ✨ Key Features
* **Clickable Requests:** Players can accept or deny TPA requests with a single click.
* **Correct TPA/TPAHERE Logic:** Supports both teleporting to another player (`/tpa`) and calling a player to your location (`/tpahere`).
* **Warmup:** Configurable time before the actual teleport, which is cancelled if the player moves or takes damage.
* **Cooldown & Timeout:** Limits request spam and ensures requests expire automatically.
* **Customizable Messages:** All messages are fully configurable via `config.yml`.
## 📦 Commands
| Command | Alias | Description | Permission |
| :— | :— | :— | :— |
| `/tpa ` | | Requests to teleport to the specified player. | `yatpas.use.tpa` |
| `/tpahere ` | | Requests the specified player to teleport to you. | `yatpas.use.tpahere` |
| `/tpaccept` | | Accepts the pending TPA request. | `yatpas.use.tpaccept` |
| `/tpdeny` | | Denies the pending TPA request. | `yatpas.use.tpdeny` |
| `/tpacancel` | | Cancels your outgoing TPA request. | `yatpas.use.tpacancel` |
## ⚙️ Configuration
The `config.yml` file allows you to customize every aspect of the TPA system.
| Config Key | Description | Default Value |
| :— | :— | :— |
| `teleport-warmup-seconds` | Time in seconds before the teleport occurs. | `5` |
| `tpa-cooldown-seconds` | Cooldown between sending two TPA requests. | `2` |
| `request-timeout-seconds` | Time before a TPA request expires. | `60` |
| `cancel-on-move` | `true` to cancel warmup if the player moves. | `true` |
| `cancel-on-damage` | `true` to cancel warmup if the player takes damage. | `true` |
| `messages.prefix` | Prefix displayed in all messages. | `&3YATPAS&8» &f` |
—
(YARL) Yet Another Resource Loader

# Yet Another Resource Loader
**Yet Another Resource Loader (YARL)** is a lightweight utility mod that allows modpack creators to ship default **resource packs** while preserving full in-game configurability.
YARL automatically detects and enables resource packs placed in **`config/YARL/packs`**.
Packs in this folder are selected by default when the game launches, but players remain free to disable them at any time through the standard Resource Packs menu.
This mod is not intended to replace mods such as OpenLoader, which remain ideal for essential startup packs. Instead, YARL provides a flexible way to distribute non-essential resource packs that are enabled by default but fully optional for the user.
## IMPORTANT NOTICE
**Modpack creators should not distribute the generated `yarl.toml` configuration file.**
The file is meant to be created automatically for each user on first launch and should not be pre-packaged with a modpack.
Yapping Tooltips

Yapping Tooltips is a small client mod that adds tooltips to most items, developers can easily add compatibility to their items aswell.
_Feel free to include this project in modpacks!_
## 
– Developers can easily add their own tooltips by adding this to your language file:
`”yapping_tooltips.(translation_key).desc”: “This is a tooltip”`
– An example for adding a tooltip to a stone block that reads “Hello world” would be:
`”yapping_tooltips.block.minecraft.stone.desc”: “Hello world”`

[](https://discord.gg/jmHpajd)
[](https://discord.gg/eJePAPE27T)
[](https://bsky.app/profile/yirmiri.zeus.kitchen)
[](https://twitter.com/Yirmiris)
[](https://www.youtube.com/@Yirmiri)
[](https://www.curseforge.com/members/yirmiri/projects)
[](https://modrinth.com/user/Yirmiri)
[](https://ko-fi.com/yirmiri)
[](https://yirmiri.carrd.co)

[](https://modrinth.com/mod/excessive-building)
[](https://modrinth.com/mod/delicate-dyes)
[](https://modrinth.com/mod/yapping-tooltips)
[](https://modrinth.com/mod/runiclib)
[](https://modrinth.com/mod/urban-decor)
[](https://modrinth.com/mod/dungeons-delight)

[](https://www.bisecthosting.com/Yirmiri?r=MR+YT)

**Q:** I have an issue/bug I want to report, where can I do that?
– **A:** You can leave bug reports on the [GitHub page](https://github.com/Yirmiri/Yapping-Tooltips/issues). Please be sure to see to both see if someone else has reported the same issue to avoid duplicates and to use proper tags when possible.
**Q:** I have a suggestion for the project, where can I leave it?
– **A:** You can leave suggestions for the project in [our Discord server](https://discord.gg/jmHpajd) or the [GitHub page](https://github.com/Yirmiri/Yapping-Tooltips/issues), please make sure to follow the guidelines for posts/issues and use proper tags when possible.
**Q:** Will there be a port to **X** version?
– **A:** I do not have any plans to port to any older versions of Minecraft, as for newer versions of the game I will probably be sticking to the biggest modding version at a given time since that will be the version I will be playing the game on.
YAML Resources
Addon for [Simple Resources](https://github.com/Yorick-06/SimpleResources) based on
[jackson-dataformats-text](https://github.com/FasterXML/jackson-dataformats-text) which adds support for “`.yml“`/“`.yaml“` files
for both minecraft and custom-registered resources.
Simply place this mod in your mods folder (SimpleResources version 2.1.0 or higher required) and all resources can now
be specified in the YAML format.
YAML Config
[](https://redirect.daqem.com?to=https%3A%2F%2Fbisecthosting.com%2FDAQEM%3Fr%3DYAMLConfigModrinth)
[](https://ko-fi.com/daqem)
## YAML Config: A Minecraft Configuration Mod
### Overview
YAML Config is a powerful Minecraft configuration mod that enables mod developers to create and manage configuration settings using the YAML file format. It offers a user-friendly GUI, extensive support for data types, and robust networking for client-server synchronization.
### Features
* **YAML File Format:** YAML Config utilizes the YAML file format, known for its readability and ease of use.
* **GUI Interface:** A well-designed GUI allows players to easily navigate and edit their configuration settings.
* **Extensive Data Type Support:** The mod supports a wide range of data types, including:
* **Primitive Types:** `boolean`, `int`, `float`, `double`, `String`, `ResourceLocation`, `Registry`
* **Collections:** `List`, `Map`
* **Date and Time:** `LocalDateTime`
* **Server-Client Synchronization:** Changes made to configurations on the server are automatically synchronized to clients, ensuring consistency across the gameplay experience.
* **Modpack Support:** The mod is designed to work seamlessly with existing modpacks, offering a flexible and expandable configuration system.
* **Validation and Error Handling:** The mod includes robust validation and error handling, ensuring that configurations meet the expected requirements.
### Installation and Usage
#### Installation
1. **Download the mod:** Download the latest version of YAML Config from the mod’s official website, CurseForge, or Modrinth.
2. **Place the mod file:** Move the downloaded JAR file into the “mods” folder within your Minecraft directory.
3. **Launch Minecraft:** Start Minecraft and join a world.
#### Usage
1. **Open the Configs Screen:** Press “F12” on your keyboard to open the Configs screen.
2. **Navigate to the Config:** The Configs Screen displays a list of available configurations. Select the mod whose configuration you want to modify.
3. **Edit Config Entries:** The Config Screen displays the available settings. Each entry includes:
* **Title:** The name of the setting.
* **Input Field:** A field for editing the value.
* **Reset Button:** A button for resetting the value back to its default.
4. **Save Changes:** Click the “Save Changes” button to save your modifications. The mod will automatically save the changes to the configuration file and synchronize them with other players on the server (if applicable).
### Development
#### Creating Configurations
**1. Define a Config Class:**
* Create a new Java class within your mod’s codebase that represents your mod’s configuration.
“`java
public class MyModConfig {
public static IConfig config;
public static IConfigEntry debug;
public static void init() {
ConfigBuilder builder = new ConfigBuilder(MyMod.MOD_ID, “mymod-config”, ConfigExtension.YAML, ConfigType.CLIENT);
}
}
“`
**2. Define Config Entries:**
* Use the `ConfigBuilder` class to define the settings for your configuration.
* Choose the appropriate data type for each entry using the `define*` methods.
“`java
// Example of defining a boolean entry:
debug = builder.defineBoolean(“debug”, false);
// Example of defining an integer entry with range:
intEntry = builder.defineInteger(“intEntry”, 10, 0, 100); // Min 0, Max 100
// Example of defining a string entry with pattern:
stringEntry = builder.defineString(“stringEntry”, “test”, “test\d+”);
// Example of defining a registry entry:
registryEntry = builder.defineRegistry(“registryEntry”, Blocks.GRASS_BLOCK, BuiltInRegistries.BLOCK);
// Example of defining a list:
stringListEntry = builder.defineStringList(“stringListEntry”, List.of(“test1”, “test2”, “test3”), 3, 10); // Min 3, Max 10
// Example of defining a map:
integerMapEntry = builder.defineIntegerMap(“integerMapEntry”, Map.of(“test1”, 1, “test2”, 2, “test3”, 3), 3, 10); // Min 3, Max 10
“`
**3. Build the Configuration:**
* Call the `build()` method on the `ConfigBuilder` to create your configuration.
* Store the configuration in a static field for easy access within your mod’s code.
“`java
public MyModConfig() {
ConfigBuilder builder = new ConfigBuilder(“mymod”, “mymod-config”, ConfigExtension.YAML, ConfigType.CLIENT);
// … define config entries
config = builder.build();
}
“`
**4. Access Config Values in Your Code:**
* Use the `get()` method to retrieve the current value of a config entry.
* Use the `set()` method to modify the value of a config entry.
“`java
// Example:
boolean debugEnabled = MyModConfig.debug.get(); // Retrieve the current value of the “debug” setting
if (debugEnabled) {
// Perform debug-related actions
}
MyModConfig.intEntry.set(25); // Set the value of the “intEntry” to 25
“`
#### Config Type
* **`ConfigType.CLIENT`:** Client-side configurations are specific to the client who has installed the mod. They are not shared with other players on the server.
* **`ConfigType.SERVER`:** Server-side configurations are specific to dedicated servers. They will not be used on single player worlds and are not synced to the players on the server.
* **`ConfigType.COMMON`:** Common configurations are shared between both clients and the server. They can be edited on the server by editing the config file directly and restarting the server or by editing the values using the in-game GUI and saving the changes.
#### Using Custom Data Types
* Use the `IConfigEntryType` interface to register custom data types with the YAML Config mod.
* Implement a custom serializer for handling the serialization and deserialization of your custom data type.
#### Modpack Configuration
* If you are creating a modpack, you can use YAML Config to define the configuration settings for your modpack.
* Place the configuration file for your modpack in the “config” folder within your modpack’s directory.
#### Examples
“`java
// Example: Basic client-side configuration
public class MyModConfig {
public static IConfig config;
public static IConfigEntry debug;
public static IConfigEntry testInt;
public static void init() {
ConfigBuilder builder = new ConfigBuilder(“mymod”, “mymod-config”, ConfigExtension.YAML, ConfigType.CLIENT);
debug = builder.defineBoolean(“debug”, false) // default false.
.withComments(“Whether debug mode is enabled for the mod.”);
testInt = builder.defineInteger(“testInt”, 10, 0, 100); // default 10, min 0 and max 100.
config = builder.build();
}
}
“`
YAdminCore
[](https://discord.gg/kZJhKZ48j8)
# YAdminCore
Plugin with, in my opinion, essential commands for server admins. Using permissions for different command functionalities you should be able to precisely specify what admins can do what.
# Commands
– heal and feed
– item
– memory
– god
– gamemode
– fly
– tp – In vanilla style, with @ selectors
– tphere
– tpoffline
– back – Teleports back, based on the last teleport event
– entityinfo / playerinfo
– enchant
– workbench, enderchest, anvil, grindstone, stonecutter, smithingtable, cartographytable, loom
### Other features
– SQLite or MySQL database for saving player data
– Fully customizable messages with lang file, supporting [PlaceholderAPI](https://github.com/PlaceholderAPI/PlaceholderAPI) and [MiniMessage](https://docs.advntr.dev/minimessage/index.html)
– Commands with tab completions
– API for developers
# Documentation
You can read about plugin’s [permissions](https://github.com/Ynfuien/YAdminCore/wiki/2.-Permissions), [placeholders](https://github.com/Ynfuien/YAdminCore/wiki/3.-Placeholders) etc. on the [wiki](https://github.com/Ynfuien/YAdminCore/wiki) page.
# Media – Example commands
`/entityinfo`

`/item` and `/enchant`

`/tp`

# Integrity with other plugins
I make these plugins for me, according to my needs, meaning, I don’t search for every possible plugin that I don’t care about, that could be somehow better integrated with mine. But, if you care about better integration between this plugin and some other, then just let me know through [Discord](https://discord.gg/kZJhKZ48j8) or [GitHub](https://github.com/Ynfuien/YAdminCore) and I will see what I can do.
Same goes for any features that you think may be missing. If something isn’t outside the scope of the plugin, then I’ll probably do it.
# License
This project uses [GNU GPLv3](https://github.com/Ynfuien/YAdminCore/main/blob/LICENSE) license.
yaddu guard
YadduGuard is an advanced AI-powered chat moderation plugin for Velocity proxy servers. It uses cutting-edge AI models to detect toxic messages, Hindi/Hinglish gaaliyan, English abuses, harassment, and hate speech in real-time — and automatically punishes offenders with escalating consequences.
🤖 **AI Providers Supported**
Groq (LLaMA 3.3 70B) — Free, ultra-fast
Google Gemini 2.0 Flash — Free tier available
OpenAI GPT-4o Mini — Premium option
Auto-fallback: if one provider fails, automatically switches to next
🛡️ **How It Works**
Every chat message passes through a 3-layer system:
QuickFilter — 200+ normalized gaali patterns checked instantly (no API call)
Message Cache — repeated toxic messages blocked from cache (no API call)
AI Check — only suspicious messages sent to AI for deep analysis
This means minimal API usage while maximum detection accuracy.
⚖️ **Escalating Punishments**
Severity 3-4 → Soft Mute (5 minutes)
Severity 5-6 → Kick
Severity 7-8 → Temp Ban
Severity 9-10 → IP Ban
3+ violations in a session → automatic escalation
🔍 **Smart Detection**
Understands context — “mc” alone is fine, “mc tu” is toxic
Detects leet speak — b s d k, bh0$d1k, b.s.d.k all caught
Hindi, Hinglish, and English detection
Works across all backend servers simultaneously
⚙️ **Admin Commands**
“`/yg status — View plugin status“`
“`/yg reload — Reload config live“`
“`/yg test — Test AI on any message“`
“`/yg unmute — Remove soft mute“`
“`/yg violations — View player history“`