snowflake
# Snowflake Texture Pack Release: 1.21.X is Now Available!
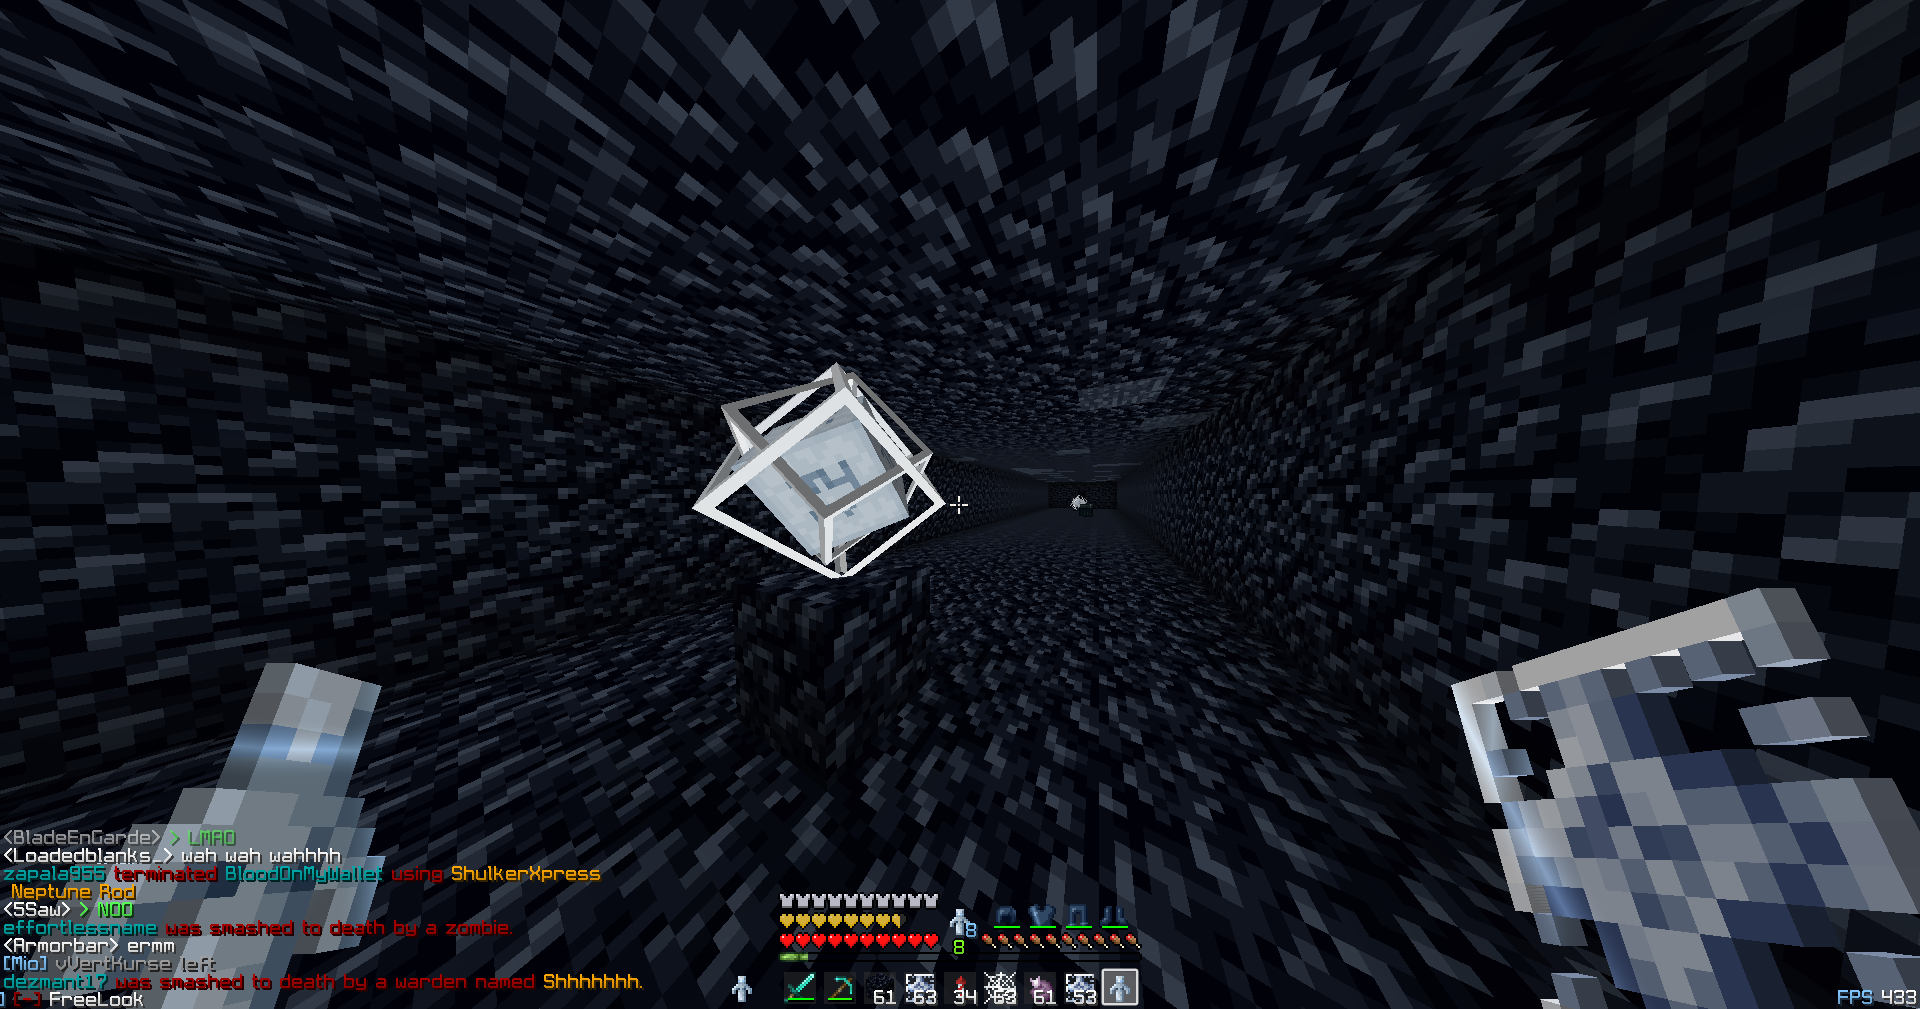
The **Snowflake** texture pack gives Minecraft a **cool, icy makeover**, replacing default textures with a **crisp, blue winter theme**. Inspired by frost-covered landscapes and shimmering snow, this pack adds a refreshing aesthetic while keeping gameplay **clean and immersive**.
—
## Supported Features
### Versions: **1.20.X – 1.21.X**
This texture pack brings a **frozen, snow-dusted** design to the following elements:
– **Soft Blue & Frosty Textures** for core UI and in-game visuals
– **Icy GUI Overhaul**, including:
– **Creative & Survival Inventory** (blue-themed item backgrounds)
– **Crafting Tables, Furnaces, Anvils, and More** with frosted interfaces
– **Chests, Hoppers, and Containers** featuring cool-toned visuals
– **Enchanting Tables & Smithing Tables** with an **elegant ice-like glow**
– **Villager Trading & Horse GUI** redesigned with a **crisp winter feel**
– **Subtle Snowflake Accents** to enhance immersion
—
## Suggestions & Feedback
Want to suggest improvements or report issues? Join our **Discord community** and let us know!
[Join Now](https://discord.gg/factory)
—
Smooth Saturation


Smooth Saturation is a Resource Pack that doubles the saturation in your Minecraft, but it’s compatible with versions above 1.16 and uses fabulous graphics. It’s compatible with most other Resource Packs since it doesn’t modify the textures themselves, but rather adds an extremely light post-processing effect.
None of the images in the gallery contain any color manipulation editing!
– To use the fabulous charts in version 1.21.11+, go to Charts and look for the “Enhanced Transparency” option.
> Coming soon for versions below 1.16!

### *If you find any type of bug or error, report it on my [discord server!](https://discord.gg/CdHqyDxMrz)*
Smooth Craft Texture
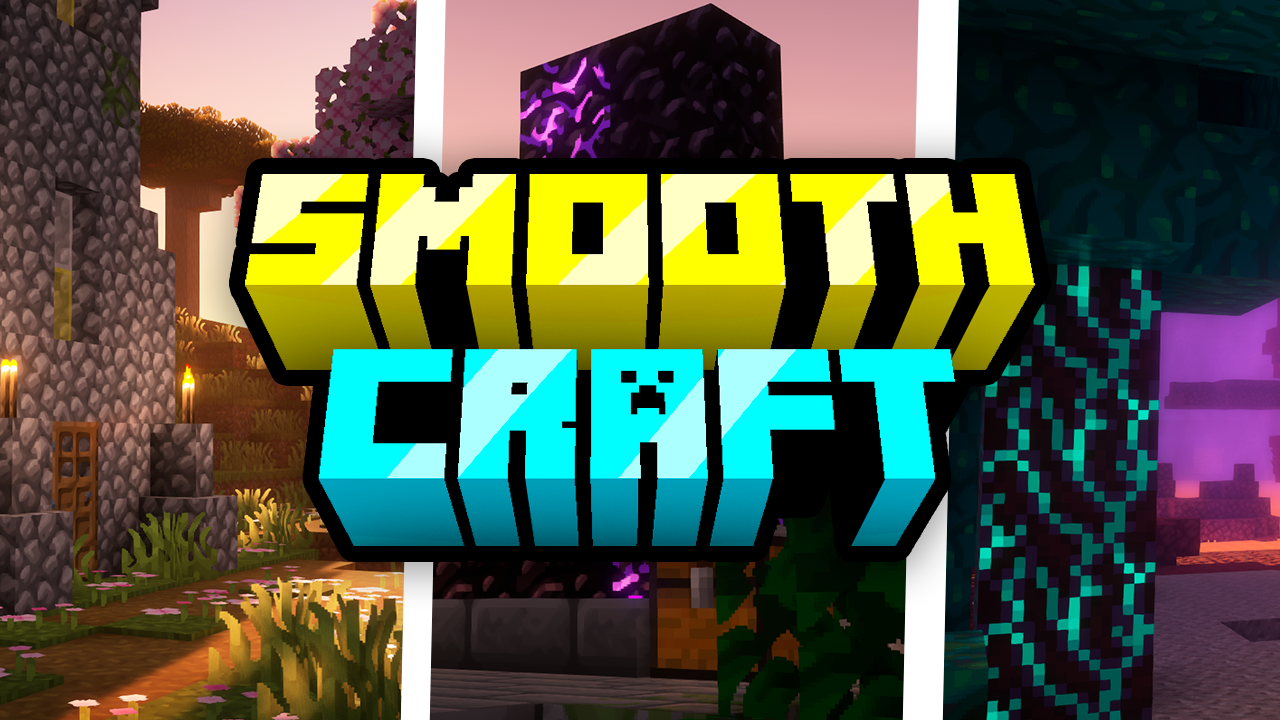
Smooth Craft is an elegant and refined texture that transforms the Minecraft landscape. With it, all blocks in the game gain a smoother and more polished appearance, ideal for those looking for a more modern and clean aesthetic. Each texture has been carefully crafted to ensure a pleasant visual experience while maintaining the essence of the game. Get ready to explore the world of Minecraft in a whole new way with Smooth Craft.
Modifications:
All blocks in the game receive a new, smoother and more polished texture, providing a renewed visual experience.
The texture maintains fidelity to the game’s original elements, but with a touch of elegance and modernity.
The color palette has been adjusted to ensure visual harmony across all areas of the game, from simple buildings to complex landscapes.
Item and object textures have also been improved to fit the new style, providing a consistent experience throughout the game.
Compatibility:
Smooth Craft is compatible with the latest versions of Minecraft, ensuring players can enjoy the texture in their latest adventures.
The texture is compatible with mods that do not directly change the textures of the blocks, ensuring a consistent experience even with the addition of modifications to the game.
Installation:
To install Smooth Craft, simply download the texture file and place it in the textures folder of your Minecraft client.
Be sure to select the Smooth Craft texture in the game’s options menu to start enjoying its smooth, sleek new appearance.
## Ajude Com qualquer Quantia ( Não Reenbolsável )
## [Livepix](https://livepix.gg/heycronus)
Smooth Clouds

Smooth Clouds is a resource pack that smooths clouds by adding a gradient to the shadow and making some minor adjustments.
This resource pack was not originally created by me, so based on the original version at the end of this description, I added the following features:
– Fog fixes
– New cloud shapes
– Various optimizations
– Time-based color (without this, it would be practically invisible at night)
– I organized and separated each file into its respective version
I am working hard to include it in future versions, so don’t give up on using it in the future.
This resource pack was originally obtained [from this GitHub page](https://github.com/bradleyq/shader-toolkit).
### *If you find any type of bug or error, report it on my [discord server!](https://discord.gg/CdHqyDxMrz)*
Sloppy Snow
This pack makes slopes on snow. It makes snow snowier.
Optifine not required. #noptifine
Doesn’t work with Sodium for now.
Wanted bugs.
Sliding Titles
# Sliding Titles by Trplnr
– Makes your **ordinary vanilla titles** have a **nice refreshing sliding animation** thats configurable (instructions below)!
– The RP does not impact performance at the slightest.
– Shows the animation, the utility, and how bad I am at PVP Games! (FPS Drops because of my recording software and because when I tab out the FPS decreases. The RP is performant and will not impact performance.)
## Configuration:
If you havent extracted the .zip yet, now is the best time to do so.
I recommend opening up a world and having this command ready in your clipboard: `/title @s title “Test Title”`
### Steps:
– Go inside the resource pack and locate `assets/minecraft/shaders/core/rendertype_text.vsh` then open it.
– Scroll down a bit and you will see a massive block of text that has “CONFIGURATION” on it.
– Simply read it and edit the values it has provided.
– Once you are done editing, do `F3+T` to reload the pack and run a title command like what I provided at the top and see if you like it. You can tweak it to your liking until you get the result you want.
SkyboxTemplate
**SkyboxTemplate** is a resource pack that uses core shaders to add multiple new skyboxes to the game. These are rendered using item displays and can be used for many different effects.

You can use it **together with my plugin** [SkyboxEngine](https://modrinth.com/plugin/skyboxengine) to handle the creation of the item displays but you can also use it **standalone**!
More information on how to use it an the Skybox Engine integration can be found on the [Github Repository](https://github.com/Dragoncraft000/SkyboxTemplate)
## Features
### Skybox Shader Setup
By default, the pack contains the resource pack setup for nine different skybox shaders and more can be added easily by copying the files for the provided skyboxes.
### Example Shaders
Different Skybox effects with comments to explain how things work to help you understand aeverything and allow you to add your own effects.
### Shader Utility
Utility functions to use in your shaders such as colors, gradients, noise and texture mapping
### Shader Notice
Due to this pack making use of core shaders it is not compatible with iris or otpfine shaderpacks. Having iris installed is fine but the sykbxo shaders will not be visible as soon as you activate a shaderpack.
Sky Scape HD
## 🌌 SkyScape HD
**SkyScape HD** is an add-on resource pack that completely overhauls Minecraft’s skies with **high-definition, realistic clouds and improved lighting**, giving your world a more immersive and cinematic atmosphere.
Designed to work **with any other resource pack**, SkyScape HD can simply be placed **above your existing pack** in the resource pack menu — no conflicts, no hassle.
—
## ✨ Features
– ☁️ **HD sky textures** with realistic cloud formations
– 🌤️ **Biome-based skies** — each area has a unique atmosphere
– 🌅 **Dynamic lighting tones** for more immersive visuals
– ⚡ **Performance-friendly** — runs smoothly even on low-end PCs
– 🧩 **Fully compatible** with all resource packs
—
## 🖥️ Performance
SkyScape HD is optimized for performance, ensuring **minimal FPS impact**. Even basic laptops and low-spec systems can enjoy enhanced skies without issues.
—
## 🌍 Biome Variation
Unlike typical sky packs, SkyScape HD includes **multiple sky variations** that change depending on the biome you’re in, making exploration feel fresh and visually diverse.
—
## 📦 Installation
1. Download SkyScape HD
2. Open **Options → Resource Packs**
3. Place **SkyScape HD above other packs**
4. Enjoy the ultimate sky experience ☁️✨


—
## 🎯 Goal
SkyScape HD aims to be the **ultimate resource pack for sky textures**, delivering beauty, realism, and performance in one lightweight add-on.
—
## ⚡ [ZEYRON CLOUD](https://www.zeyroncloud.com/)
Premium Game Hosting for Minecraft & Servers
## LINKS
**🌐 Website:**
https://zeyroncloud.com
**💬 DISCORD Server:**
https://discord.gg/QPSJzttKwn
Use code **OWNVERSE10** and get **10% OFF** on your **first month** of hosting!
SKT’s Purple Ender Things
### 
### 📖⠄Description
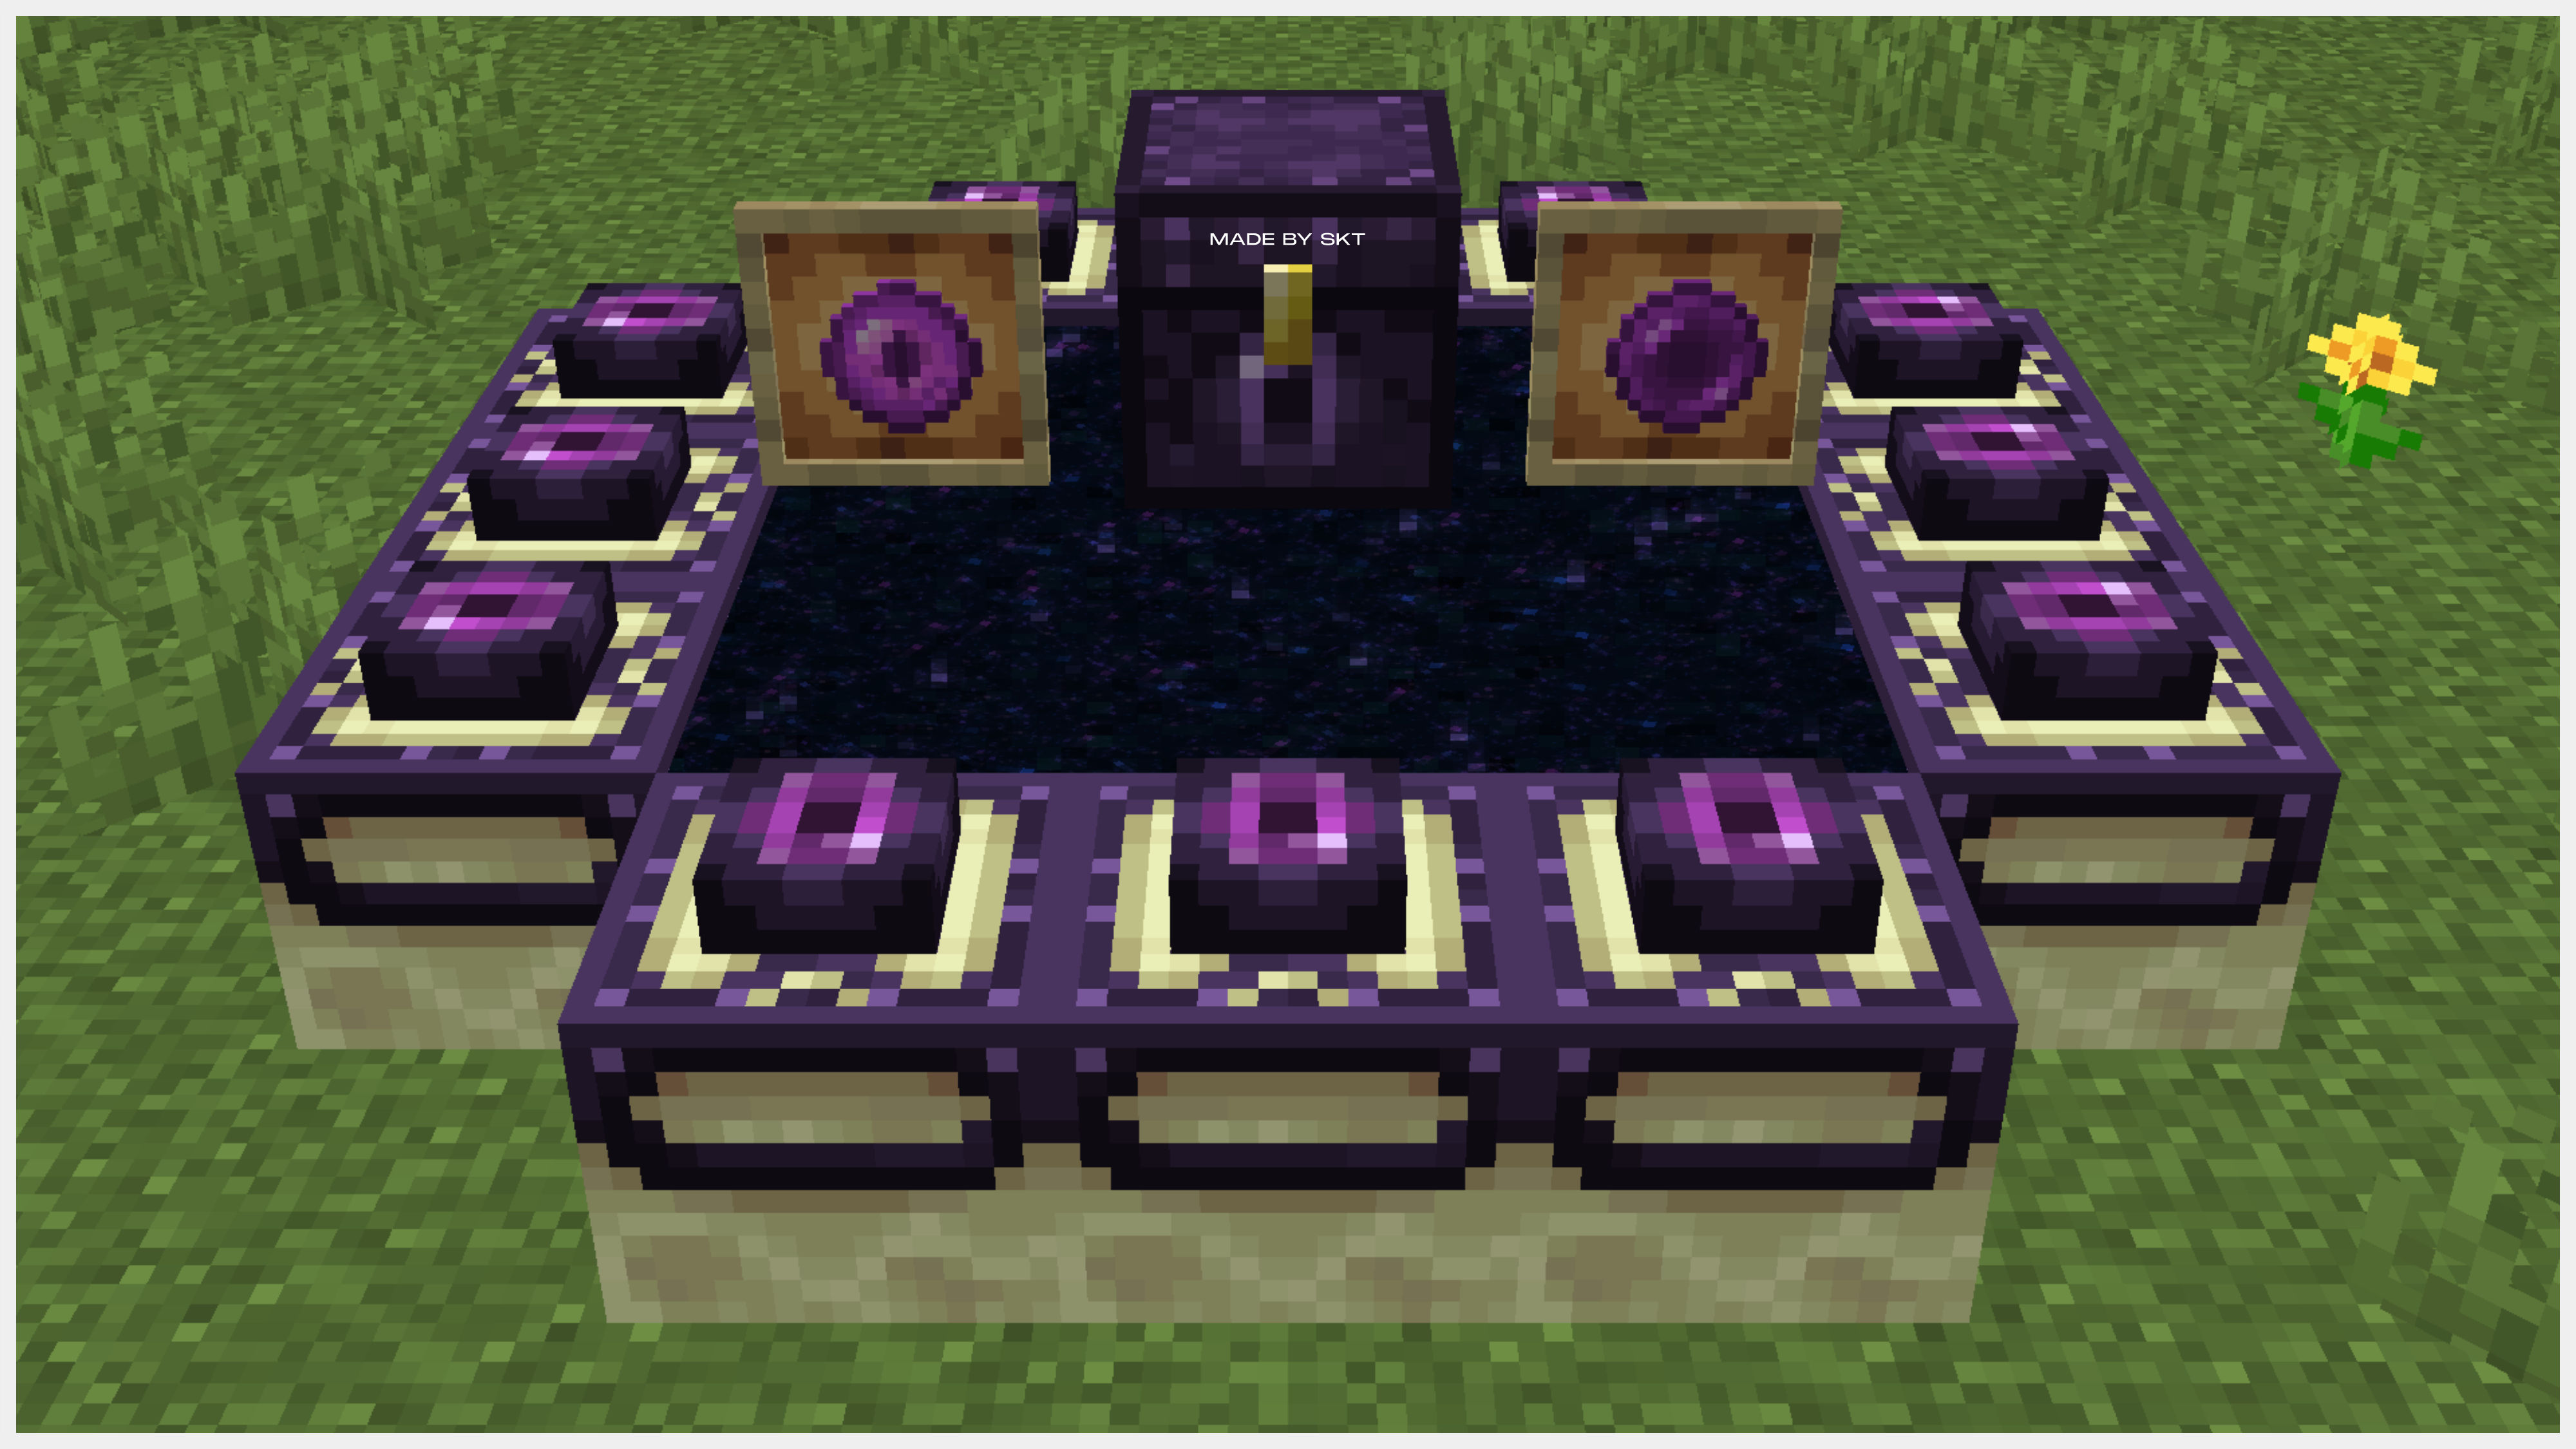
Change all ender related items and block to purple.
### 💾⠄Changed Textures
– Ender Pearl
– Eye Of Ender
– Ender Chest
– End Portal Frame
– End Portal
### 🖼️⠄Ingame Screenshot
### 
### 
### 👋🏼⠄Follow Me
[](https://bento.me/skt)
### 
### 🤝🏼⠄Partner
[](https://bento.me/smchub)
SkinSpice
# SkinSpice
[](https://github.com/jirisitera/skinspice)
SkinSpice is a Minecraft resource pack that allows you to customize your skin a bit more with the help of Vanilla core shaders. That’s right, no mods are required to use SkinSpice features!
## Features
– **Blinking Eyes**: Make your character blink by adding a frame with closed eyes to your skin. You can even customize the blinking speed and whether the animation is interpolated or not.
– **Custom Damage Tint**: Change the color of the red tint that appears when your character takes damage.
## Downloading SkinSpice
Installing the resource pack is simple, and the same as with any other resource pack:
1. Download the latest version of the resource pack on Modrinth and place it into your Minecraft `resourcepacks` folder.
2. Enable the resource pack in Minecraft.
Now, when you encounter any player with a skin that uses SkinSpice features, you will see the effects.
## Adding SkinSpice features to your skin
Before we begin, you’ll need to have your skin image. You can download your current skin from [minecraft.net (Edit Skin Page)](https://www.minecraft.net/en-us/msaprofile/mygames/editskin) or use any skin you have saved locally.
### Easy route: Using the web tool
This part can get a little tedious. Fortunately, I have created a web tool to add SkinSpice features to your skin. You can find it here: [https://skin.golmc.cz](https://skin.golmc.cz) (or click the badge below)
[](https://skin.golmc.cz)
### Harder route: Manually edit your skin
To add SkinSpice features to your skin manually, you’ll need to edit the skin image using an image editor that supports transparency (like Photoshop, GIMP, or Paint.NET).
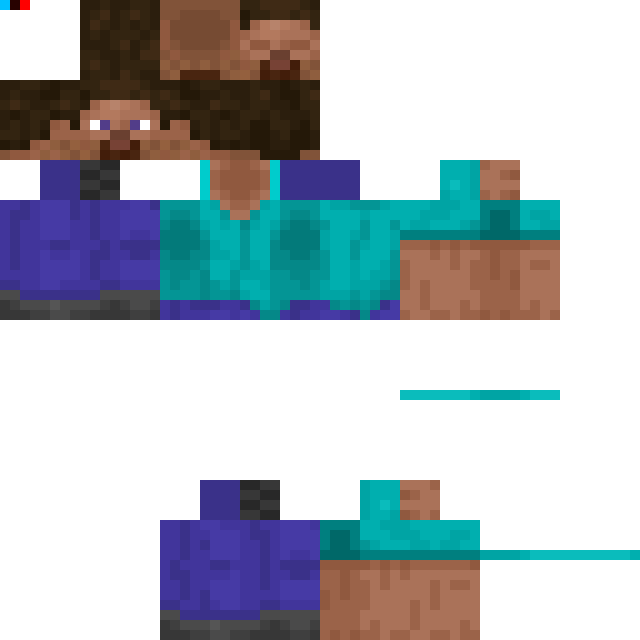
> If you get lost along the way, you can refer to the example image of the Steve skin with SkinSpice features provided below nearly at the end of this README.
#### Blinking Frame
You must add a frame of your face with closed eyes. This can be done by just copying the front face texture and modifying the eyes to be closed.
Then, place this new frame between these two coordinates on your skin image: [24, 0] and [31, 7]. This area is located above the back texture of the head and on the right size of the bottom texture of the head.
Next, do the same for the overlay layer of the head (if your skin has one). The area where you need to place this frame is the same as for the base layer, relative to the overlay layer. But just for completeness, the coordinates for the overlay layer are between [56, 0] and [63, 7].
> Unless your skin does not have an overlay layer for the head, you must add the blinking frame to both the base layer and the overlay layer of the head. Not doing so will result in visual glitches during the blinking animation.
#### Control Pixels
All of these pixel **must** be fully opaque, meaning they must **not** be transparent at all.
– A pixel located at coordinates [0, 0] (top left) needs to have exactly the values of this HEX color code: `#00c0ff`.
– Another pixel located at [1, 0] (to the right of the previous) is used to customize blinking values.
– The **red** channel value sets the duration of the first (vanilla) frame of the face. The values is in 1/10th of a second, which means a value of 40 will be 4 seconds.
– The **green** channel value sets the duration of the second (custom) frame of the face. The values is in 1/10th of a second, which means a value of 40 will be 4 seconds.
– The **blue** channel decides if the animation should be interpolated. If the value is exactly 0, then no interpolation will be done, otherwise the animation will be interpolated.
– Additionally, if you want to customize the damage tint, a pixel located at [2, 0] is used for that. The color of this pixel is directly used for the new color of the damage tint.
#### Reference Image
Here is a reference image showing where to place the blinking frame and control pixels:
## License
SkinSpice is licensed under the MIT License. Feel free to use and modify it as you see fit!