Turn Minecraft into an atmospheric horror experience. This shader pack completely replaces the vanilla lighting engine with a highly realistic, customizable flashlight system.
Unlike standard lighting mods that just place a light block where you look, this shader simulates a volumetric light beam projecting from your camera into 3D space. It interacts with fog, fades naturally over distance, and creates a genuine sense of dread.
## ⚙️ Fully Customizable
Access the Shader Options menu to tweak every aspect of the light
* Beam Geometry: Adjust the Core Size, Halo Width, and Intensity of each layer. Make a tight laser pointer or a wide floodlight.
* Volumetric Density: Control how visible the beam is in the air.
* Range & Falloff: Set the maximum distance of the light.
* Color of light: Precisely adjust color for each layer.
* Horror Settings: Toggle Flickering for a spooky effect, or adjust the Ambient Brightness to control how dark the shadows are.
macOS / Linux Friendly: _Written in modern GLSL 330 Core, ensuring full compatibility with M1/M2/M3 Macs and modern Linux drivers._
## 🔓 License
This project is Open Source (MIT). You are free to use this in your modpacks, adventure maps, or modify the code for your own projects.
## **What is the Kappa Shader?**
A shaderpack that aims towards a realistic, but also authentic look. So it is not plainly using physically accurate vales and equations like many other packs do. Instead, while still using many accurate calculations, it is tweaked to reproduce what you could observe in nature, which usually goes beyond just having equations to describe most phenomenons.
## **What features does it offer?**
* Dynamic soft shadows
* Screen-space path-tracing (SSPT)
* Temporal Anti-Aliasing and Upscaling (TAAU)
* Procedural realistic skybox with multiple cloud layers
* Screen-space reflections and optional offscreen environment reflections (when enabling the reflection capture)
* Volumetric fog
* Random per-day and daytime driven weather parameters controlling clouds and fog
* labPBR resourcepack support
* Various optional lens effects such as depth of field, lens flares and vignette
and many, many more.
## **Any Requirements?**
* Optifine for 1.16 or newer/Iris 1.5.0 or newer
* GTX 1050/RX 560 or similar/better (has to support OpenGL 4.0, something faster than those is recommended though)
* Windows/Linux
* **DUE TO REPEATED ISSUE-REPORTS: Intel HD 5000 Graphics and older are NOT supported!**
## **External Links:**
* My Website: Link
* My Discord Server: Link

john
# john
John is a really fast shader, high fps anywhere from intergrated graphics to high end GPU’s!
It looks best when you use PBR resource packs!
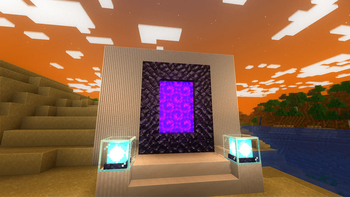
**This shader has:**
– waving plants/leaves/water
– simple specular sky reflections
– emmisive textures support
– colored shadows
– fog
– clouds
– outlines
– high fps on any machine
_Iris only at the moment_
Javier’s improved fog
Javier’s Improved Fog – Minecraft Java Shader
Javier’s Improved Fog replaces Minecraft’s default fog system with a custom density curve for a more realistic and immersive visual experience.
Unlike vanilla fog, which can appear too close or fade abruptly, this shader delivers a smooth, natural transition.

Main Features:
Distant & soft fog – starts farther from the player, giving clear visibility nearby and gradual haze in the distance.
Custom progressive curve – almost linear at first, then smoothly blending into full fog, avoiding sharp cutoffs.
Enhanced realism – perfect for exploration and scenic builds.
Fully compatible with vanilla shaders and resource packs that don’t modify the fog core shader.
Recommended settings:
Set your render distance to 32 chunks for the best experience.
Installation:
Download the .zip file of Javier’s Improved Fog.
Place it in your resourcepacks folder.
Enable it from Minecraft’s Resource Pack settings.
Enjoy a smooth and immersive fog effect.
Want to edit it?
I’ll leave a YouTube video link so you can customize it yourself.
Javier’s Improved Fog – Shader para Minecraft Java
Javier’s Improved Fog reemplaza el sistema de niebla predeterminado de Minecraft por una curva de densidad personalizada para una experiencia visual más realista e inmersiva.
A diferencia de la niebla vanilla, que puede aparecer demasiado cerca o desvanecerse bruscamente, este shader logra una transición suave y natural.
Características principales:
Niebla lejana y suave – comienza más lejos del jugador, manteniendo la visibilidad clara cerca y un velo gradual en la distancia.
Curva progresiva personalizada – casi lineal al inicio y suavizada hacia el final, evitando cortes bruscos.
Mayor realismo – ideal para exploración y construcciones panorámicas.
Totalmente compatible con shaders vanilla y packs de recursos que no modifiquen el shader base fog.
Ajustes recomendados:
Configura tu distancia de renderizado a 32 chunks para la mejor experiencia.
Instalación:
Descarga el archivo .zip de Javier’s Improved Fog.
Colócalo en tu carpeta resourcepacks.
Actívalo desde el menú de Paquetes de Recursos de Minecraft.
Disfruta de un efecto de niebla suave e inmersivo.
¿Quieres editarlo?
Te dejaré un enlace a un video de YouTube para que puedas personalizarlo a tu gusto.
Insanity Shader
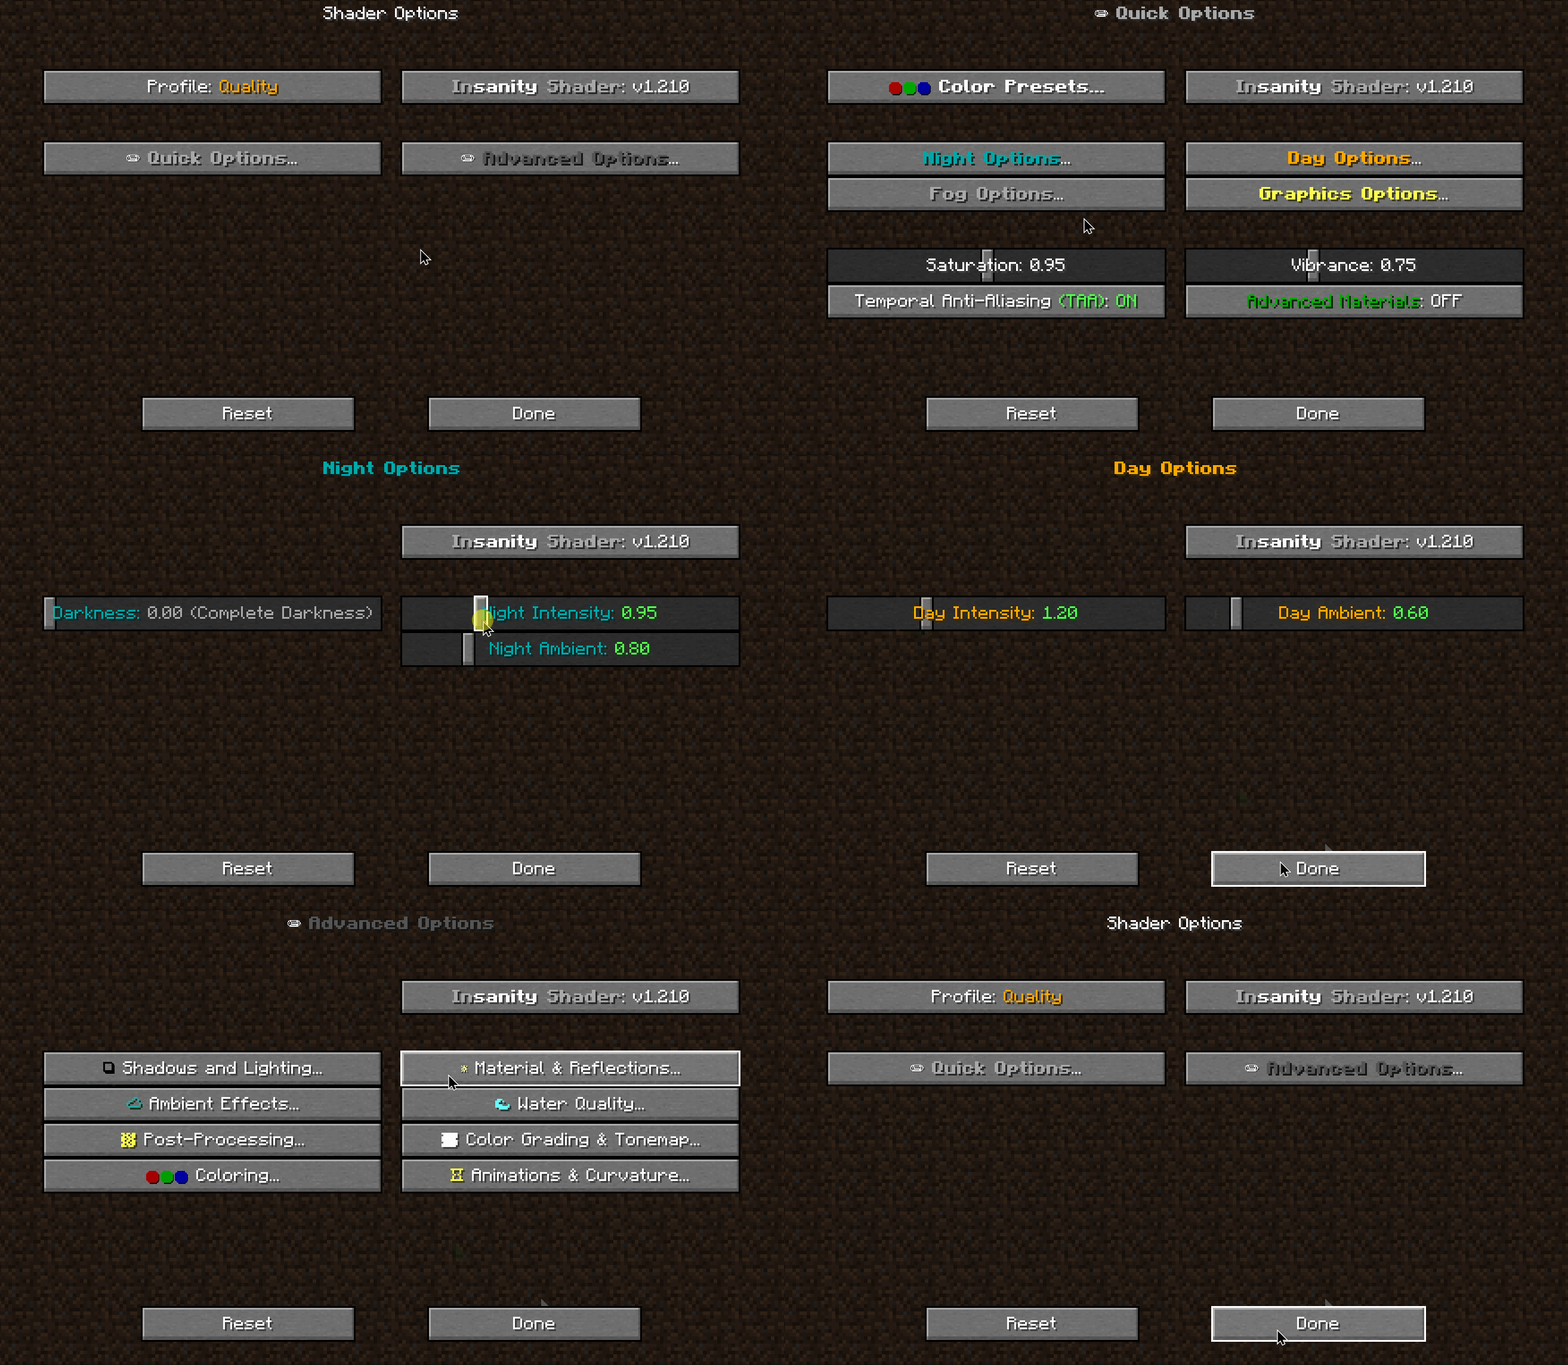
A stylized, horror themed Iris shaderpack with high customizability and performance.
Check out Fear Nightfall, the official modpack that Insanity was made for.
Insanity is based from BSL Shaders by Capt Tatsu! With expanded customizability, new clouds, and a unique scary atmosphere
🧟 Horror styled gameplay. Great for horror modpacks!
📓 Highly customizable shader configuration. Expanded from BSL’s limits.
⛈️ Immersive weather. From foggy mornings to torrential rains.
📝 User-friendly menu. Including a quick options menu with easy to configure settings.
💻 Runs on most modern PC’s! Optimized even for modern low end GPUs.
🔦 Always bring some torches. Not only the night is dark, the Nether and End are even worse!
🌎 Wide compatibility across versions. Supports all newer MC versions, even 1.19 using Iris!
☀️ Support for “realistic” texture packs*
* Please enable “Advanced Materials” on the Materials and Reflections settings
Can I share the shader with my friends/community/followers?
Yes, of course. Just don’t distribute the files. If you want to share the shader, send the link to this modrinth page.
Can I make a video using this shader?
Feel free to make any video with the shader, crediting would be appreciated, but it’s not necessary 🙂
If you plan on making a review, don’t forget to share it in the comments of this page so we can see it!
How do I install the shader? (Iris)
The recommended way to use Insanity is through Iris Shaders, an alternative to OptiFine
To install it, download it from their website, open the .jar file and install it in your .minecraft folder
Then download Insanity and place the .zip file onto .minecraftshaderpacks
Open Minecraft using the Fabric Loader that Iris installed and go to Video Settings > Shaders and select Insanity
Enjoy the darkness.
Made with 🖤 by ElocinDev
Special thanks to Capt Tatsu for making BSL
Ink Shader
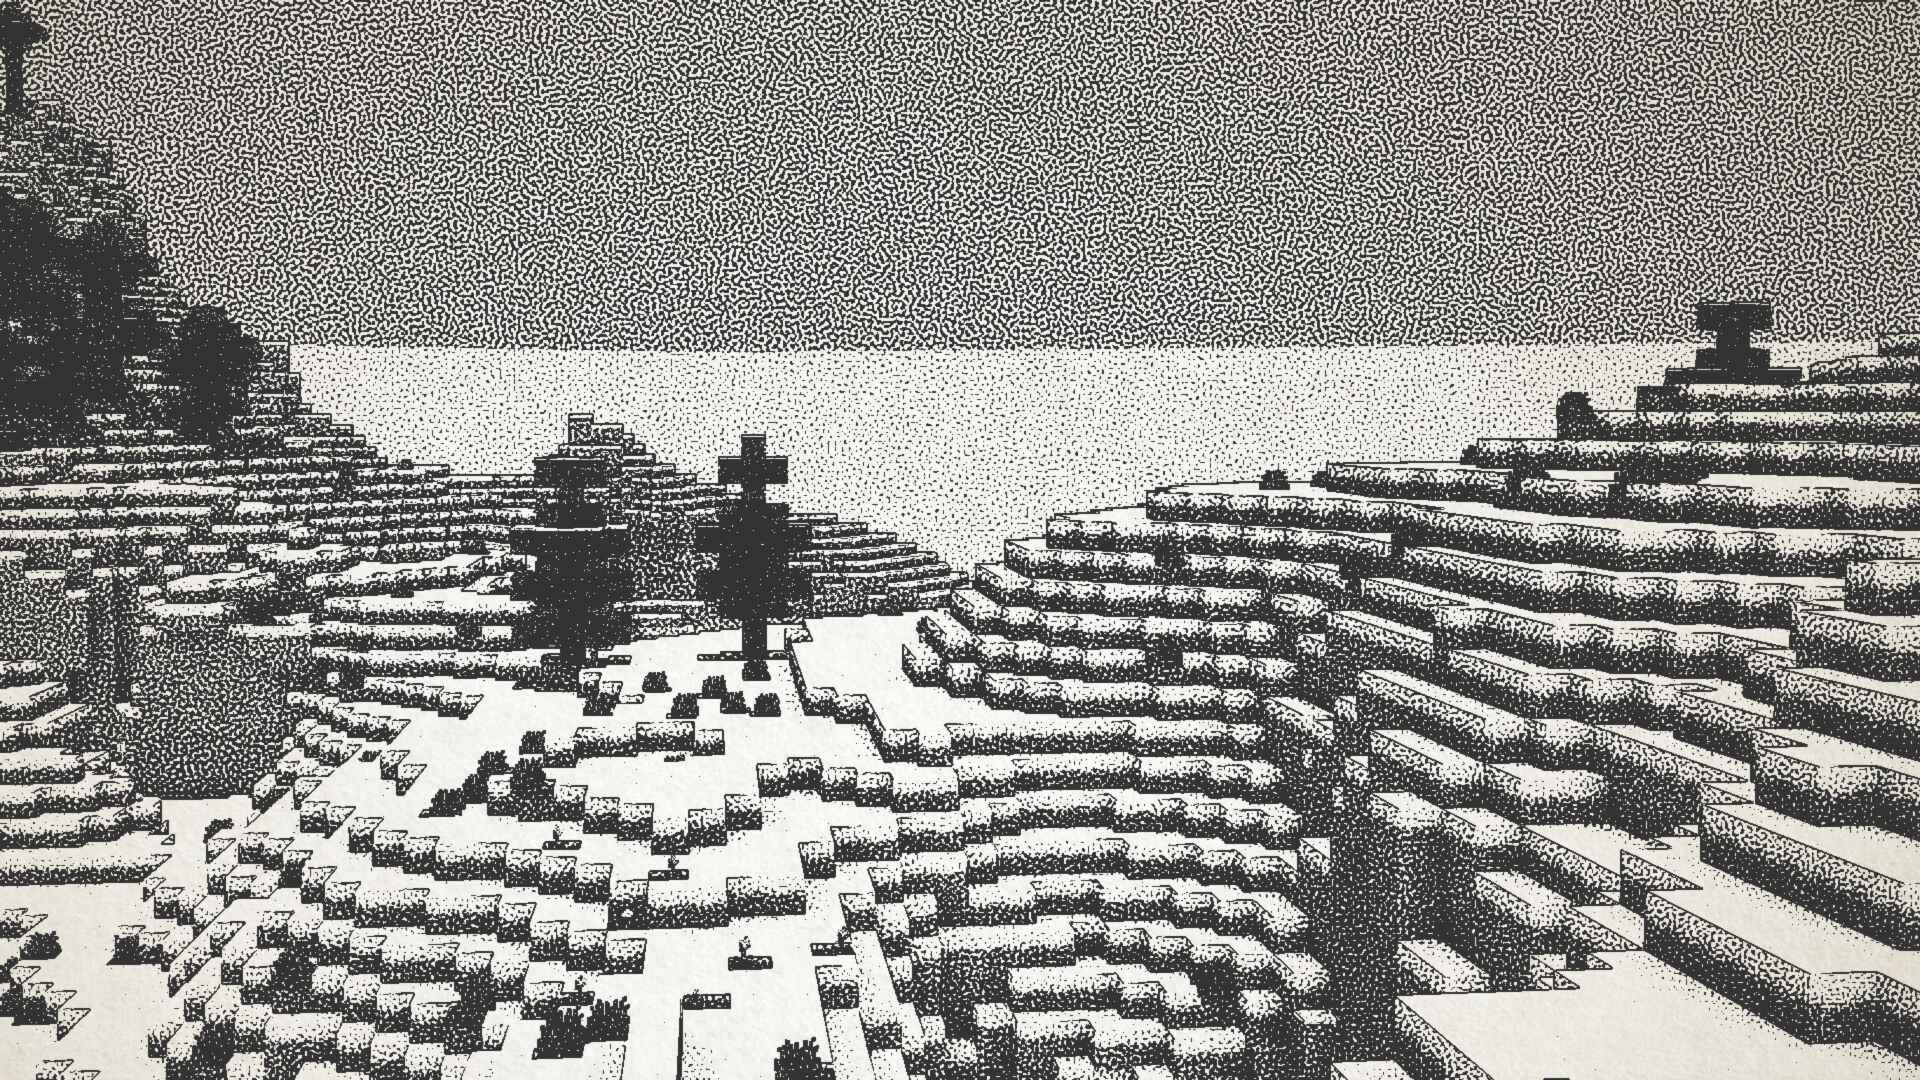
## Ink Shader tries to visualise Minecraft as if it was printed with ink!
Current features include:
– Color Customisation
– Blur Effect
– Stippling
– Edge Detection
– and more!
_This shader was heavily inspired on Acerolas video and uses the paper asset that he uses_
### I mostly tested on Iris 1.21, other versions might not work. If you find any bugs or incompatibilities, you can always report them, it helps me and others out 😀
### Installation
1. First you need to install either OptiFine or the Iris mod to be able to load shaderpacks. (Choose Iris if you are unsure)
1. Then you need to launch the game, and get to the Shaderpacks/Shaders menu in Video Settings.
1. Open the shaderpacks folder by clicking the button in the menu.
1. Download the Ink Shader and put it in the shaderpacks folder.
1. Get back in the game, and choose Ink_Shader in the shaderpacks menu. (Refresh the menu if it doesn’t appear)
Incremental shaders
Incremental Shaders improves various visual aspects of the game through small, progressive enhancements; delivering cleaner lighting, richer colors, and better overall clarity while preserving the original look and feel.
-Shadows with distortion to reduce aliasing
-Day/night cycle with proper darkening and blue-shifted night vision
-Distance fog that gets thicker at night
-Waving grass, flowers, and leaves (fades out at distance)
-ACES tone mapping with a cool blue tint
-Rain and thunderstorm effects (darker, desaturated, foggier)
-Torch flicker
-Vignette
I Like Vanilla
I’m currently looking for a job, if your company is looking for experienced programmers then please let me know!
Report Bugs Discord License
## About:
Shaders typically fall into one of two camps: completely overhauling minecraft’s style or completely copying it. This shader aims to overhaul the graphics while making it feel like nothing has changed. It’s the same style as vanilla minecraft but built for my own preferences, which are:
– Beautiful and Pleasant
– Unobtrusive
– Sharp AA
– Gameplay-Oriented
– Interesting and Exciting
– Performant
### Supports Voxy, Distant Horizons, Colorwheel, and more!
### Note: Optifine is only partially supported. If you think it should be more supported, you can always let me know
## How to install:
– 1: Install either Fabulously Optimized (full modpack, preferred) or Iris/Occulus (single mod, can be added anywhere)
– 2: Download the latest version of this shader
– (If you want to see the values used by each style, you can download a style-specific version)
– 3: Launch minecraft, go to the shaderpacks menu, and click the ‘Open Shader Packs Folder’ button
– 4: Put the downloaded shader zip into the shaderpacks folder
– 5: Select the shader within the shaderpacks menu
## Performance Comparisons:
I’m not sure how trustworthy these results are, but it should give you a rough idea of the performance between shaders. Also, you can compare your graphics card to mine here. Tests:
### License Overview:
**This is not exact or binding in any way.**
#### You can (with restrictions):
– Use this for gameplay, screenshots, videos, etc
– Use this in modpacks
– Create public and/or private modifications
– Reuse shader code
#### You cannot (without any exceptions):
– Redistribute this shader with little to no modifications
– Create shortened / indirect links to this shader
#### You can read the full license Here.
Note: this shader has very limited testing and is very likely to break in niche cases, but I’m very open to fixing any and all bugs that are reported
Please visit your local church
Hysteria Shaders



A stylized, atmospheric horror-themed Iris shaderpack with high customizability and performance.
Successor of Insanity Shader.
Based on Photon, Hysteria provides a similar feel to Insanity, but with modern features such as volumetric clouds and fog, colored lighting, distant horizons support, and more!

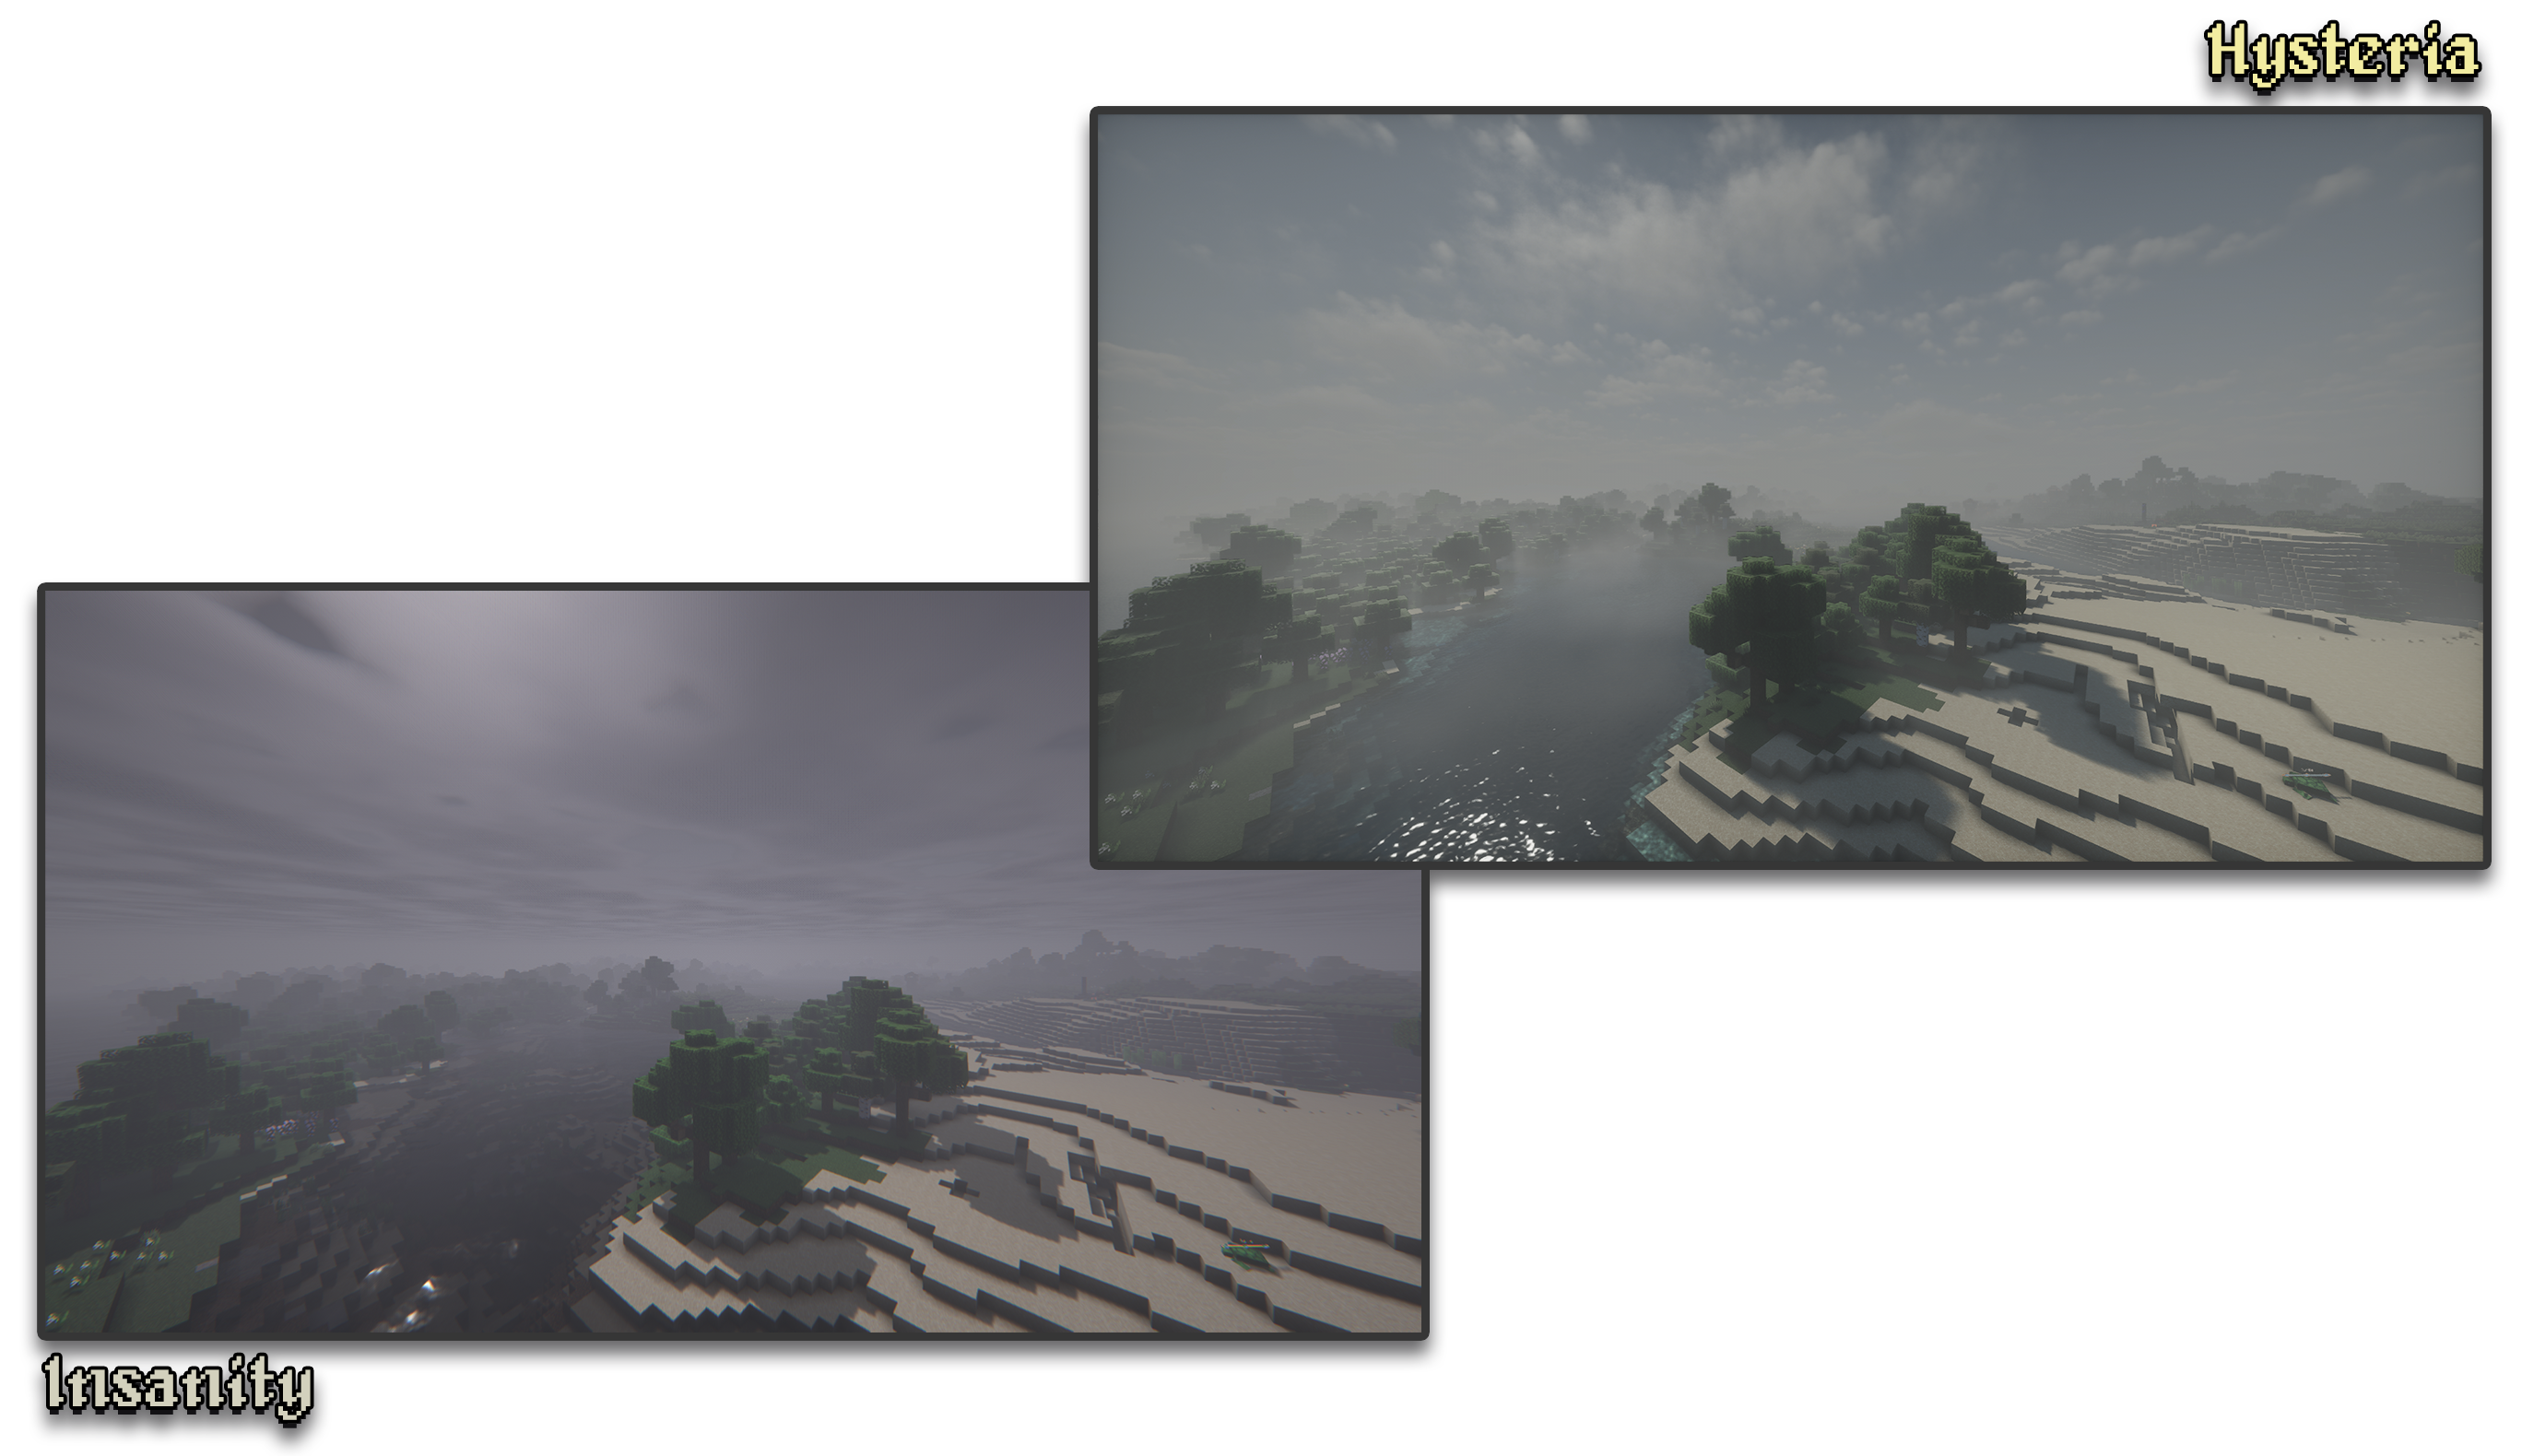
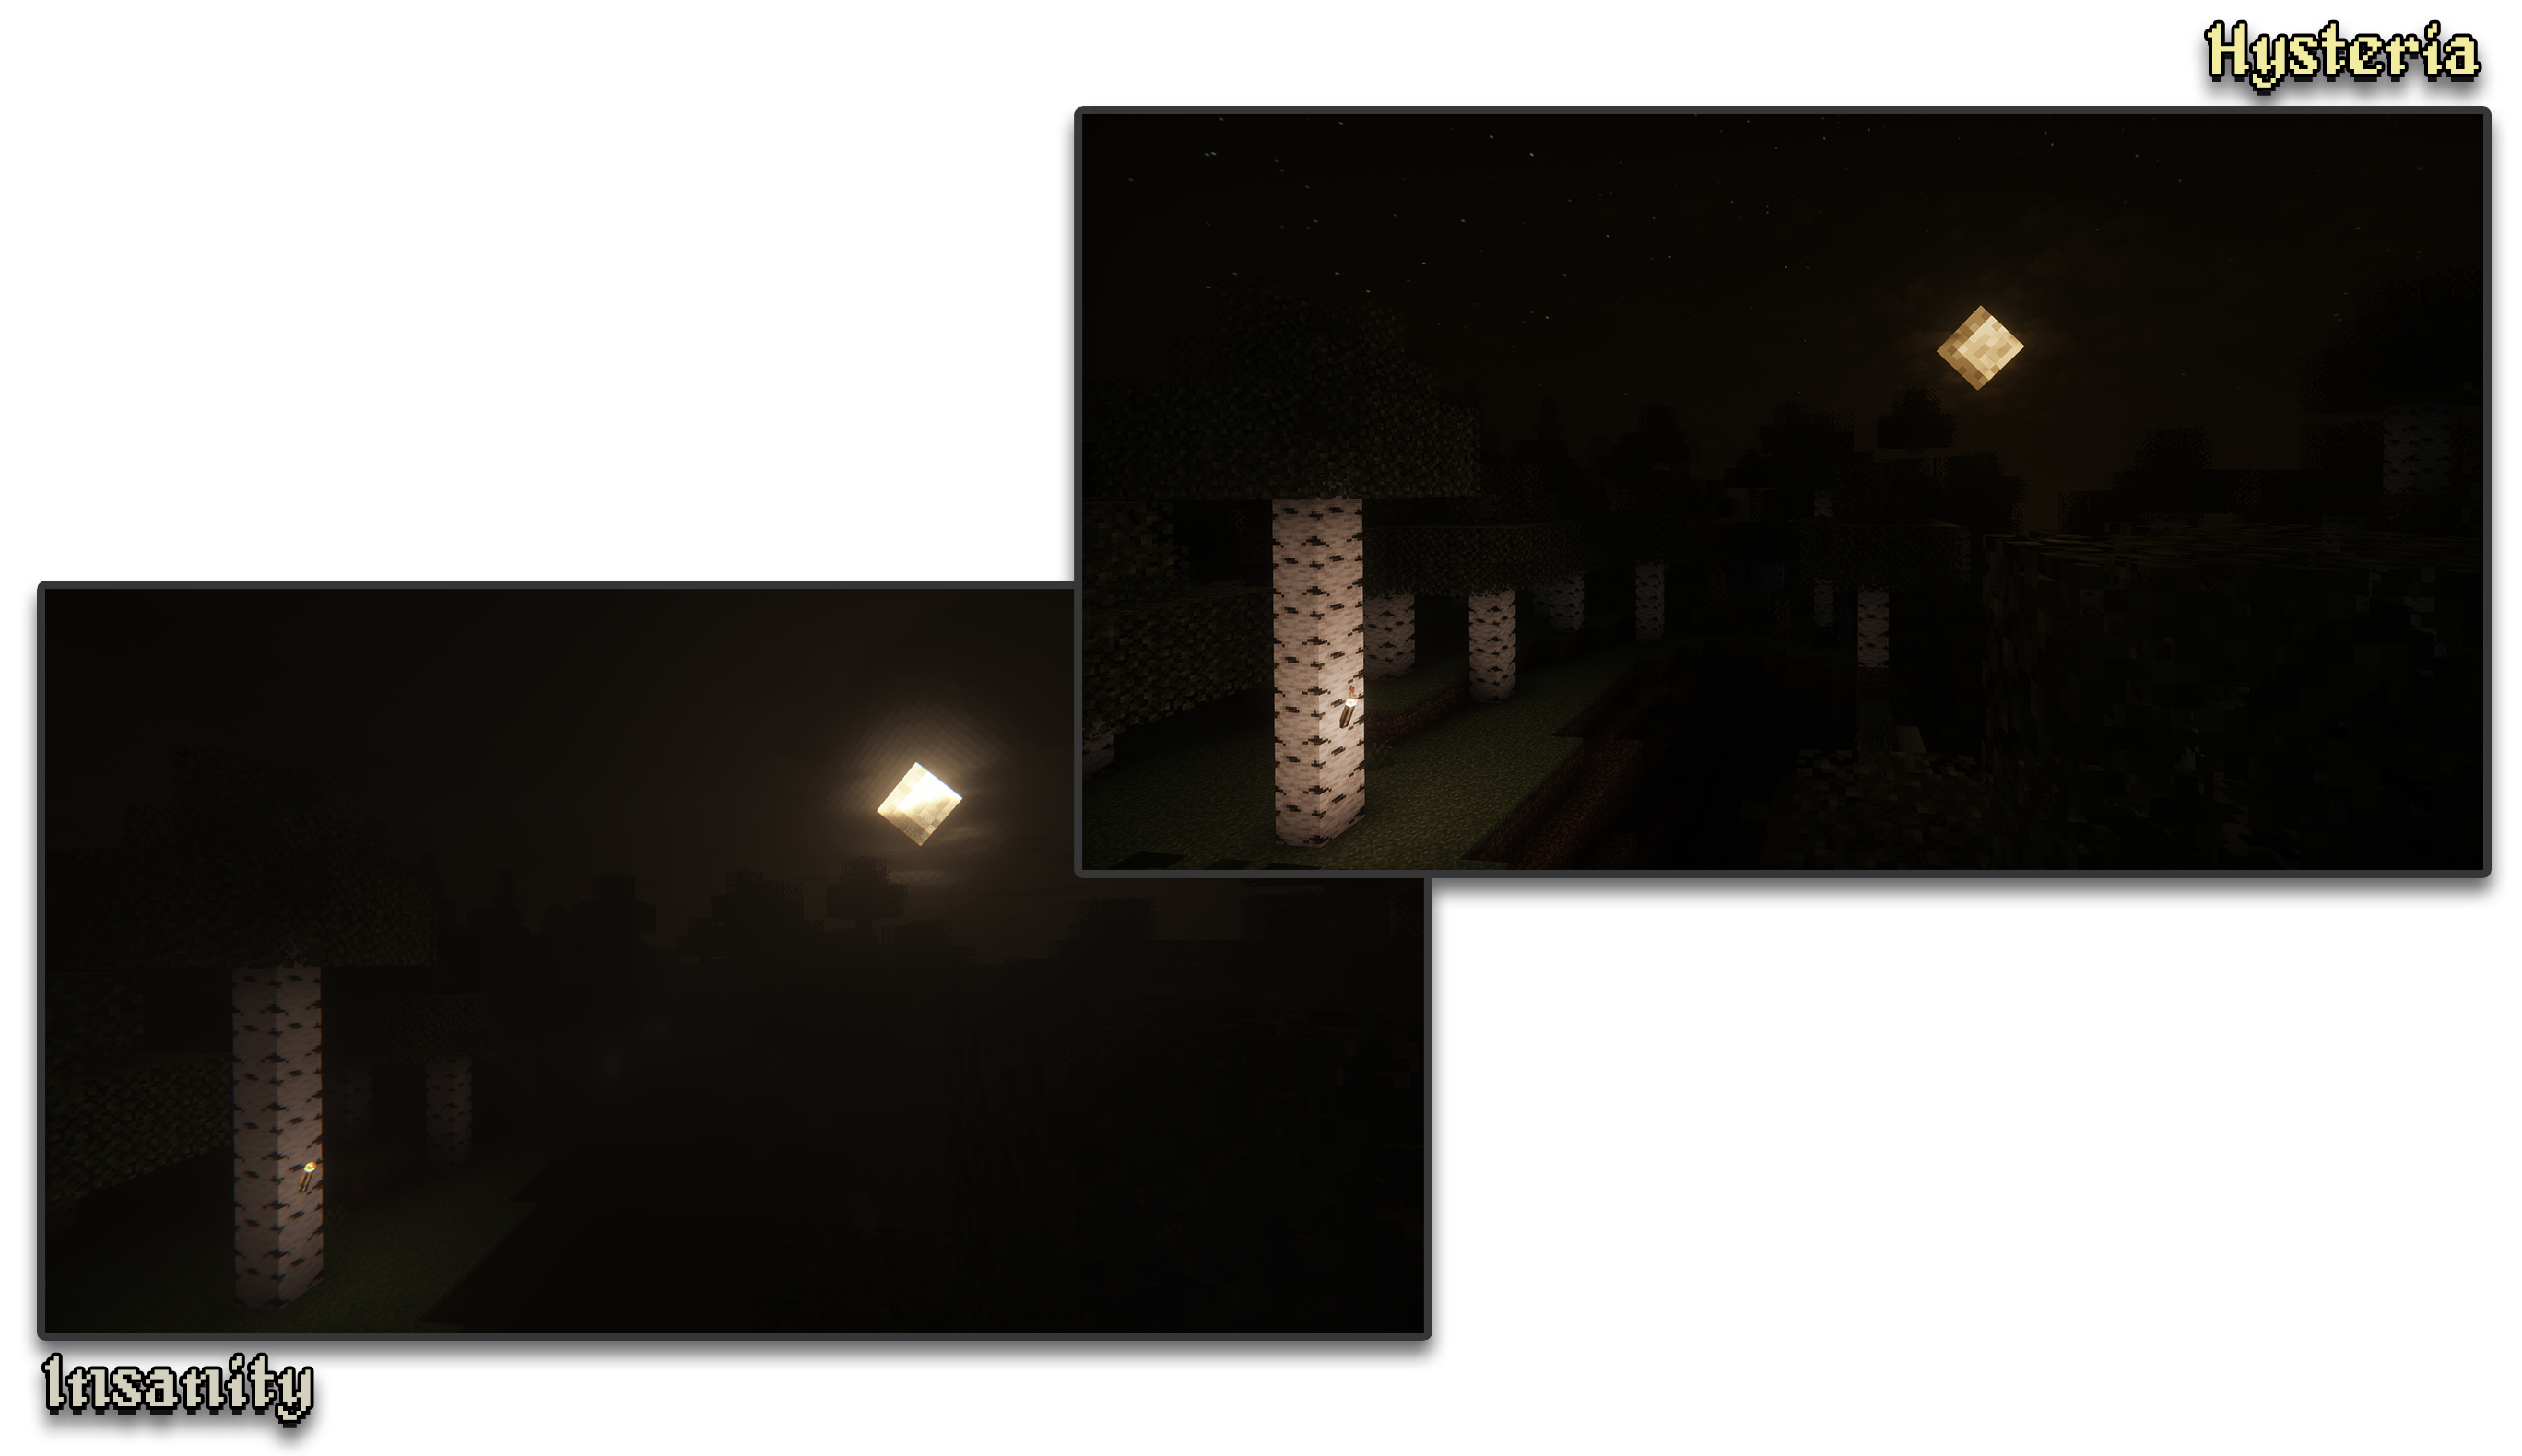
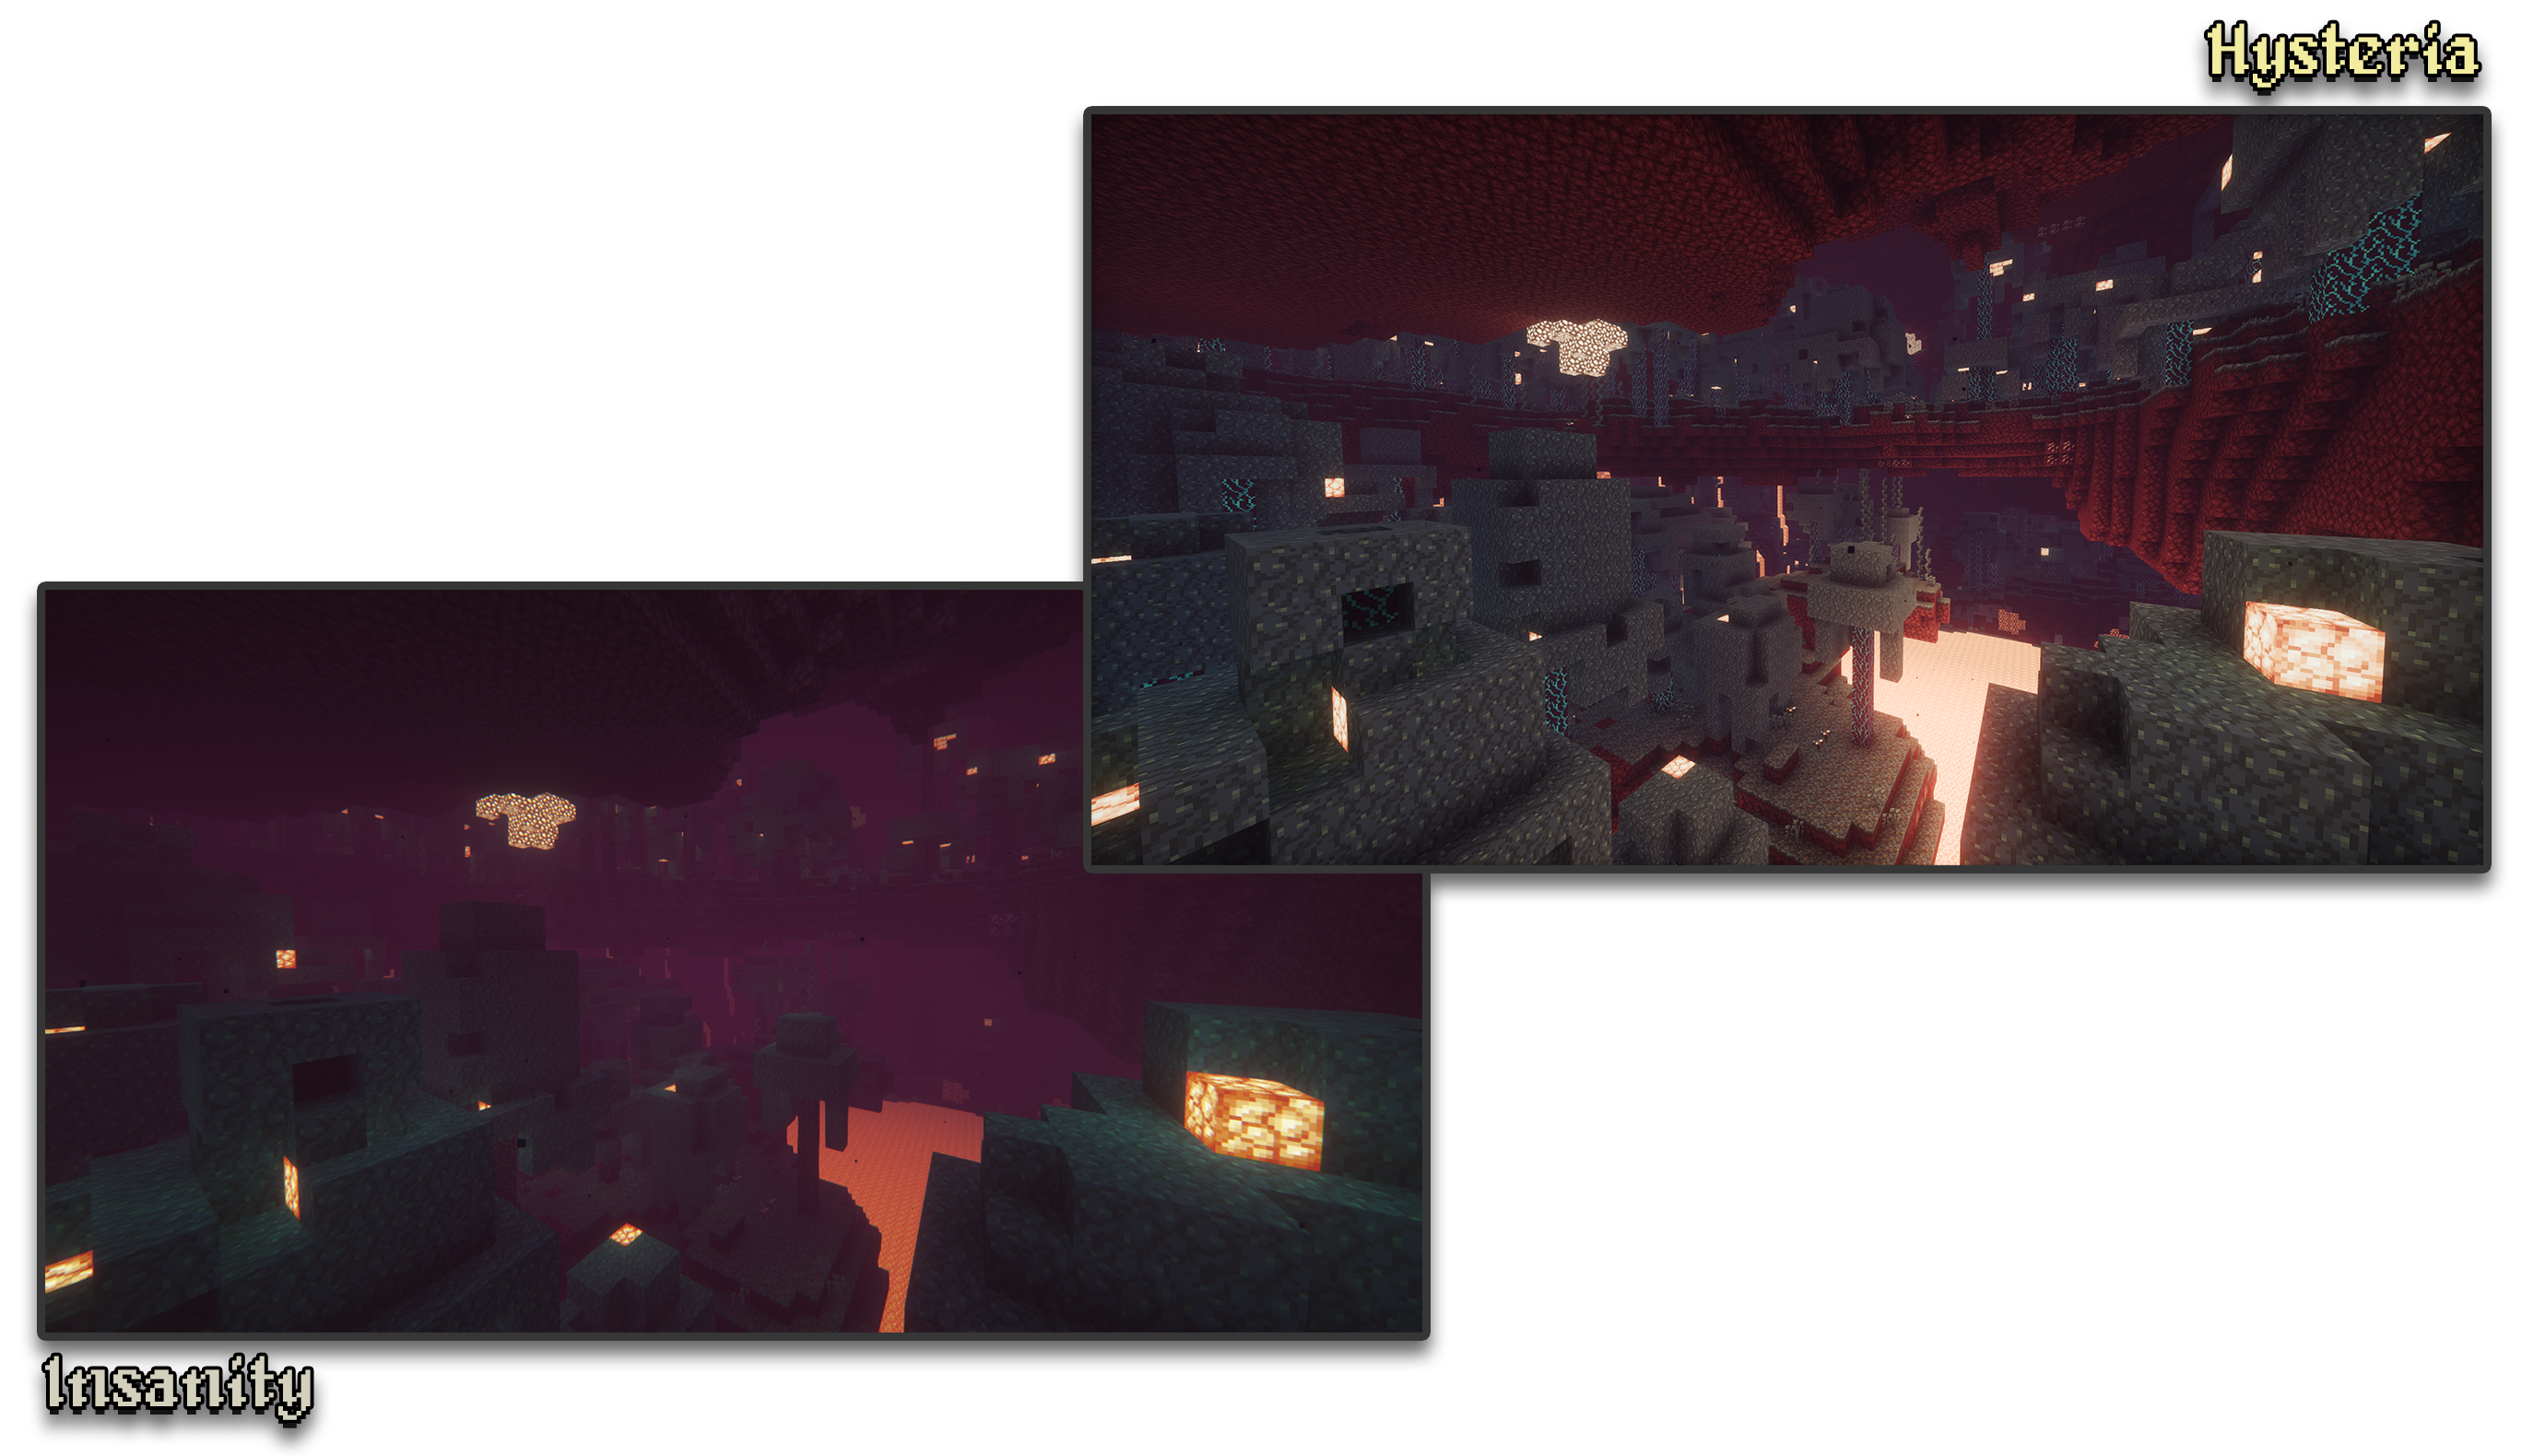
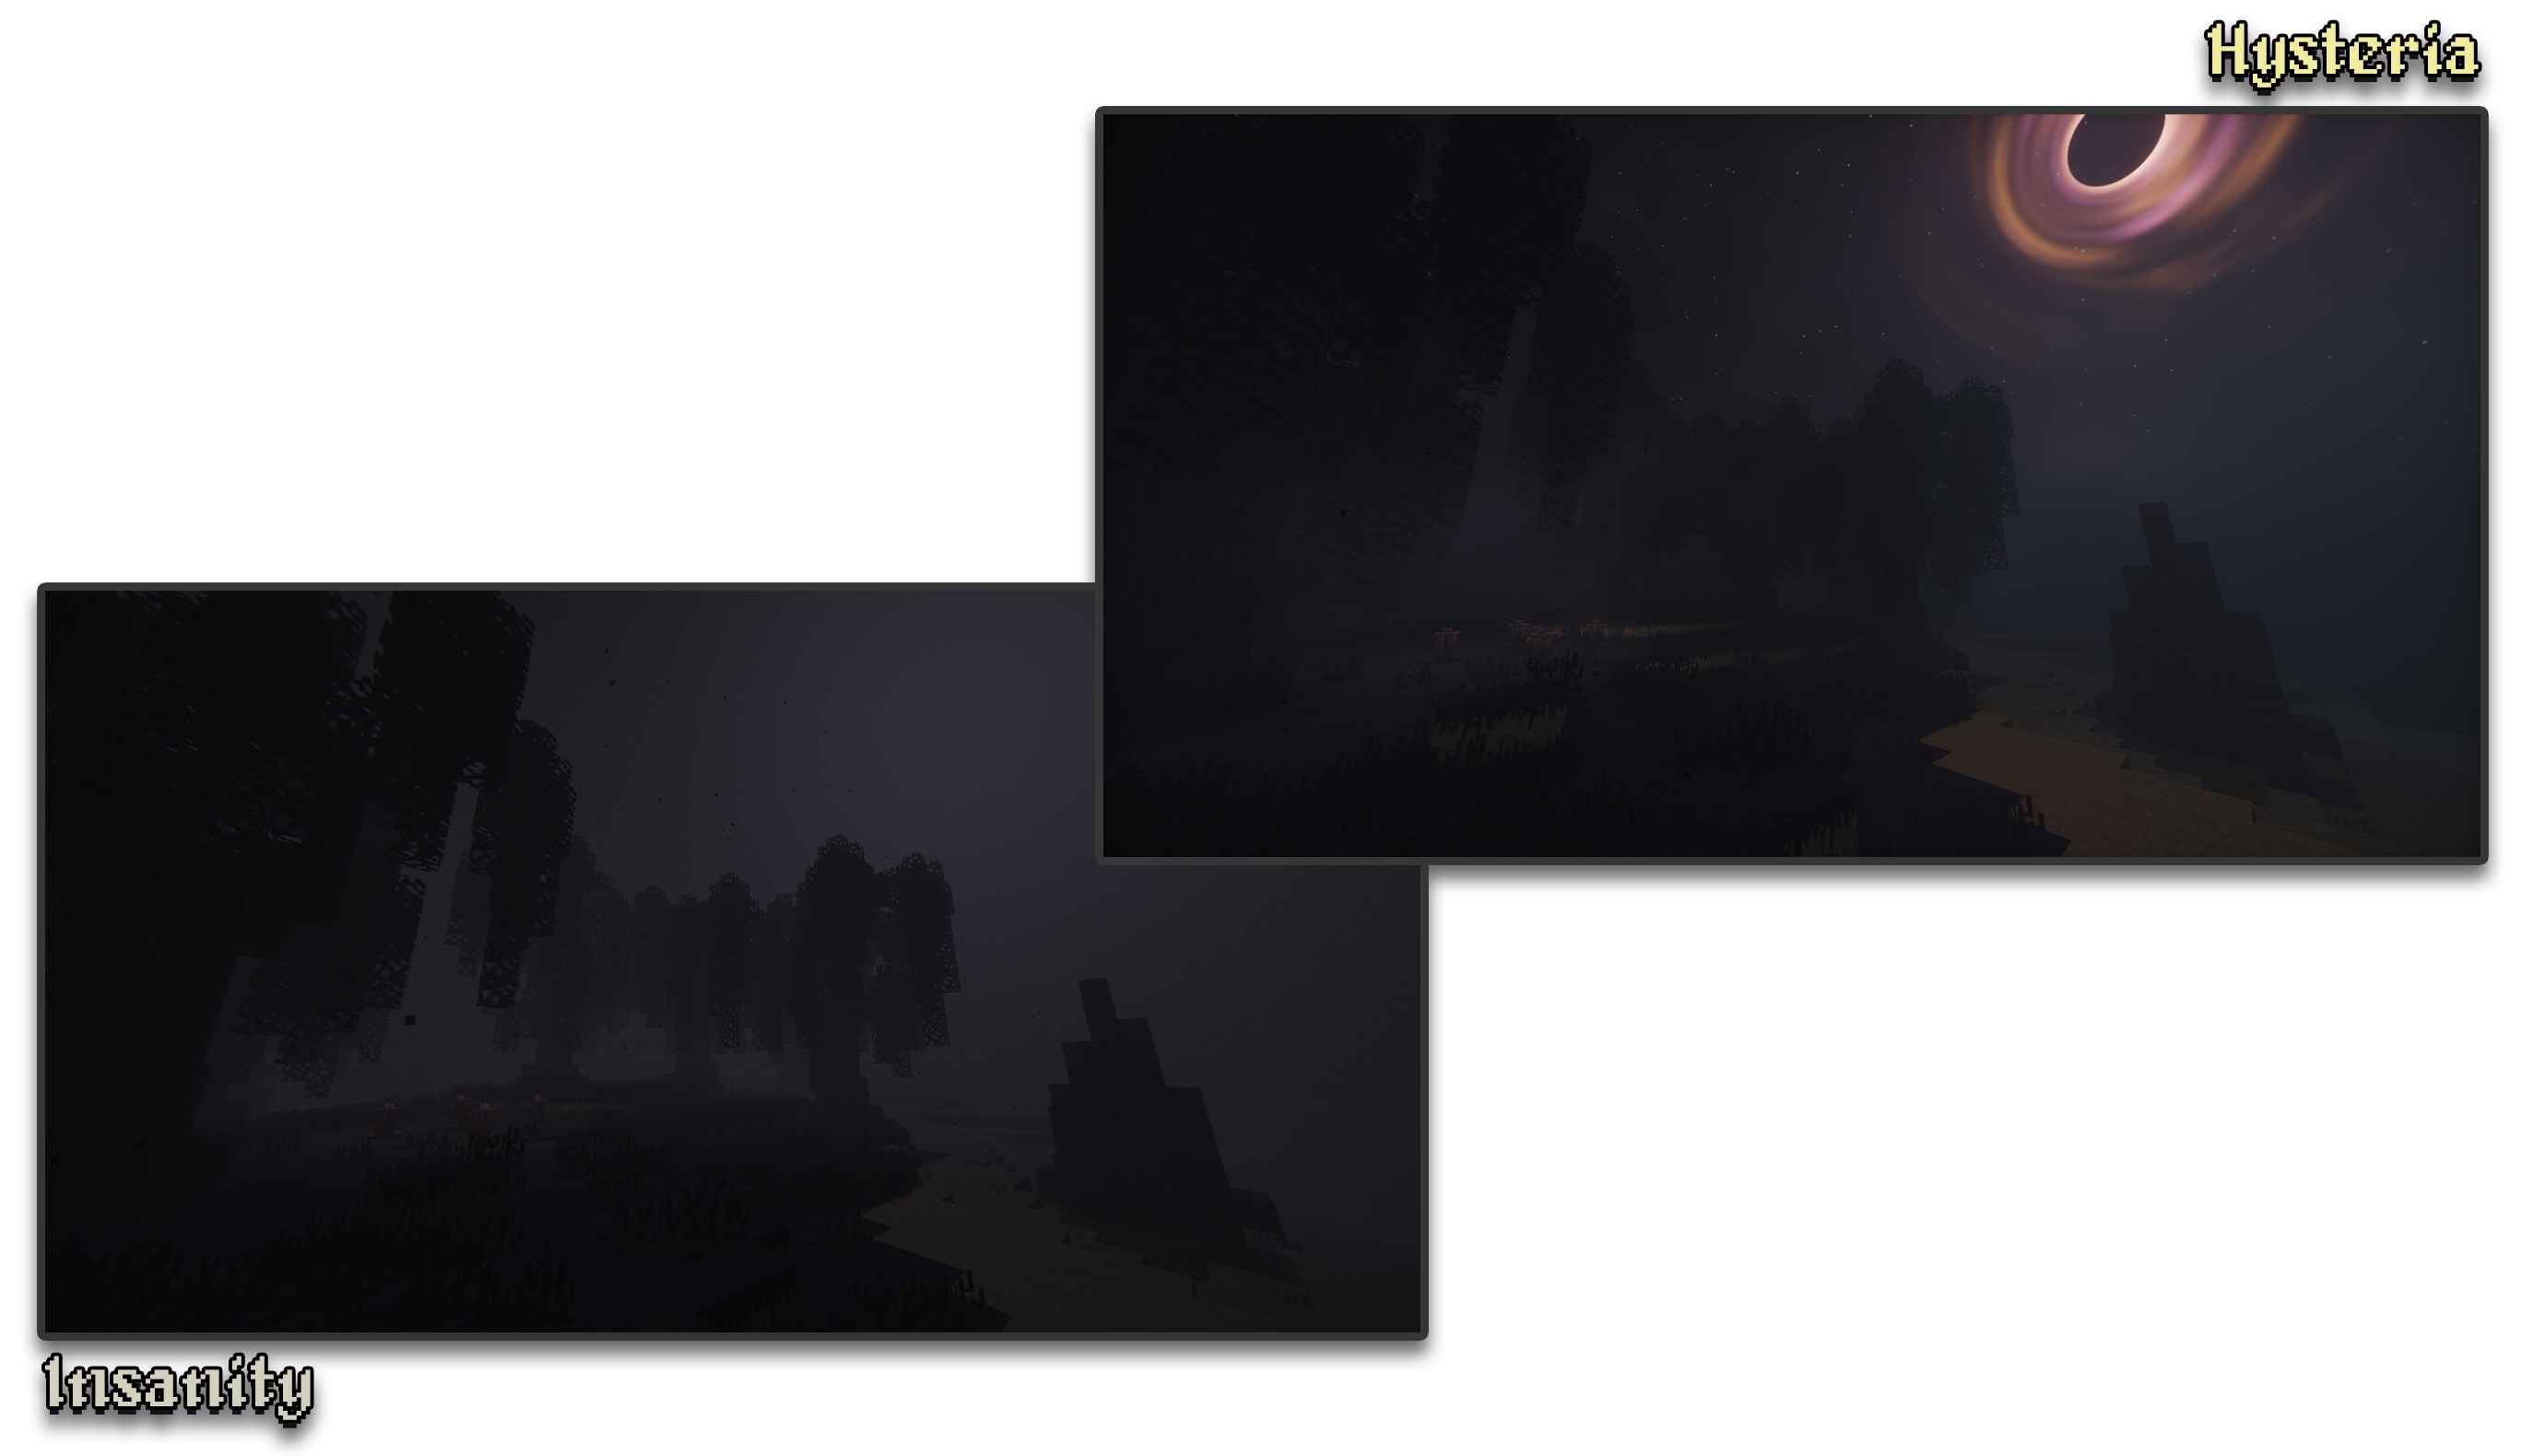
– 🧟 **Atmospheric Scary Look.** Perfect for horror & zombie modpacks!
– 📓 **Highly customizable shader configuration.** Expanded from Photon’s limits.
– ⛈️ **Immersive & Dynamic Weather.** Every day is a different day, with different clouds and colors.
– 🌫️ **Volumetric Fog & Clouds.** With ground-level and distant fog, changing volumetric clouds, and more!
– 🌎 **Distant Horizons Support.** Experimental!
– 📝 **User-friendly menu.** Including a quick options menu with easy to configure settings.
– 💻 **Runs on most modern PCs.** Optimized even for lower-end GPUs. Even better than Insanity!
– 🔦 **Always bring some torches.** Not only the night is dark, the Nether and End are even worse!
– 🌎 **Wide compatibility across versions.** Supports all newer MC versions from 1.7.10 upwards.
– ☀️ **Built-in Colored Lighting.** With support for labPBR resource packs.
– **Sixthsurge**
– For making Photon, the shaderpack that Hysteria is based on
– **Capt Tatsu**
– For making BSL, helping me start out Insanity. Without Insanity, Hysteria wouldn’t exist!
This is a lightweight, horrorfantasy shader designed to give you a dark, gritty, atmospheric experience while keeping Minecraft’s blocky, pixel aesthetic
### Modes
**Ultra vs Lite:** Ultra costs more performance but looks better, lite is my super
optimized version of the shader that looks really great but still
delivers top notch performance
### Manual Installation
**1.** Download the mod & unzip it
**2.** Install Iris
**3.** Put the file(s) found in the mod download into your “shaderpacks” folder (if it doesn’t exist, create one)
**4.** Launch the game and enjoy!
**Note:** It’s recommened to install manually so you can choose which exact version of the shader you want (Lite or Ultra). By default it will autoinstall the “Lite” version. If that is the version you want then disregard this message
### Alternative Versions
– Fantasy Edition | A vibrant, bright, atmospheric aesthetic.
– Vanilla Edition | A vanilla-like Minecraft aesthetic.
– Horror Edition | A horror, rustic, or medieval aesthetic.
### Credits & Permissions
Modpacks: Yes, you may use this shader in your modpacks
Forked version of BSL, with permission from the original author _(granted on 7/11/24 via X DMs)_. Tweaked for better performance, different aesthetic & color grading