Mobs have new variants through custom heads or through unused vanilla mobs! This pack uses **over 85 custom player heads** that can be obtained and placed in your world. Spiders also turn upside down when hanging from ceilings.
This data pack/mod is completely server-side, but can also be installed on the client for singleplayer worlds! No resource pack needed!
[-> For all added heads and available settings, take a look at the wiki <-](https://github.com/Tschipcraft/more_mobs/wiki)
## Installation
Install either as:
* **Data Pack [DP]** ➜ Place `.zip` in your world's `datapacks` folder
* **Mod [Mod]** ➜ Drop into your `mods` folder and optionally install [MidnightLib](https://modrinth.com/project/codAaoxh) for a global config file and UI
To manage settings, reset, or uninstall the pack, use `/trigger tschipcraft.menu` or `/function #tschipcraft:menu`.
## Compatibility
Tested with [Rare Mobs (PMC)](https://www.planetminecraft.com/data-pack/rare-mobs-5186029/) and [Mob Captains](https://modrinth.com/datapack/mob-captains).
**Forge** is only natively supported until Minecraft 1.21.5.
This data pack follows the [Smithed](https://wiki.smithed.dev/conventions/) and essential [MC Datapacks Discord Server](https://mc-datapacks.github.io/en/conventions/index.html) Conventions to ensure data pack compatibility.
## Current issues
>
>
> Currently incompatible with [Special Mobs](https://modrinth.com/datapack/special-mobs) – [see #7](https://github.com/Tschipcraft/more_mobs/issues/7). This will be fixed in a future release.
## External Links
## Partner Offers
Want to buy **Hytale** or upgrade your edition? Use creator code `Tschipcraft` upon checkout for me to receive a commission! (The price for you stays the same)
Mojang Black Background
# Mojang Black Background
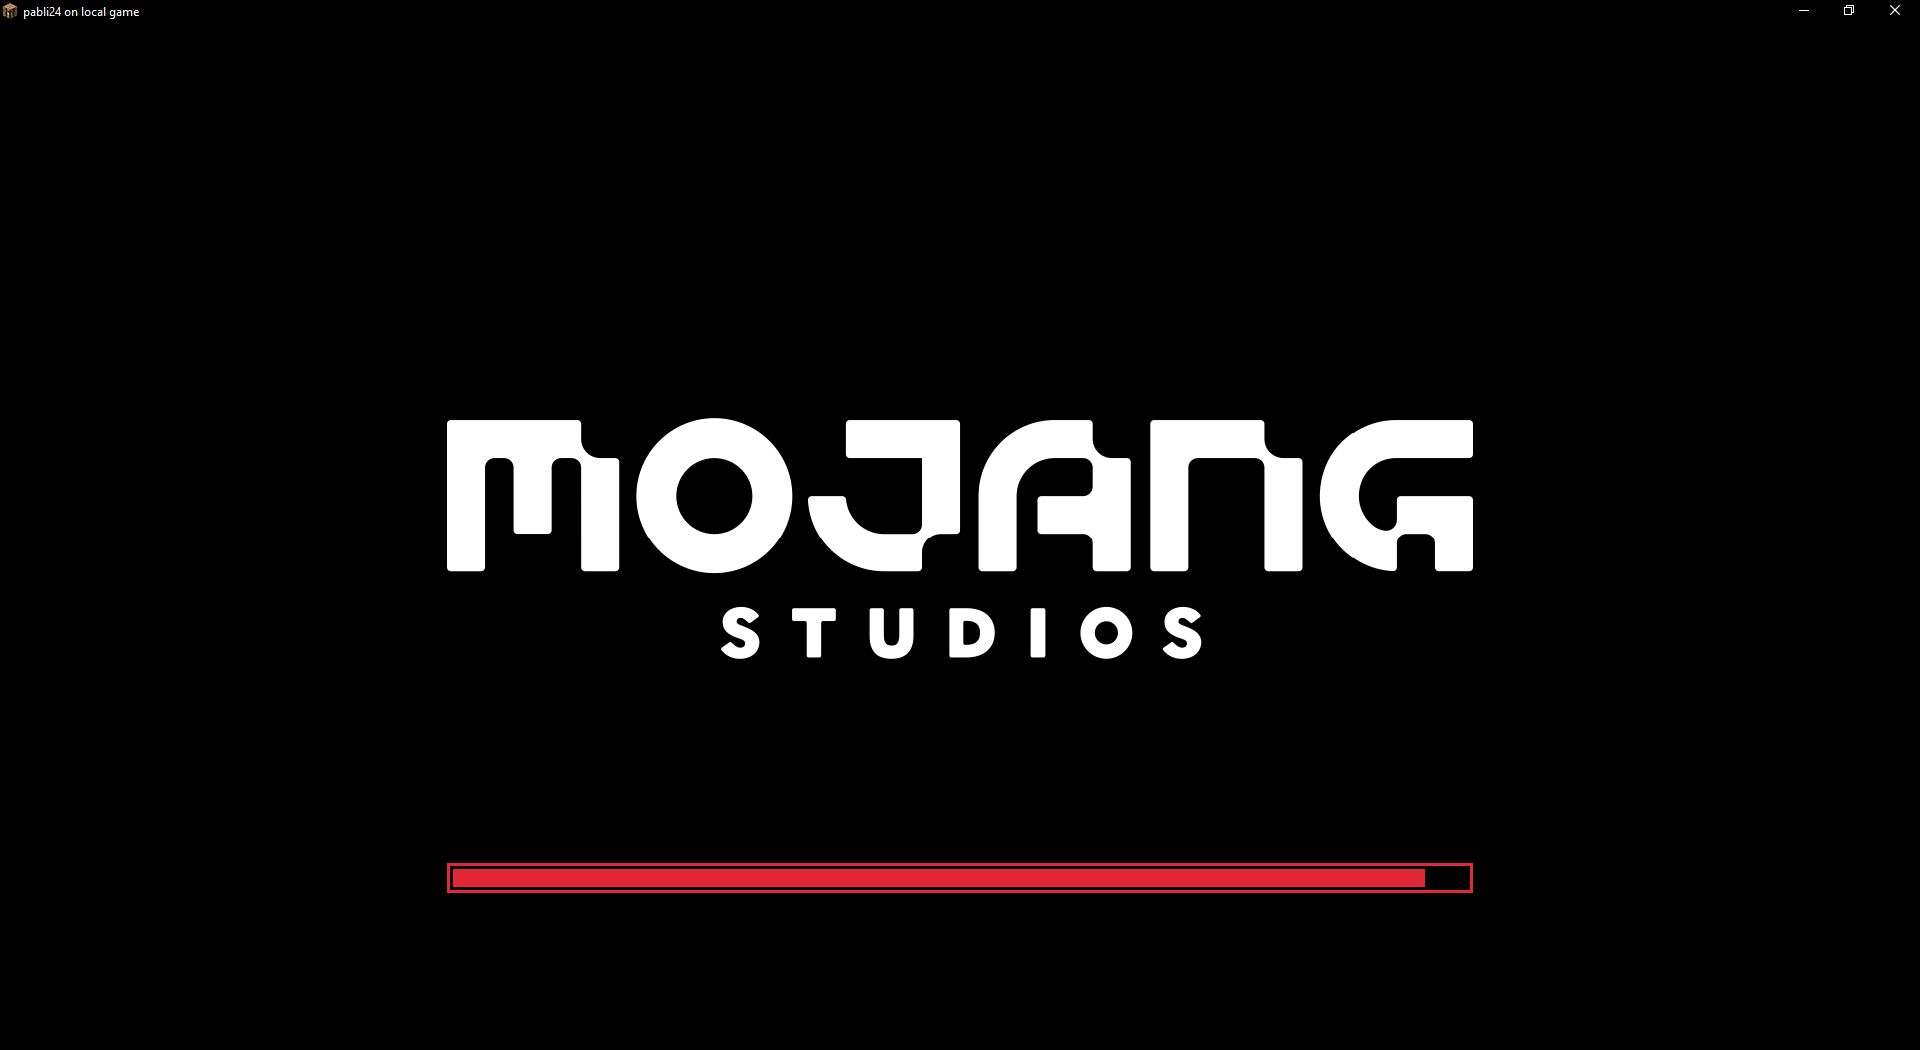
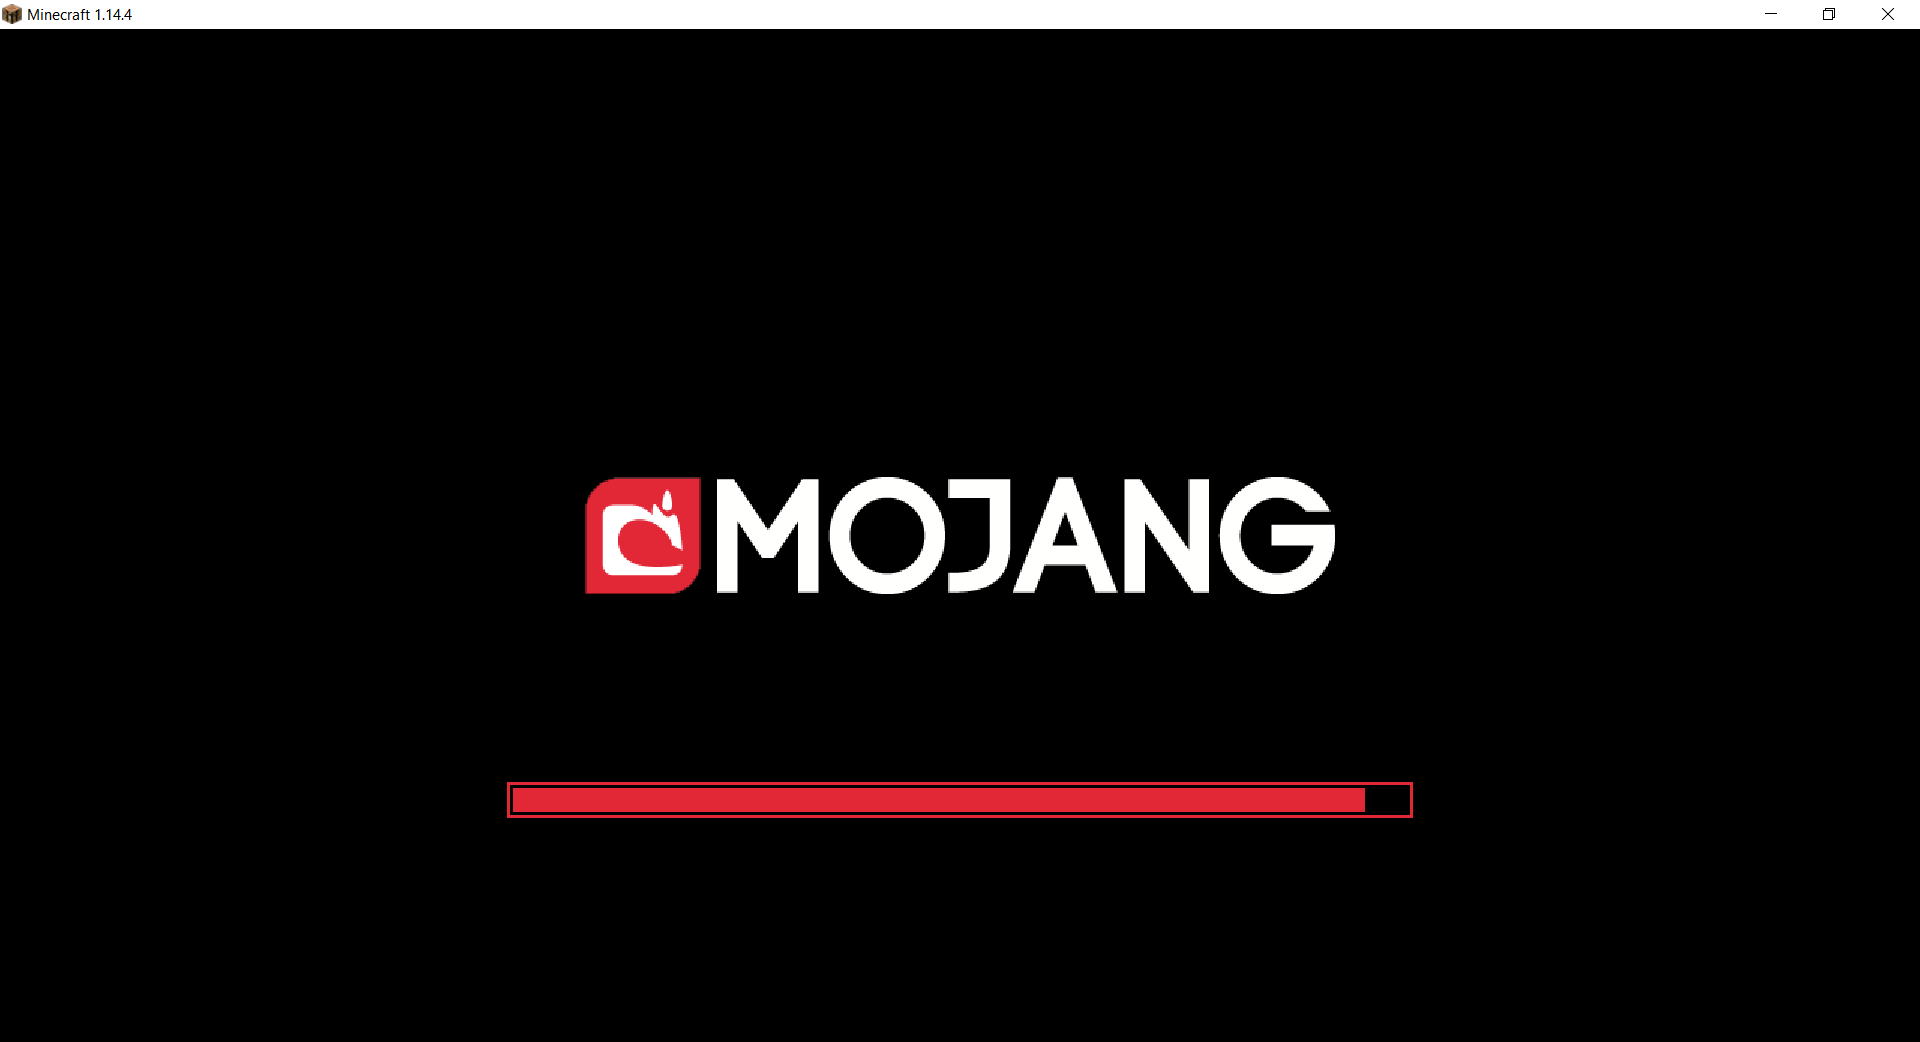
Changes white background in mojang loading screen to black
Minecraft 1.14 and newer
OptiFine is required to work! [optifine.net](https://optifine.net/home)
## Minecraft 1.16+
## Minecraft 1.14 – 1.15
The resurcepack is also available on [CurseForge](https://www.curseforge.com/minecraft/texture-packs/mojang-black-background)
Mod Menu
# Mod Menu
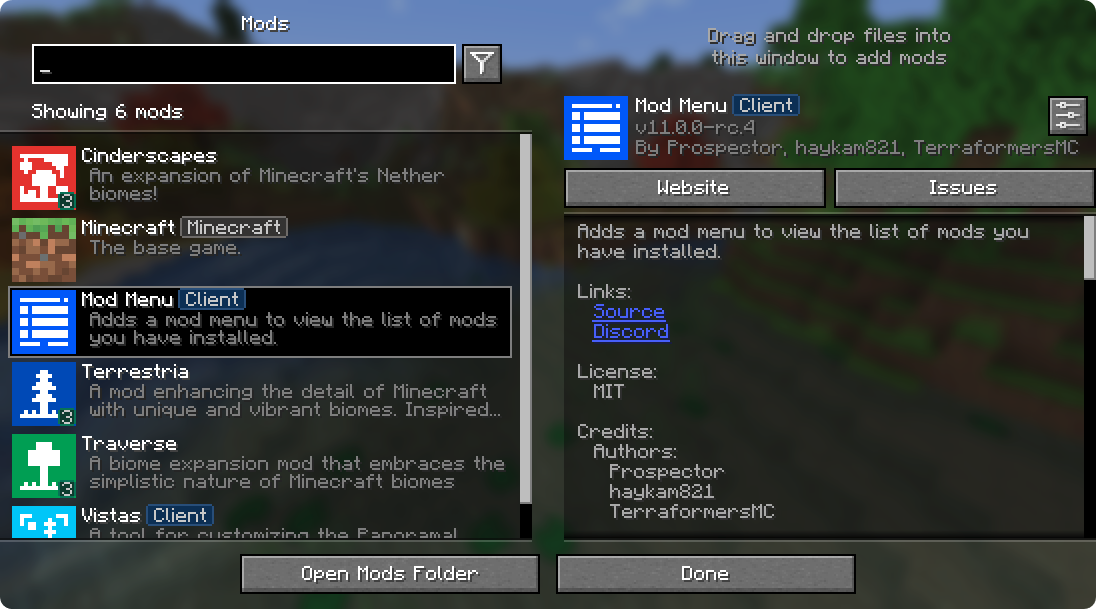
Mod Menu lets you view the mods you have installed and, if supported by the mod, enables quick and easy access to the mod’s config screens.
Mod Menu also supports some more advanced features, such as translatable mod names and descriptions, support for [QuickText formatting](https://placeholders.pb4.eu/user/quicktext/) in mod descriptions thanks to [Patbox](https://ko-fi.com/patbox)’s [Text Placeholder API](https://modrinth.com/mod/placeholder-api), filters library mods out from regular mods, a mod update checker for mods hosted on Modrinth or that provide their own update sources, and deep configuration for all the features we provide.
### Supported Platforms
Mod Menu is currently available for Fabric or Quilt on Minecraft: Java Edition 1.14 or newer.
## Developers
Mod Menu includes a number of APIs for developers to improve how their mod appears in Mod Menu. These come in the form of language keys, JSON metadata, and even a Java API.
### Translation API
You can translate your mod’s name, summary, and description all without touching any Java code. Simply add translation keys in the supported format to any language you’d like.
Translation API Documentation
Here’s an example of Mod Menu’s translations into Pirate Speak. To create your own, simply replace `modmenu` at the end (***NOT*** the one in the beginning) of the translation key with your own mod ID, for example `modmenu.descriptionTranslation.traverse`.
> The summary translation is redundant here and does not need to be included because it’s the same as the description, but it was included to show that you may translate the summary (a short, one-sentence description of the mod) separately from the description, even in English!
### Fabric Metadata API
There’s a number of things you can add just with metadata in your `fabric.mod.json`.
All of these are added to a custom block in your `fabric.mod.json` for Mod Menu’s metadata. Here’s an example usage of many of the features this API provides:
#### Badges (`”badges”: [ ]`)
While the `Client` badge is added automatically to mods set as client-side only (set `”environment”: “client”` in `fabric.mod.json` to do this.), other badges such as the `Library` and `Deprecated` badges require definition here.
Supported values:
– `library` – should be assigned to mods that are purely dependencies for other mods that should not be shown to the user by default unless they toggle them on.
– `deprecated` – should be assigned to mods that exist purely for legacy reasons, such as an old API module or such.
Any others will be ignored, and Mod Menu does not support adding your own badges. You may open an issue [here](https://github.com/TerraformersMC/ModMenu/issues) if you have a compelling use case for a new badge.
#### Links (`”links”: { }`)
The `links` object allows mod authors to add custom hyperlinks to the end of their description. If you specify a `sources` contact in the official `fabric.mod.json` metadata, it will also be included in the links section.
Any key in the `links` object will be included in the links section, with the key being used as a translation key. For example, this:
`fabric.mod.json`
“`json
“custom”: {
“modmenu”: {
“links”: {
“modmenu.discord”: “https://discord.gg/jEGF5fb”
}
}
}
“`
will show as a link with the text “Discord”, since “Discord” is the English translation of “modmenu.discord” provided by Mod Menu.
Mod Menu provides several default translations that can be used for links. A full list can be seen in Mod Menu’s language file [here](https://github.com/TerraformersMC/ModMenu/blob/-/src/main/resources/assets/modmenu/lang/en_us.json). All default link translation keys take the form `modmenu.`.
You can also provide your own translations if you would like to add custom links. Make sure to use ***your own namespace*** (as opposed to `modmenu`) for any custom keys.
#### Parents (`”parent”: “mod_id” or { }`)
Parents are used to display a mod as a child of another one. This is meant to be used for mods divided into different modules. The following element in a `fabric.mod.json` will define the mod as a child of the mod ‘flamingo’:
However, if you want to group mods under a parent, but the parent isn’t an actual mod, you can do that too. In the example below, a mod is defining metadata for a parent. Make sure that this metadata is included in all of the children that use the fake/dummy parent. This can also be used as a fallback for an optional parent, it will be replace by the mod’s real metadata if present.
Dummy parent mods only support the following metadata:
– `id` (String)
– `name` (String)
– `description` (String)
– `icon` (String)
– `badges` (Array of Strings)
#### Disable update checker (`”update_checker”: false`)
By default, Mod Menu’s update checker will use the hash of your mod’s jar to lookup the latest version on Modrinth. If it finds a matching project, it will check for the latest version that supports your mod loader and Minecraft version, and if it has a different hash from your existing file, it will prompt the user that there is an update available.
You can disable the update checker by setting `update_checker` to false in your Mod Menu metadata like so:
### Quilt Metadata API
Since Mod Menu supports Quilt as well, the same APIs in the Fabric Metadata API section are also available for Quilt mods, but the format for custom metadata is slightly different.
Instead of a `”modmenu”` block inside of a `”custom”` block, you put the `”modmenu”` block as an element in the root object. So it should look like:
`quilt.mod.json`
“`json5
{
…
“modmenu”: {
// Here’s where your links, badges, etc. stuff goes
}
}
“`
### Java API
To use the Java API, you’ll need to add Mod Menu as a compile-time dependency in your gradle project. This won’t make your mod require Mod Menu, but it’ll be present in your environment for you to test with.
`build.gradle`
“`gradle
// Add the Terraformers maven repo to your repositories block
repositories {
maven {
name = “Terraformers”
url = “https://maven.terraformersmc.com/”
}
}
// Add Mod Menu as a dependency in your environment
dependencies {
// Prior to Minecraft 26.x, use “modImplementation” instead
implementation(“com.terraformersmc:modmenu:${project.modmenu_version}”)
}
“`
Then, define the version of Mod Menu you’re using in your `gradle.properties`. You can get the latest version number [here](https://modrinth.com/mod/modmenu/version/latest), but you may need a different version if you’re not using the latest Minecraft version. See the [versions page](https://modrinth.com/mod/modmenu/versions) for a full list of versions.
`gradle.properties`
“`properties
modmenu_version=VERSION_NUMBER_HERE
“`
> If you don’t want it in your environment for testing but still want to compile against Mod Menu for using the Java API, you can use `modCompileOnly` instead of `modImplementation` (this will work even if Mod Menu is not updated to the version of Minecraft you’re running).
Java API Documentation
### Getting Started
To use the API, implement the ModMenuApi interface on a class and add that as an entry point of type “modmenu” in your `fabric.mod.json` like this:
### Mod Config Screens
Mods can provide a Screen factory to provide a custom config screen to open with the config button. Implement the `getModConfigScreenFactory` method in your API implementation to do this.
The intended use case for this is for mods to provide their own config screens. The mod id of the config screen is automagically determined by the source mod container that the entrypoint originated from.
### Provided Config Screens
Mods can provide Screen factories to provide a custom config screens to open with the config buttons for other mods as well. Implement the `getProvidedConfigScreenFactories` method in your API implementation for this.
The intended use case for this is for a mod like Cloth Config to provide config screens for mods that use its API.
### Modpack Badges
Mods can give other mods the `Modpack` badge by implementing the `attachModpackBadges` method, such as through the following:
“`java
@Override
public void attachModpackBadges(Consumer consumer) {
consumer.accept(“modmenu”); // Indicates that ‘modmenu’ is part of the modpack
}
“`
Note that ‘internal’ mods such as Minecraft itself and the mod loader cannot be given the modpack badge, as they are not distributed within a typical modpack.
### Static Helper Methods
`ModMenuApi` also offers a few helper methods for mods that want to work with Mod Menu better, like making their own Mods buttons.
#### Creating a Mods screen instance
You can call this method to get an instance of the Mods screen:
“`java
Screen createModsScreen(Screen previous)
“`
#### Creating a Mods button `Text`
You can call this method to get the Text that would be displayed on a Mod Menu Mods button:
“`java
Text createModsButtonText()
“`
Mod Remapping API
# Mod Remapping API
Remaps non-Fabric mods made for a different environment (by default obfuscated) to the current runtime mappings.
Provides hooks to expand the remapping process from other mods.
This mod doesn’t depend on a specific Minecraft version and should work on any version that Fabric Loader can launch.
### Mods depending on this API:
– [Fabricated Legacy Forge](https://modrinth.com/mod/fabricated-forge)
– [Apron](https://modrinth.com/mod/Apron)
– [Fabricated-Rift](https://modrinth.com/mod/fabricated-rift)
## Credits
### Most of the original code of the mod remapper
– paulevsGitch’s mod BetaLoader
Mod Loading Screen
# Mod Loading Screen
An advanced loading screen with the loading progress of mods. It works on all Minecraft versions, as it doesn’t even require Minecraft. Its only requirement is Fabric Loader 0.12.0 or later or Quilt Loader (specific versions of Quilt support are unknown). Do note that if you run this mod on a game other than Minecraft, the loading screen may not close itself.
## Agent
Mod Loading Screen provides a Java agent, which allows opening the loading screen before even the mod loader itself loads. This feature is primarily targeted at modpack developers who want to make a seamless loading experience. The agent can be used by passing `-javaagent:mod-loading-screen-1.0.4.jar` as a JVM argument. If the agent is used, the loading screen should *not* be installed as a mod.
## API
To depend on the API, use the Modrinth Maven. The API should be JiJed, and doing so will not include Mod Loading Screen inside your mod (it will only include the API, which is only a few kilobytes). The API is designed to have both forwards and backwards binary compatibility with future Mod Loading Screen versions. An API is provided for checking which API calls will return stubs and which ones are real.
dependencies {
// implementation, not modImplementation!
include(implementation(“maven.modrinth:mod-loading-screen:1.0.4:api”))
}
“`
The API has two top-level classes: `LoadingScreenApi` and `AvailableFeatures`. Full javadocs are available for both classes.
Mo Glass
# Mo Glass
A Minecraft mod that adds glass stairs and glass slabs to the game, including stained and tinted glass variants, while maintaining all of the seamless transparency and translucency that makes vanilla Minecraft’s glass blocks look so great.

## Features
– Glass Slabs!
– Glass Stairs!
– Stained Glass Slabs! (since v1.3)
– Stained Glass Stairs! (since v1.3)
– Tinted Glass Slabs! (since v1.6)
– Tinted Glass Stairs! (since v1.6)
– Working Transparency! (see below)
– Working Translucency! (for tinted glass)
– Compatible with the Translucent Glass mod! (since Mo Glass v1.10, Translucent Glass v0.2)
## Seamless Transparency
Both the stairs and the slabs are see-through in the same way as vanilla glass blocks. You can place multiple stairs, slabs and full blocks next to each other and they will look like a single piece of glass.
## Why aren’t these blocks part of vanilla Minecraft?
Before I started making this mod, I always thought that Mojang just forgot about these blocks, or that they were too lazy to add them. But now that I’ve added these blocks myself and spent many hours to get the transparency to work, I think I finally understand why Mojang didn’t bother. Minecraft’s stairs are surprisingly complex blocks and they were never meant to be made transparent. Slabs might be easy enough, but I think if Mojang added those then people wouldn’t stop asking for the stairs. And glass stairs are an absolute nightmare to make.
Stairs can be placed facing North, East, South or West, they can be upside-down or right-side-up, they can be straight or curved in one of four different ways and they have six faces that may or may not be transparent, depending on what block is next to them. But here’s the catch: On each of those six faces, there could be another block of glass stairs that can also be placed facing North, East, South or West, upside-down or right-side-up and either straight or curved in one of four different ways. And then of course, on each of the six faces there could also be a non-transparent block, a regular glass block or a glass slab that is either placed on the bottom half, top half, or is a double slab.
In the end, there are 10800 possible scenarios that need to be accounted for just to calculate transparency of glass stairs. But then you also have to calculate the transparency of glass slabs (810 possible scenarios) and adjust the transparency calculation of regular glass blocks (270 possible scenarios, or 258 more than before).*
That’s a lot of effort just to add two new blocks to the game – and a lot of opportunities for new bugs to sneak in. That, I think, is why Mojang didn’t bother.
*Here’s how I got those numbers: (click to expand)
possible variations of stairs:
pvStairs = 4 * 2 * 5 = 40
possible variations of slabs:
pvSlabs = 3
possible variations of glass blocks:
pvGlass = 1
possible variations of non-transparent blocks:
pvBlocks = 1 (because any variations would be ignored when calculating transparency)
possibly transparent faces of a block (including stairs, even though they have more faces):
f = 6
possible scenarios for transparency of stairs:
psStairs = pvAll * f * pvStairs = 45 * 6 * 40 = 10800
possible scenarios for transparency of slabs:
psSlabs = pvAll * f * pvSlabs = 45 * 6 * 3 = 810
possible scenarios for transparency of glass blocks:
psGlass = pvAll * f * pvGlass = 45 * 6 * 1 = 270
possible scenarios for transparency of glass blocks if glass stairs and slabs don’t exist:
psGlassVanilla = (pvGlass + pvBlocks) * f * pvGlass = (1 + 1) * 6 * 1 = 12
## What about connected textures mods?
~~So far, all connected textures mods that I’ve seen only seem to work on full blocks. They don’t generate connected textures for stairs or slabs, which makes using them with Mo Glass impossible.~~
~~It’s not that Mo Glass doesn’t have support for connected textures, it’s that connected textures mods don’t have support for Mo Glass (or any other mod that adds stairs/slabs).~~
~~This might change one day as people make new mods all the time, so do let me know if there is a connected texture mod that supports stairs now. I’d be happy to add the extra texture files needed (if any) to make that work with Mo Glass.~~
This has changed and support for connected textures is currently being worked on. Please be patient.
Changes music disc 13 to a very good song about MineZRoy. 100% recommend it!
MineGIT
### Cloud sync for Minecraft worlds!
Sync and back up your worlds between multiple devices! Fully integrated into the Minecraft client for a seamless experience when loading, saving, and downloading worlds from the cloud.
## How does it work?
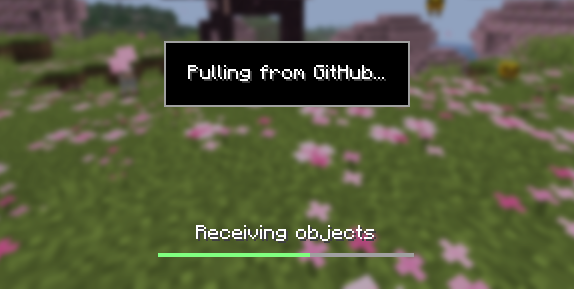
Worlds that you select are uploaded to your GitHub account as repositories. Every time you quit to the title screen, a commit of the current state of your world is created and pushed to the repository on GitHub. Whenever the world is loaded, the mod will check if any new versions of the world are available in the cloud, and if so, they will be downloaded to your device.
Since this mod uses Git internally, it also means that only the files in your world save folder that you modify will be uploaded and downloaded each time, saving storage space and internet bandwidth.
## How do I set it up?
There are several steps to setting up this mod, which include creating a personal access token for GitHub, as well as choosing the worlds you would like to enable MineGIT for.
### Video guide:
### Creating a GitHub personal access token
In order to do the first-time setup, you will need to generate a GitHub personal access token through the following steps:
1. Create an account on GitHub if you do not have one already (https://github.com)
2. Navigate to the [page to create a personal access token](https://github.com/settings/personal-access-tokens)
3. Click `Generate new token`
4. Enter any name (such as MineGIT) under `Token name`
5. Scroll to `Expiration` and set it to `No expiration` (so that you do not have to repeat this process when the token expires)
6. Under `Repository access` choose `All repositories`
7. Under `Permissions`, click `Add permissions` and select `Administration` and `Contents`
8. Set `Access` on the `Administration` and `Contents` lines to `Read and write`
9. Press `Generate token` and copy the generated token to be pasted into Minecraft later (the generated token should start with `github_pat_` and be followed by a long string of letters and numbers)
### Setting up in-game
Once the mod is installed and you are in-game, do the following steps to link your GitHub account with the mod:
1. Click on the cloud button on the bottom left corner of the world creation or world selection screen (If the button does not appear, you have already previously linked your account; see the section below entitled ‘Reconfiguring account linking’)
2. Enter your GitHub username and personal access token (PAT) that you created in the previous step on the new page that appears
3. Press the button labeled `Test credentials` to make sure you’ve entered the information properly
4. You may now exit the screen and proceed to either enable sync for a world or clone an existing one
#### Reconfiguring account linking
If you have already previously set up account linking and would like to change settings afterwards, you have a couple of options to get back to the configuration screen:
– **Configure through ModMenu:** If you have [ModMenu](https://modrinth.com/mod/mod-menu) installed, simply find the mod in the mods list and open the configuration from there
– **From the world clone screen:** There is a button in the top right corner of the world cloning screen that will open the configuration screen
– **From the world selection screen:** By holding alt and clicking on the world sync button on the bottom left of the world selection screen, you will be brought back into the configuration screen
### Enabling sync for a world
World syncing needs to be enabled individually for each world you would like to sync to your GitHub account. To enable sync for a world, do the following:
1. Select a world on the world selection screen
2. Press the cloud button in the bottom left of the screen labeled `Enable world sync`
3. Confirm your decision on the next screen
This process will create a new repository named `minegit_[world folder name]` on your GitHub account, initialize a Git repository in your world save folder, and push its current state to GitHub. From this point forward, loading the world will pull the world’s latest changes from GitHub, and exiting the world will push changes to GitHub.
You can now download this world on another device to effectively sync changes between them through the next step: cloning.
### Downloading a world on a different device (Cloning)
Cloning a world will download the exact state of the world as it was last saved to GitHub. Use the following steps to clone a world:
1. Navigate to [github.com](https://github.com) in a web browser
2. Click on your profile picture in the top right corner and then `Repositories`
3. Find the repository corresponding to the world you would like to clone and copy its name
4. Back in Minecraft, click on the button with an arrow pointing downwards labelled in the bottom left corner of either the world selection screen or world creation screen
5. Paste the name of the repository you copied earlier and press `Clone`
6. You are now able to load the world like normal and have changes be synced across your devices!
### Tips & Tricks
– If you want to exit a world without pushing it to GitHub (for example, if you wanted to restart Minecraft and load the same world without having to wait for changes to be pushed), you can hold `Alt` while clicking `Save and Quit to Title`. This will skip the ‘pushing to GitHub’ step.
– Git keeps a list of all of the worlds changes every time you exit the world. This is useful, since if you have a little knowledge of how to use the Git command line interface you can rollback your world to a previous version!
– If you want to save some storage space taken up by the size of the Git repository on your computer, or make the world quicker to clone on other devices, use the `Prune World Commits` button in the edit world menu. This will delete all of the old versions of your world, leaving only the most recent one.
## Report an issue
If you run into bugs, crashes, or simply have a suggestion on how to improve the mod, please feel free to open an issue on the mod’s [issue tracker](https://github.com/ModMonster/MineGIT/issues)!
Please include the current Minecraft version, Fabric version, mod version, and any relevant game logs when submitting an issue.