**Yeth’s TPA is a Teletransportation Accept mod for Minecraft designed to be compatible, stable, and sufficient.**
## Commands
– **/tpa ** Sends a TPA request to a user
– **/tpa accept ** Accepts a TPA request from a user
– **/tpa here** Sends a TPA Here request to a user
– **/tpa cancel** Cancels an outgoing TPA request
– **/tpa ignore ** Ignores a player from making TPA requests
– **/tpa help** Sends a list of all commands
– **/tpa disable** Disables TPA requests from being sent to you
– **/tpa enable** Enables TPA requests to be sent to you
– **/tpa setting ** Configures settings in TPA
## Features
– Automatic expiry of TPA requests
– TP delay w/ countdown
– Multiple request handling
– Permissions for server owners
– Anti-TPA-traps
## Support
Yeth’s TPA supports the following mod loaders:
– Fabric
– Neoforge
– Forge
– Quilt
– Legacy Fabric
– Babric
– Ornithe
– BTA
– LiteLoader
For Minecraft versions 1.7.2 – 26.1.2
YetAnotherSignEditor
# YetAnotherSignEditor
Easily edit and format signs with both MiniMessage and legacy formatting.
## Features
– Edit signs with a command or directly in the sign interface.
– Toggle sign editing and sign formatting separately and per-player.
– Use either [MiniMessage][MiniMessage] or legacy formatting to format text.
– All plugin messages are easily configurable.
– Separate permissions for sign formatting and sign editing.
Above all, it just feels good to use! No bloat; no fluff.
Yes, it’s yet *another* RTP plugin. However this time, it’s focused on performance! (And customizability)
This plugin will, on command, teleport a player to a completely random location in a set area, world, and at least x blocks away. While this plugin may not be the best at showmanship, it’s purpose is to excel at pure performance.
If you have a problem or suggestion for the plugin, make sure to check out the GitHub!
### Commands:
/rtp
– Permission: rtp.runcmd **Only needed if `require-perm:` is set to true in the config**
– The main RTP command. Teleports whoever ran the command to a random location
/addused
– Permission: rtp.add
– Makes the plugin act as if said player has already ran the command (Useful if `one-use` is set to true in the config)
/removeused
– Permission: rtp.remove
– Makes the plugin act as if said player hasn’t ran the command (Useful if `one-use` is set to true in the config)
### Misc Permissions:
rtp.exempt
– People with this permission can use the command without a time limit between uses
### Default Config:
“`version: 2
settings:
one-use: false
# Makes the command one use only
require-perm: false
# Makes the command require a permission
max-dist: 5000
# Max distance away from specified location. 5000 = -5000 to 5000 in x and z
min-dist: 100
# Min distance away from the center of the RTP teleport range
pointx: 0
pointz: 0
# The center of the RTP teleport range. X and Z coords
world-dest: world
# The specified world to teleport to
cooldown: 60
# Amount of seconds to wait before player can use the command again
bstats: true
messages:
# All messages use MiniMessage format. See here: https://docs.advntr.dev/minimessage/
run-rtp: Beginning RTP.
# Message to send when RTP command is ran
after-rtp:
# Message to send after RTP command is ran
no-perm: You don’t have permission to run this command.
# Message to send when lacking permission to run RTP command
used-once: You’ve already used this command once
# Message to send when command has already been used
invalid-player: Invalid player specified
# Message to send when an invalid player is specified for a command
Yet Another Discord Chat Link
# Yet Another Discord Chat Link
A simple mod to connect the in-game chat with a Discord channel.
## Why another one?
– This one focuses on simplicity. It is as light as it gets with only the basic functionality and very little required setup!
**Setup:**
1. Go to https://discord.com/developers and create a new application
2. Copy the ID and invite the bot with the following url (dont forget to change the ID or else the link won’t work:
“`url
https://discord.com/oauth2/authorize?permissions=2953964624&scope=bot%20applications.commands&client_id=APPLICATION_ID
“`
3. Enable developer mode on discord to be able to right-click a channel and copy its channel ID
4. Download the mod into the mods folder and let it generate the config file. The server will crash on first launch since the Bot Token is invalid.
5. Paste the copied channel ID of the channel that you would like the chat to be linked to into the config file (name: `config/yadclconfig.properties`)
6. On the discord developer dashboard, in your application, go to the bot tab on the sidebar and reset and copy the bot token and paste it into the config file.
7. Restart the server and you should be good to go. Check that the bot has read/write permission in that channel.
*Alternative suggested Setup Guide (not by me):*
https://erdbeerbaerlp.de/projects/discord-integration/quick-setup
Yes Steve Model
The Yes Steve Model mod is a Minecraft Forge/Fabric/NeoForge mod that modifies the vanilla player model, using geckolib at its core, using Minecraft Bedrock Edition models and animation files. This allows players to customize player models and animations as they wish.
– **Custom Model Wiki: **
– **Discord: **
– **This github repository is maintained by community player @Elaina and stores many YSM models shared by art authors: [https://github.com/Elaina69/Yes-Steve-Model-Repo](https://github.com/Elaina69/Yes-Steve-Model-Repo)**
# Platform Support
Versions 1.1.5 and earlier were written in pure Java and support the three major mainstream platforms and mobile platforms.
Since the encryption algorithm of the old versions written in Java was quickly cracked, starting from version 1.2.0, the core encryption and rendering parts are all written in C++. This greatly improves the rendering performance and security, but the multi-platform support is poor.
The Yes Steve Model mod takes into account the mod needs of the server community, and adopts many designs suitable for the server environment, including but not limited to:
1. Automatic synchronization of client models: When players enter the server, the server will automatically synchronize the models to the player’s computer.
2. Encrypted model files: All the models sent to the player client are encrypted binary files, effectively avoiding the problem of model theft!
3. Model auth function: Models can be authorized separately, and only after the OP input command is authorized, a specific model can be used.
4. Vanilla player model modification: Added default Steve and Alex models, both of which can automatically call the player skin display.
Simple customization function: The model customization function is extremely simple. You only need to place the model, textures and animation files in a specific folder, and input the reload command in the game to automatically load and synchronize. No need to write any configuration files!
—
For client players, it is also extremely simple to use. After the player enters the server for the first time and waits for more than ten seconds (time-consuming for model synchronization), he can use the shortcut key Alt + Y to open the following GUI:
– ① Model switching button: Click to switch to the corresponding model. If the icon in the upper right corner of the button is red, it means the model is not authorized. The number in the icon represents the number of materials that the model can switch.
– ② Texture switching button: For models with multiple textures, click the left and right buttons to switch the model texture.
– ③ Model category switching button: You can switch between all models, auth models and vanilla models (currently only Steve and Alex models
—
There are many authors who have published works on planetminecraft. You can follow them:
– **NekuroMC**:
– **Omegaff0048**:
– **rWby9**:
– **WelfarexWaifu**:
# Additional Warning:
### Please do not create any models that violate laws and regulations. This production team is also opposed to any form of R18/NSFW content creation! We have never participated in any related content creation!

or use [Animatica](https://modrinth.com/mod/animatica)
Tired of boring brownish-gray sweeps? Then try spicing up your game with something new!
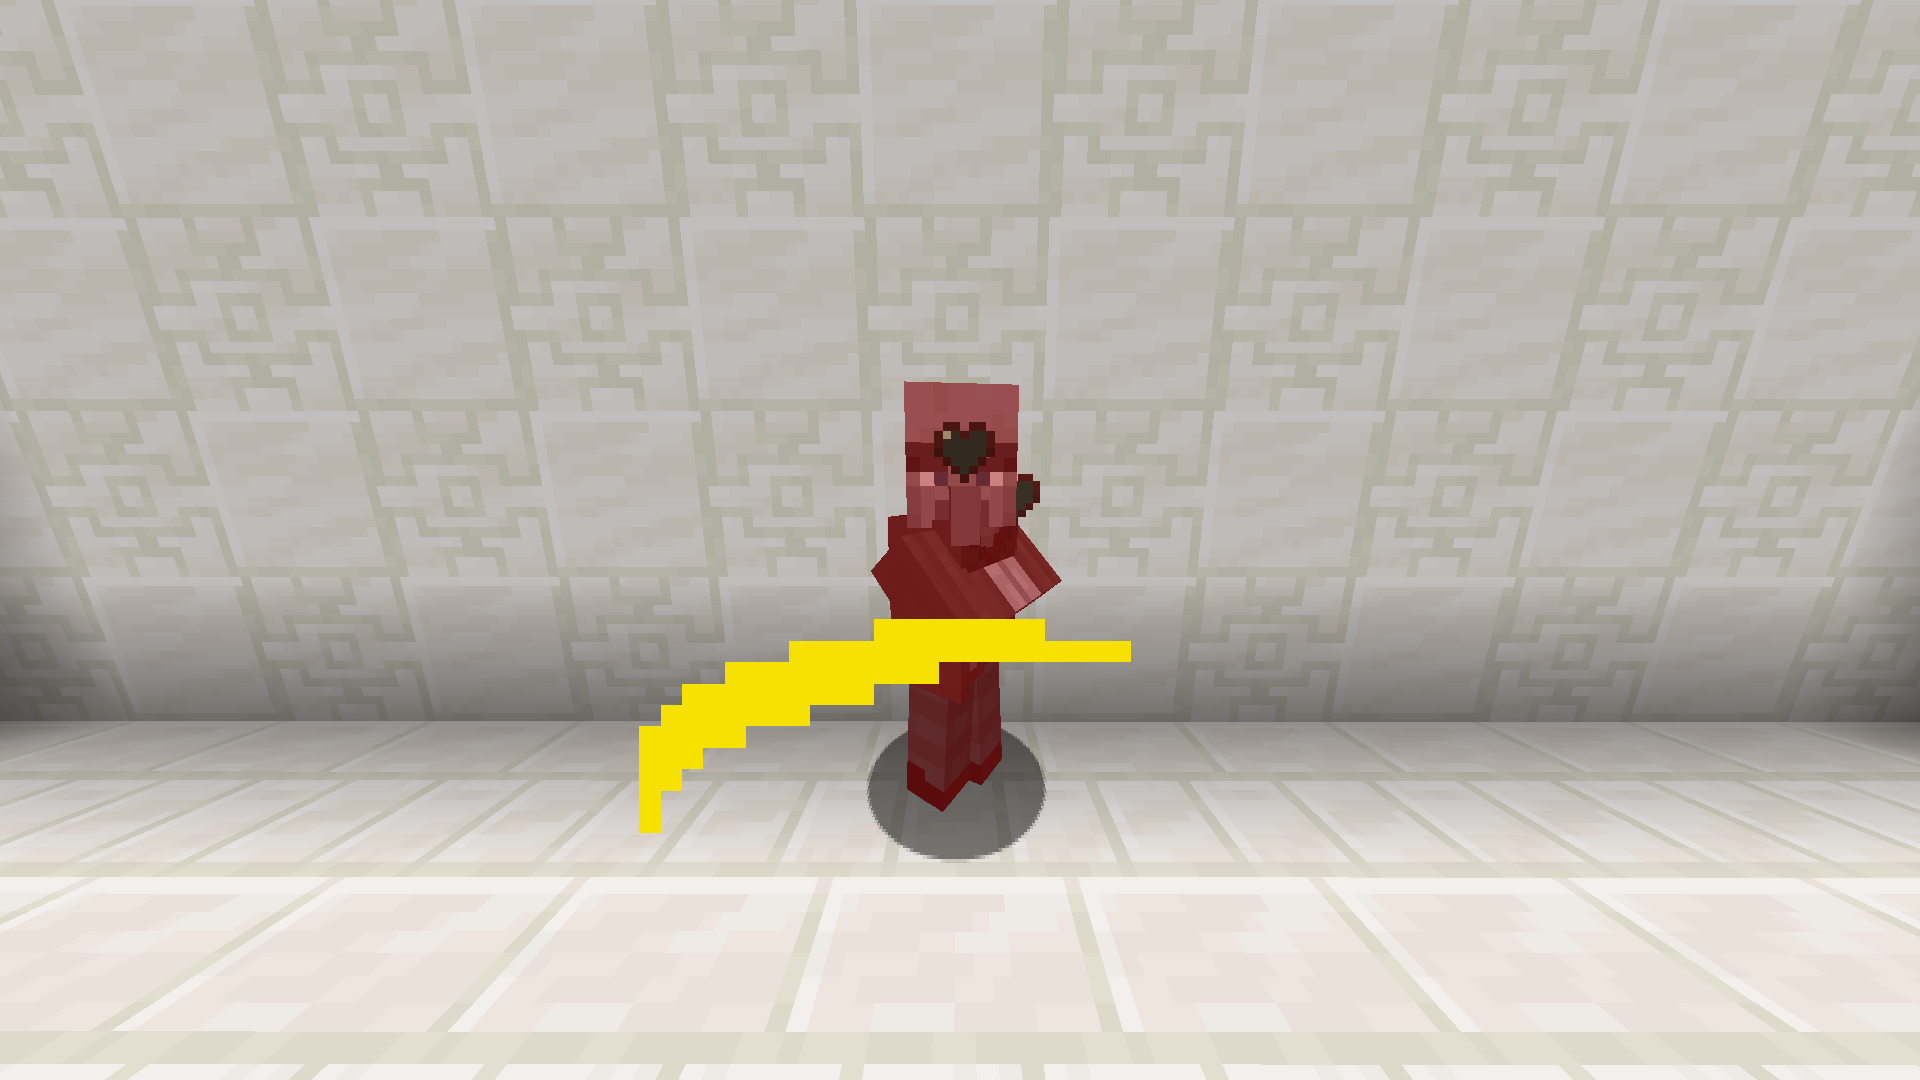
Yellow Snow
[Porting information for 26.1 update](https://wiki.chaotictrials.de/porting/version/26.1/)
**[](https://vshymanskyy.github.io/StandWithUkraine)**
A mod created for **WinterJam 2020**.
Adds yellow snow to the game. Yellow snow balls deal damage to entities.
How to get yellow snow? Just pee on normal vanilla snow.
You are allowed to put this mod in any modpack you like.
Yellow powder snow
EN: This resource pack makes powder snow yellow
RU: Этот ресурспак делает рыхлый снег жёлтым

Yellow netherite
**Yellow netherite**
This resource pack changes the texture of netherite items and armor to a bright yellow/golden tint. It makes netherite much easier to see in the dark environment of the Nether.
**Visual improvements:**
Better contrast against netherrack and blackstone.
More logical look, reflecting the gold used in crafting netherite ingots.
______________________________________________________________________________________-
**
Connect with us:**
– Support us on Ko-fi: https://ko-fi.com/netheritegroup