DockBridge
# DockBridge
Velocity plugin to auto-register Docker-backed servers (e.g., Limbo) and check for updates on Modrinth.
## Features
– Auto-discovery: Containers with label `net.uebliche.dockbridge.autoregister=true` are registered as Velocity servers. Host from container name, port from label `net.uebliche.dockbridge.server_port` (fallback: first exposed port, else 25565).
– Name collisions: Default `suffix` → append short container id (`basename-abcdef`). Alternative `overwrite` → keep basename, last writer wins.
– `/dockbridge` command (permission `dockbridge.command`): Shows label filter, duplicate strategy, last scan stats, and registered servers (no sensitive data).
– Modrinth update check on proxy start; login hint for players with permission `dockbridge.update.notify`.
## Installation
1) Download the latest DockBridge release from Modrinth (jar file).
2) Place the jar into your Velocity `plugins/` folder.
3) (Optional) If Velocity runs in Docker, mount `/var/run/docker.sock` into the Velocity container so DockBridge can discover containers.
4) Start Velocity. On first start, the config file `dockbridge.conf` is created in the Velocity data folder; adjust settings and restart.
5) Permissions:
– `dockbridge.command` for `/dockbridge`
– `dockbridge.update.notify` for update hints on login
## Configuration
`dockbridge.conf` (created in the Velocity data folder on first start):
“`
docker.endpoint=unix:///var/run/docker.sock
docker.poll_interval_seconds=30
filters.proxy_group=default
docker.autoregister.label_key=net.uebliche.dockbridge.autoregister
docker.autoregister.label_value=true
docker.autoregister.name_label=net.uebliche.dockbridge.server_name
docker.autoregister.port_label=net.uebliche.dockbridge.server_port
docker.autoregister.duplicate_strategy=suffix # suffix | overwrite
“`
## Docker labels (example)
“`
net.uebliche.dockbridge.autoregister=true
net.uebliche.dockbridge.server_name=limbo
net.uebliche.dockbridge.server_port=30000
“`
## Local testing
### Gradle run
“`
./gradlew runVelocity
“`
Downloads Velocity, builds the plugin (shadowJar), and starts the proxy with the plugin loaded.
### Docker Compose (Limbo set)
“`
docker compose up –build # or: docker compose -f docker-compose.limbo.yml up –build
“`
Includes three Limbo backends (ports 30000/30001/30002) and Velocity on host port 26678. Velocity runs via `runVelocity` inside the container and mounts your sources/config.
## Commands & permissions
– `/dockbridge` (permission `dockbridge.command`): Status and registered servers.
– Update hint on login: permission `dockbridge.update.notify`.
## Troubleshooting
– No servers registered?
– Ensure your containers have the label `net.uebliche.dockbridge.autoregister=true` and a valid `net.uebliche.dockbridge.server_port`.
– Make sure Velocity can reach Docker: mount `/var/run/docker.sock` (or set `docker.endpoint` to a reachable TCP endpoint).
– Check `/dockbridge` output for last scan count and registered servers.
– Port mismatch or forwarding errors?
– Verify the Limbo (or other backend) port matches the label and the server properties.
– For Velocity forwarding, ensure forwarding secret/mode match on both ends.
– Duplicate names?
– Default strategy is `suffix`. Switch to `overwrite` via `docker.autoregister.duplicate_strategy` if you want last-writer-wins.
## Build
“`
./gradlew build
“`
Produces the shaded jar at `build/libs/DockBridge-.jar`.
## Contributing
– Fork & PRs welcome. Keep code comments minimal but purposeful.
– Default Java 21, Gradle Kotlin DSL, Velocity API 3.4.0-SNAPSHOT for run task; 3.1.1 for compileOnly/annotationProcessor.
– Run `./gradlew build` before submitting; Docker-based tests are optional.
Dithering3D
# 🎨 Dithering3D – Surface-Stable Fractal Dithering




—
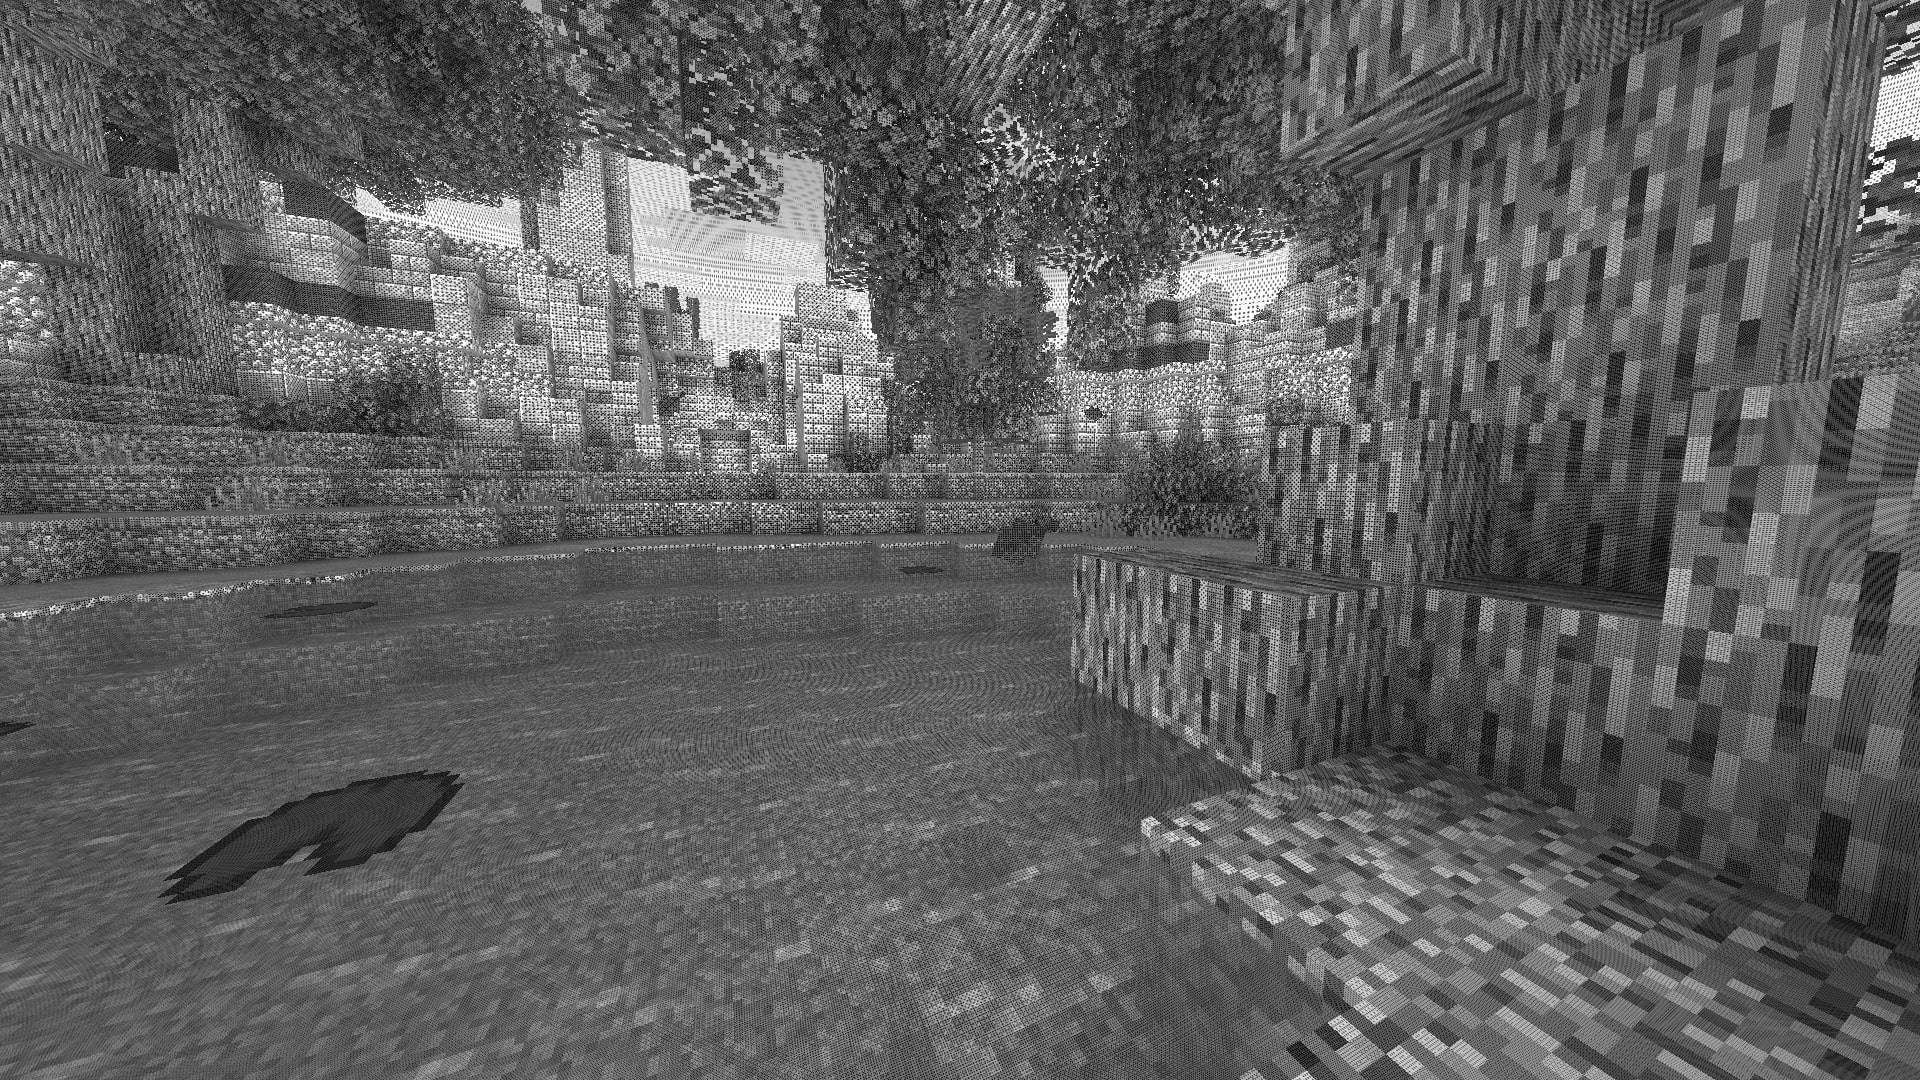
## 🖼️ Screenshots
—
## ✨ A Revolutionary Visual Experience
Transform your Minecraft world with **Surface-Stable Fractal Dithering** — a groundbreaking rendering technique where dither dots **stick to 3D surfaces** instead of the screen, creating a unique manga/comic book aesthetic that feels alive.
> 🎬 *Based on the innovative work by [Rune Skovbo Johansen](https://github.com/runevision/Dither3D)* — **[Watch the explainer video](https://youtu.be/HPqGaIMVuLs)**
—
## 🖼️ What Makes This Shader Special?
### 📌 **Surface-Stable Dots**
Unlike traditional dithering where patterns “swim” on screen, Dither3D anchors each dot to the actual 3D surface. Walk around blocks, and the dots stay perfectly attached!
### 🔄 **Fractal Scaling Magic**
As you move closer or farther from surfaces, dots dynamically split or merge to maintain **constant screen-space density**. It’s mesmerizing to watch!
### 🎨 **Three Color Modes**
| Mode | Description |
|:—-:|:————|
| **Grayscale** | Classic black & white dithering — clean, minimalist, timeless |
| **RGB** | Each color channel gets its own dot layer — vibrant and unique |
| **CMYK Halftone** | Authentic newspaper/comic print simulation with rotated dot angles |
—
## ⚡ Features at a Glance
| Feature | Description |
|:——–|:————|
| 🎯 **Precision Dithering** | SVD-based frequency analysis for mathematically perfect dot placement |
| 🌀 **Anti-Stretch Technology** | Anisotropic smoothing keeps dots circular even on oblique surfaces |
| 🎥 **Camera Stable** | Radial compensation prevents dot swimming during camera rotation |
| ⚙️ **Highly Configurable** | 10+ parameters to fine-tune your perfect look |
| 🚀 **Performance Optimized** | Efficient 3D texture sampling for smooth gameplay |
| 📱 **Universal Compatibility** | Works with OptiFine AND Iris on virtually any Minecraft version |
—
## 🎛️ Customization Options
Fine-tune every aspect of the dithering effect with our intuitive in-game sliders:
### 🔧 Dither Settings
| Parameter | Range | Effect |
|———–|:—–:|——–|
| **Dot Scale** | 2 – 10 | Control overall dot size (exponential) |
| **Size Variability** | 0 – 1 | 0 = Bayer pattern, 1 = Halftone style |
| **Dot Contrast** | 0 – 2 | Sharpen or soften dot edges |
| **Stretch Smooth** | 0 – 2 | Combat stretched dots on angled surfaces |
### 💡 Input Controls
| Parameter | Range | Effect |
|———–|:—–:|——–|
| **Exposure** | 0 – 5 | Brightness multiplier |
| **Offset** | -1 to 1 | Brightness offset adjustment |
### 🎮 Additional Options
– **Inverse Dots** — Flip dot colors for a negative effect
– **Radial Compensation** — Stabilize during camera rotation *(recommended!)*
– **Quantize Layers** — Prevent dot morphing for a more “classic” look
– **Debug Mode** — Visualize fractal layers for development
—
## 📦 Installation
### For OptiFine Users
1. Download and extract the shader pack
2. Place the `shaders` folder in `.minecraft/shaderpacks/`
3. Launch Minecraft → Options → Video Settings → Shaders
4. Select **Dithering3D** and enjoy!
### For Iris Users (Fabric/Quilt)
1. Install Iris Shaders mod (1.2.0+)
2. Download and extract the shader pack
3. Place the `shaders` folder in `.minecraft/shaderpacks/`
4. Press **O** in-game to open shader menu
5. Select **Dithering3D**
> 💡 **Tip:** Press `F3 + T` to quickly reload shaders after making changes!
—
## 🎨 Preset Profiles
Choose from pre-configured profiles for instant results:
| Profile | Color Mode | Dot Scale | Best For |
|:——-:|:———-:|:———:|:———|
| 🟢 **LOW** | Grayscale | 4.0 | Performance, retro feel |
| 🟡 **MEDIUM** | Grayscale | 5.0 | Balanced experience |
| 🟠 **HIGH** | RGB | 5.0 | Colorful, artistic |
| 🔴 **ULTRA** | CMYK | 6.0 | Maximum visual impact |
—
## 🌟 Perfect For
| 📸 Screenshot enthusiasts | Create unique, artistic captures |
|:————————:|:——————————–|
| 🎬 **Content creators** | Stand out with a distinctive visual style |
| 🎮 **Retro lovers** | Relive the charm of 1-bit graphics |
| 🎨 **Artists** | Manga, comic book, and newspaper aesthetics |
| 🧪 **Tech enthusiasts** | Experience cutting-edge rendering techniques |
—
## ❓ FAQ
**Q: Does this work with other shaders?**
> Dithering3D is a standalone shader pack. Combining with other shaders may cause conflicts.
**Q: Why do some surfaces look different?**
> The sky and some special effects may appear different as surface-stable dithering reveals flat geometry.
**Q: Performance impact?**
> Moderate. The 3D texture sampling is optimized but more demanding than vanilla rendering. Most GPUs handle it smoothly.
**Q: Can I use this in my modpack?**
> Yes! Under MPL-2.0 license. Credit appreciated.
—
## 🔬 The Science Behind It
Dithering3D uses **Singular Value Decomposition (SVD)** to analyze UV coordinate derivatives in real-time, determining the exact frequency and direction of surface textures. This mathematical approach enables:
“`
✅ Perfectly uniform dot density regardless of distance
✅ Seamless fractal transitions between detail levels
✅ Circular dots even on extremely angled surfaces
✅ Rotation-stable patterns that don’t “swim”
“`
—
## 📚 Credits & Resources
| Resource | Link |
|:———|:—–|
| 🔗 **Original Algorithm** | [Rune Skovbo Johansen](https://github.com/runevision/Dither3D) |
| 🎥 **Technique Explanation** | [YouTube Video](https://youtu.be/HPqGaIMVuLs) |
| 💬 **Technical Discussion** | [FAQ Thread](https://github.com/runevision/Dither3D/discussions/12) |
—
## 📄 License
“`
Mozilla Public License 2.0 (MPL-2.0)
“`
—
🎨 Transform your world. Experience Dithering3D. 🎨
If you enjoy this shader, consider leaving a ⭐ and sharing this shader page !
Deep Ocean Panorama
Deep Ocean Panorama replaces the Minecraft title-screen panorama with a high-quality, performance-conscious cube-mapped scene.
### Additional Information
Type:
`RELEASE`
Version:
`1.0.0`
MC Version:
`1.13.x, 1.14.x, 1.15.x, 1.16.x, 1.17.x, 1.18.x, 1.19.x, 1.20.x, 1.21.x`
Dark Transparent GUI
# Dark Transparent GUI
This texture pack turns all graphical user interface (GUIs and HUDs) clear and minimalistic with only black borders, offering an uninterrupted view of gameplay.
## Screenshots
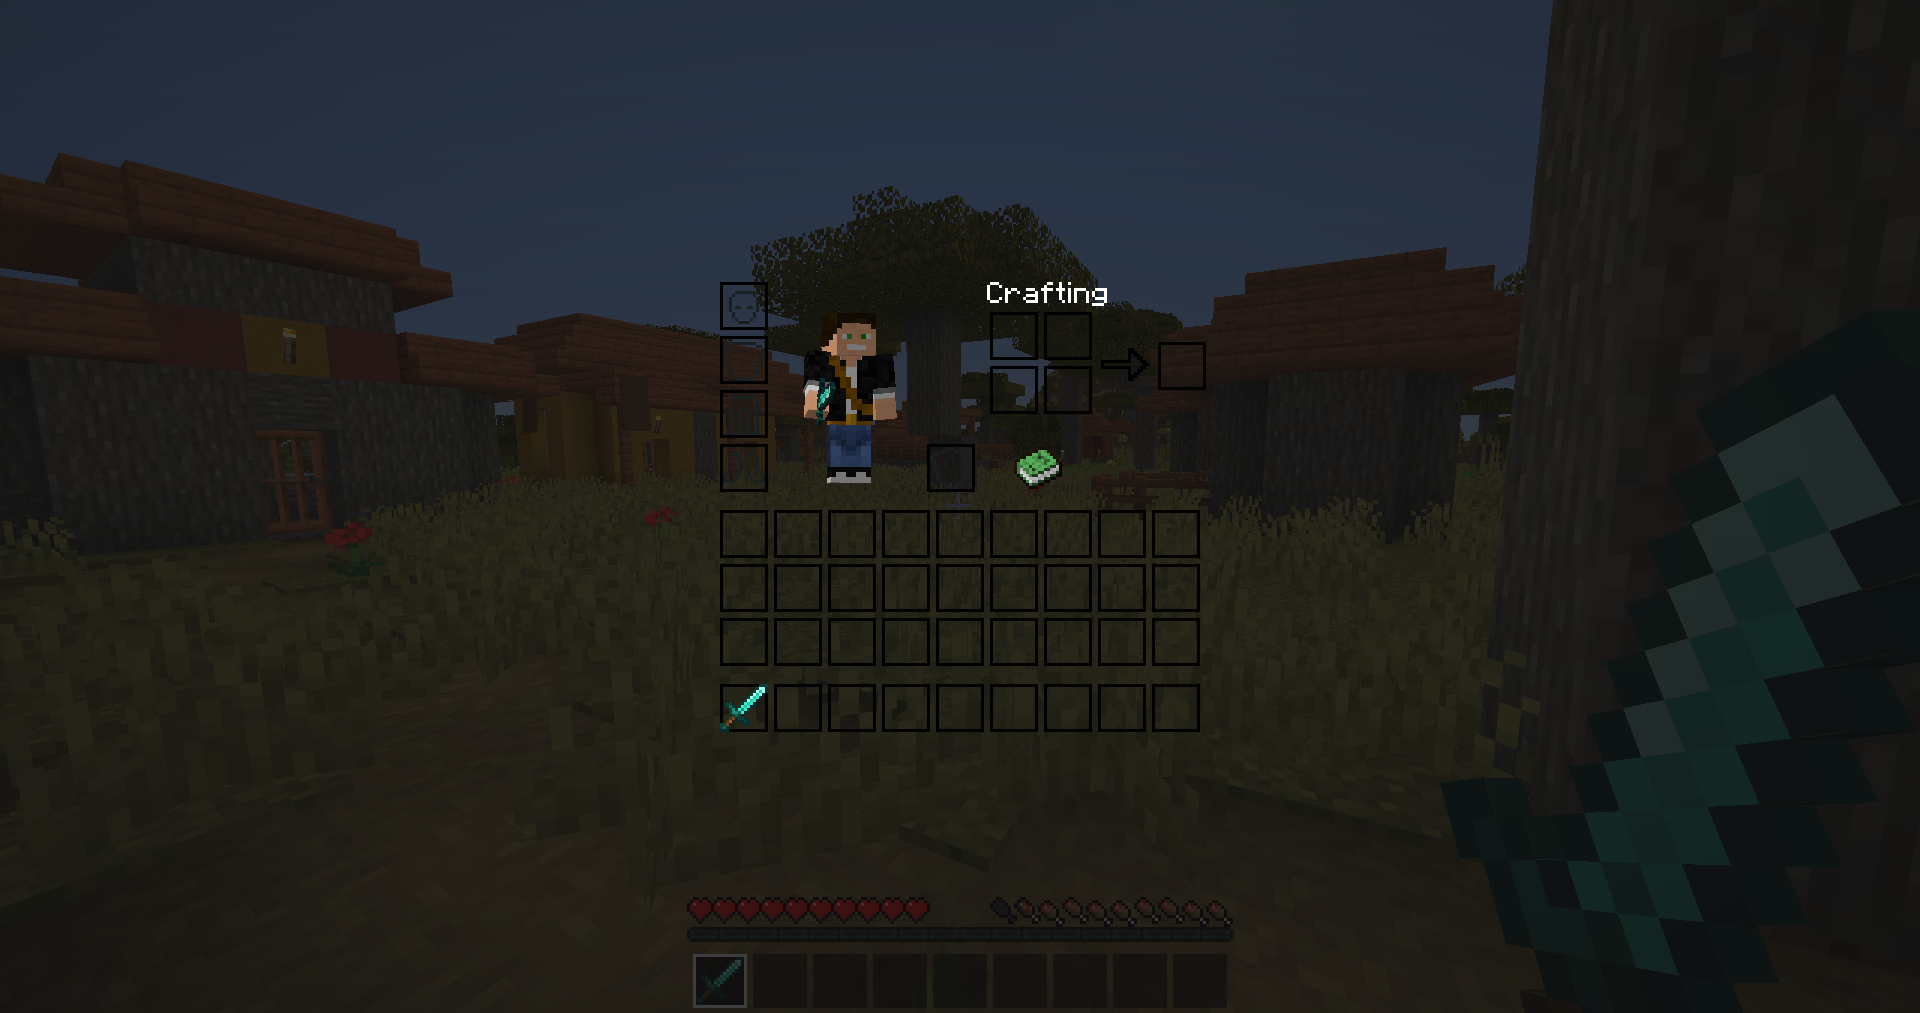
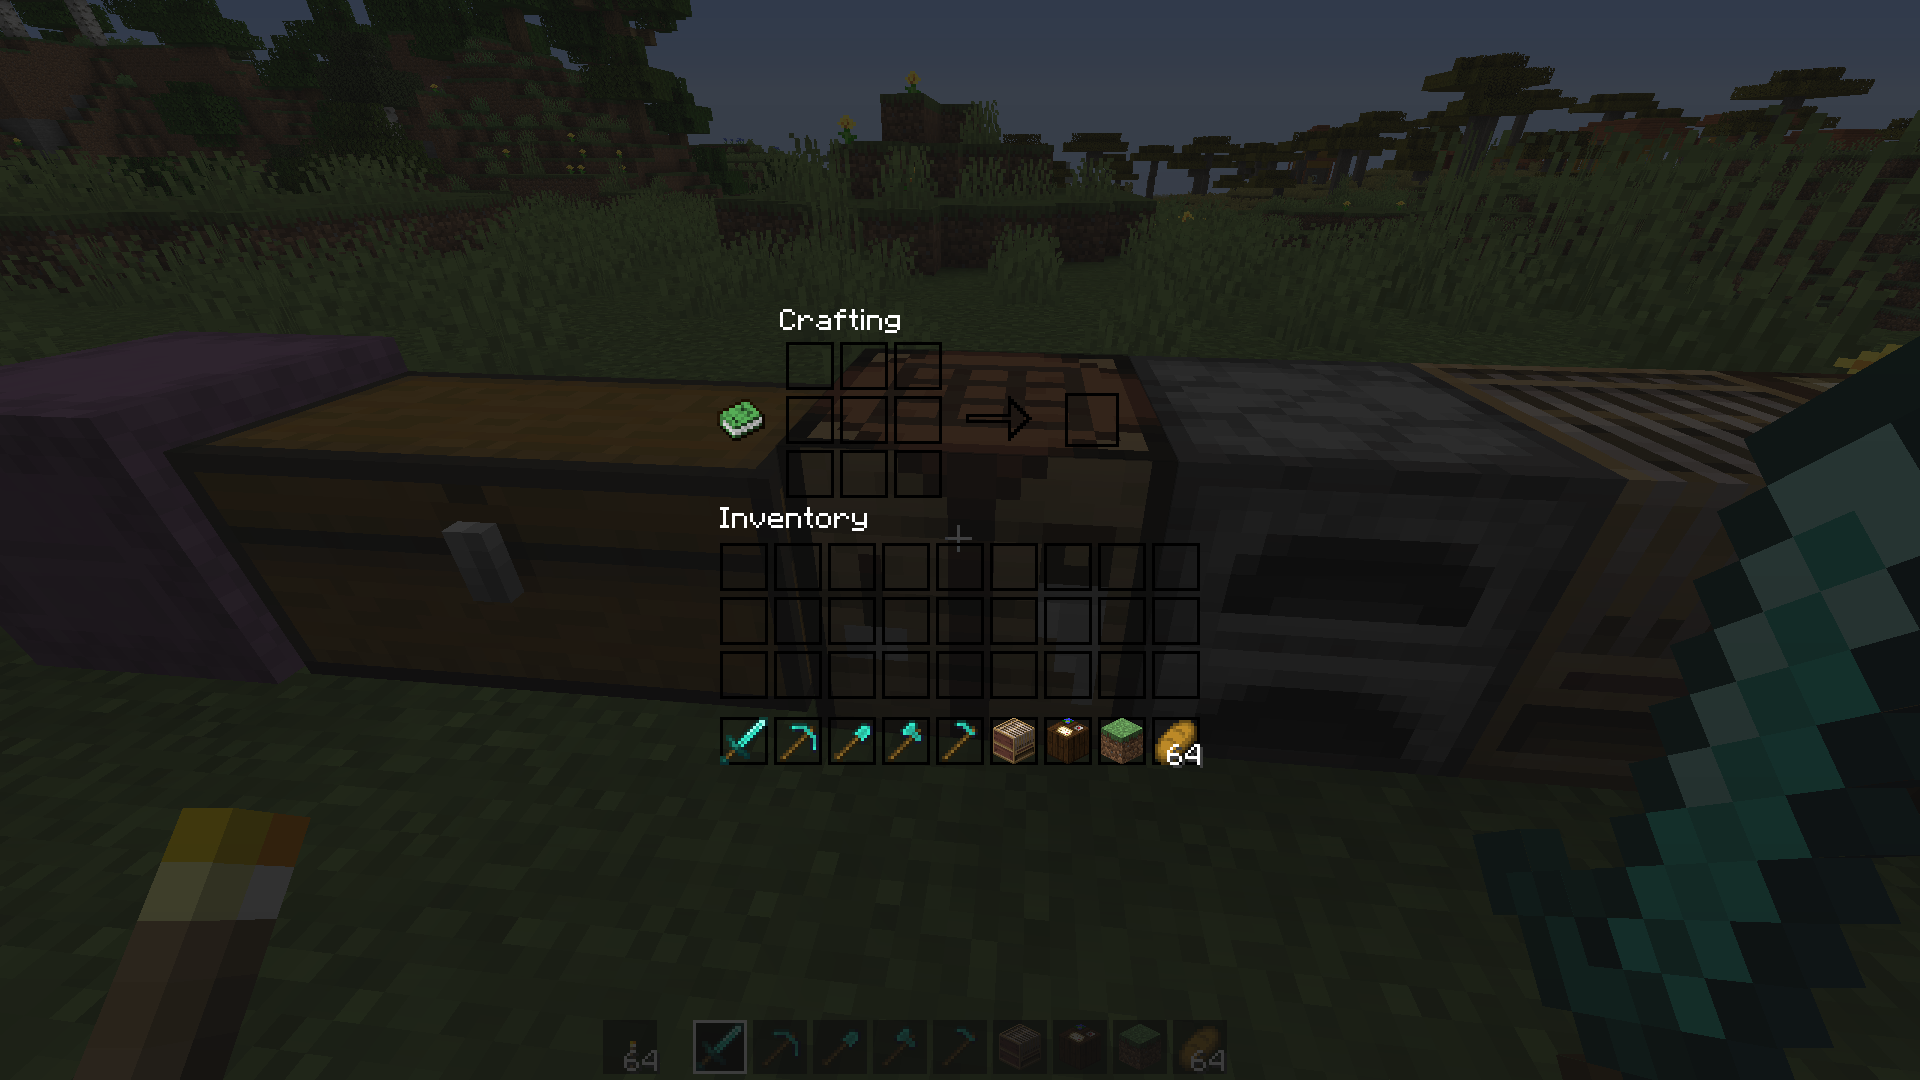
[More Screenshots](https://modrinth.com/resourcepack/dark-transparent-gui/gallery)
Optional:
– Install [Respackopts](https://modrinth.com/mod/respackopts) (v2.3.0+) for config menu (DTG v3.0+) – you can choose different background menu image and disable some textures
– Install [OptiFine](https://optifine.net/) for black background on Mojang logo loading screen
The resurcepack is also available on [CurseForge](https://www.curseforge.com/minecraft/texture-packs/dark-transparent-gui)
Dark Red Shield
# Dark Red Shield
This resource pack replaces the default shield with a custom 3D model.
The design uses a dark red theme.
No OptiFine required. Vanilla compatible.
## More Shield Themes
– [Black](https://modrinth.com/project/noire-shield)
– [Blue](https://modrinth.com/project/blue-shield)
– [Creeper](https://modrinth.com/project/creeper-shield)
– [Mirror](https://modrinth.com/project/mirror-shield)
– [Navy Blue](https://modrinth.com/project/navy-blue-shield)
– [Rabbit](https://modrinth.com/project/rabbit-shield)
– [Red](https://modrinth.com/project/red-shield)
Cypress (Alphaver) Font
# A font from an alternate timeline!
This font comes from a modified version of Minecraft that’s part of an **unfiction web series** centered around footage of the closed “16.05” branch from the Alpha stage of Minecraft’s development. **It’s basically the classic Minecraft font, but with rounded edges and some subtle differences.** I really like it, so I thought I’d go ahead and port it to modern versions!

Thank you to [the AlphaVer team](https://www.youtube.com/@MinecraftAlphaVersions) for making such a compelling story, and sparking my interest in modding Minecraft. If anyone involved would like for me to take this down, please don’t hesitate to contact me.
CRSS Resource Pack
# CRSS Resource Pack
This was the resource pack used in CRSS’ modpack, which has a panorama of the spawn area in [ROP](https://crss.cc/nation/psf).
## CRSS Resource Pack is no longer being updated
I don’t really see a reason to keep updating this resource pack as the modpack is also discontinued.
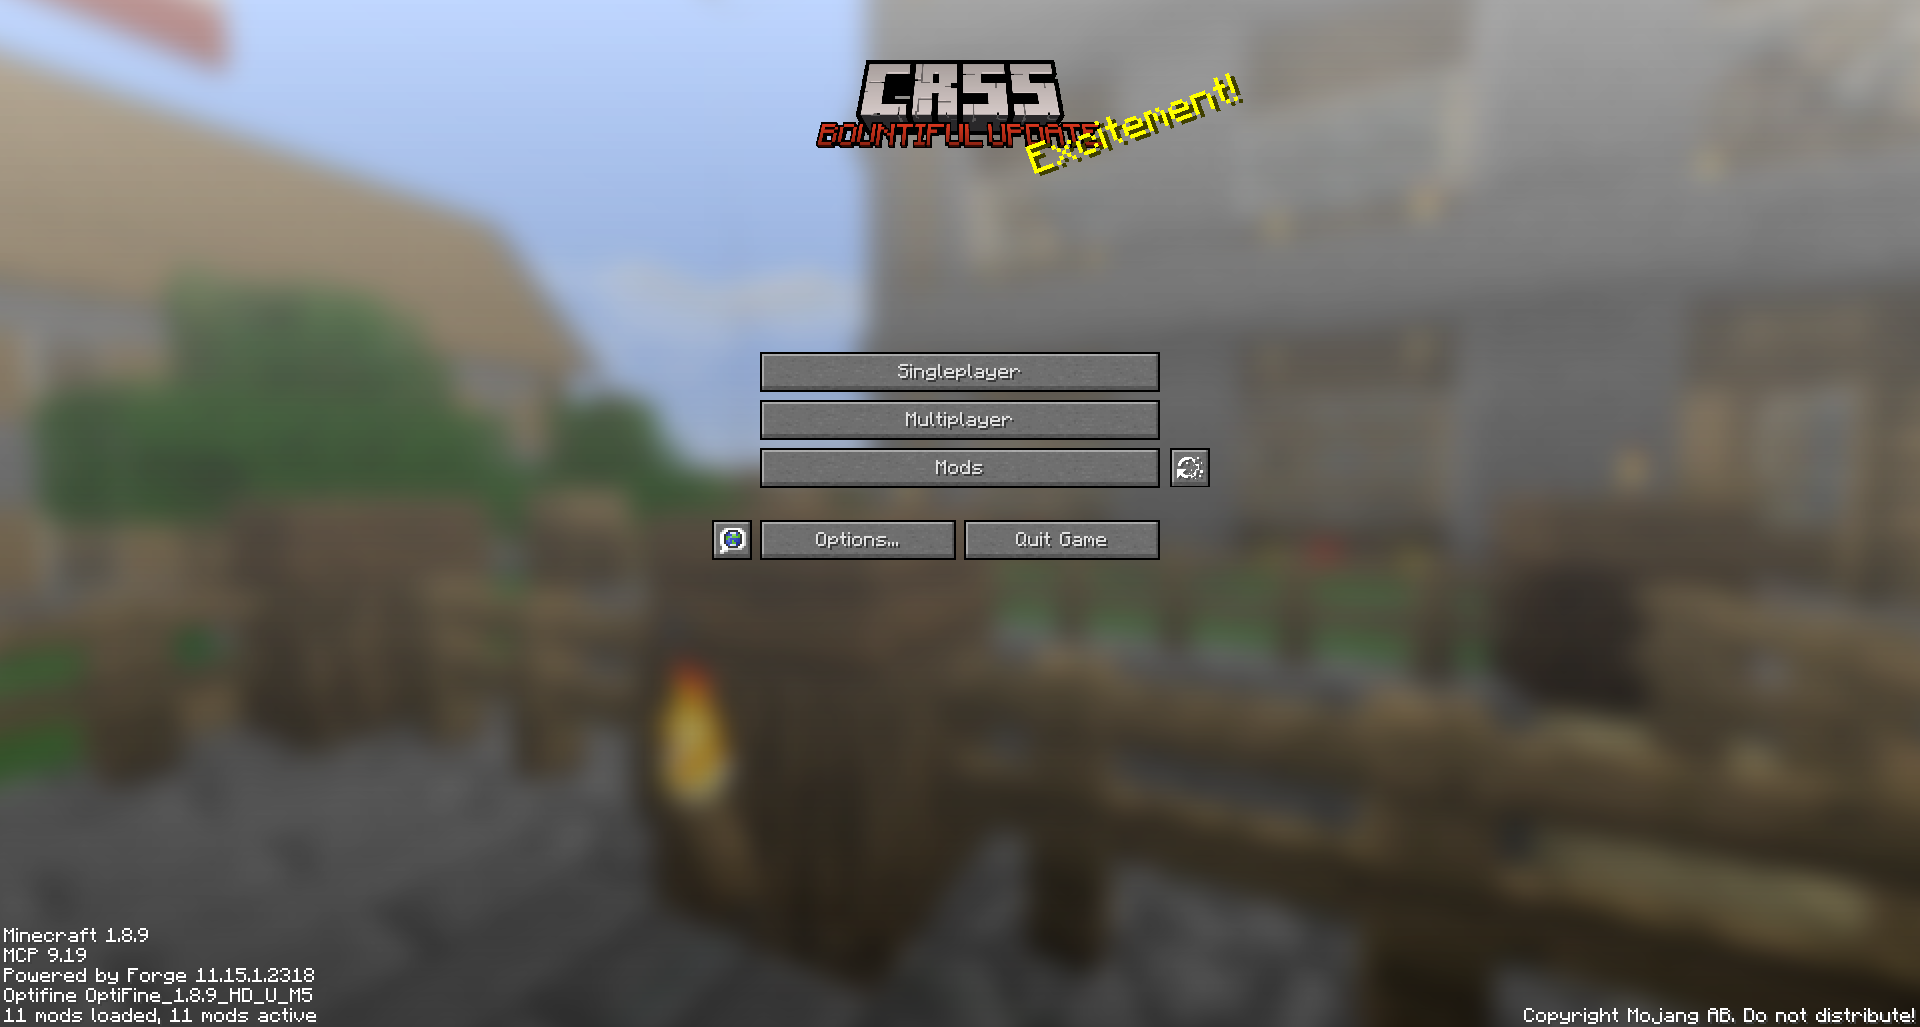
CRSS by Blryface is marked with CC0 1.0

Creeper Shield
# Creeper Shield
This resource pack replaces the default shield with a custom 3D model.
The design uses a creeper theme.
No OptiFine required. Vanilla compatible.
## More Shield Themes
– [Black](https://modrinth.com/project/noire-shield)
– [Blue](https://modrinth.com/project/blue-shield)
– [Dark Red](https://modrinth.com/project/dark-red-shield)
– [Mirror](https://modrinth.com/project/mirror-shield)
– [Navy Blue](https://modrinth.com/project/navy-blue-shield)
– [Rabbit](https://modrinth.com/project/rabbit-shield)
– [Red](https://modrinth.com/project/red-shield)
Creeper Ores
### What does this do?
This resource pack retextures all ores to resemble the face of a creeper.
### What versions does this support?
This resource pack works for versions 1.13 (1.13-pre3) and up.
Craftable Uncraftable Objects [CUO]
A Minecraft Project that adds crafting recipes for normally uncraftable items in Survival mode, along with custom advancements for a more rewarding experience.
**✨ Features**
* **New Crafting Recipes**: Craft items like the Enchanted Golden Apple, Totem of Undying, Trident, Horse Armors, Chainmail Armors, and more.
* **Custom Advancements**: Unique rewards for crafting special items.
* **Wide Compatibility**: Supports Minecraft Java Edition from version 1.13.x up to the latest snapshots.
**🏆 Advancements** & **📜 Recipes**
Advancements
Not Enough Recycling!

You will get this Advancement when you craft all **Recycling** recipes.
Who Enchanting Armor Those Days?

You will get this Advancement when you craft or have an **Enchanted Golden Apple**.
Forget Die.

You will get this Advancement when you craft or have a **Totem of Undying**.
Water Weapon.

You will get this Advancement when you craft or have a **Trident**.
It’s Time to Take a Horse.

You will get this Advancement when you craft or have a **Saddle**.
WoW!

You will get this Advancement when you craft or have an **Experience Bottle**.
Recipes
Bell

Chainmail Armors
Chainmail Helmet

Chainmail Chestplate

Chainmail Leggings

Chainmail Boots

Cobweb

Crying Obsidian (1.17 or newer)

Debug Stick

Recommended to Use **[Tweaker Stick Data Pack](https://modrinth.com/datapack/tweaker-stick)** to able to use it with full functionality or instead use Creative mode to able to use it until I add an update that fix this problem.
Elytra

Enchanted Golden Apple

Experience Bottle

Gunpowder


It will take 30 seconds to give you 1 **Gunpowder**.
(Only works on Furnace)
Horse Armors
Diamond Horse Armor

Golden Horse Armor

Iron Horse Armor

Copper Horse Armor (1.21.9 or newer)

Leather Horse Armor

(Only works on Furnace)
Leather

It will take 10 seconds to give you 1 **Leather**.
(Only works on Furnace)
Name Tag (1.21.11 or older)

Nautilus Armors (1.21.11 or newer)
Diamond Nautilus Armor

Golden Nautilus Armor

Iron Nautilus Armor

Copper Nautilus Armor

Nautilus Shell

Recycling Recipes
Recycling Amethyst Block (1.17 or newer)

Recycling Chainmail Boots

Recycling Chainmail Chestplate

Recycling Chainmail Helmet

Recycling Chainmail Leggings

Recycling Cobweb

Recycling Crying Obsidian

Recycling Packed Ice

Recycling Quartz Block

Saddle

Totem of Undying
~~~~
Trident
**Trident (1.21 or newer)**

**Trident (1.20.6 or older)**

**🗒️ News & Updates**
To see the latest News about my Projects:
[Telegram Channel](https://t.me/iAhmedMinecraft)
[Patreon](https://www.patreon.com/c/iahmedminecraft/posts)
Discord: (Coming Soon..)
**📂 Source Code & Issues**
To see the Source Code of the Project:
[GitLab](https://gitlab.com/iahmed_7024-group/craftable-uncraftable-objects)
Report about a problem or tell a suggestion:
[GitLab](https://gitlab.com/iahmed_7024-group/craftable-uncraftable-objects/-/issues)
**🗂️ Installation**
Linux:
World that already exists:
1. Go to this location “~/.minecraft/saves/” (Make sure you are showing the Hidden Folders and Files by pressing Left Ctrl + H).
2. Choose the world folder you want to put the Data Pack in it.
3. Open datapacks folder, then put the data pack.zip in the datapacks folder.
4. Reload the world by /reload command or by Quit the world and rejoin it.
New World:
1. Open Minecraft, then click on “Singleplayer”.
2. Click on “Create New World”, then click “More World Options…”.
3. Click on “Data Packs” button, then drag the data pack file into Minecraft.
4. Click “Done” and “Create New World”.
———————————————-
MacOS:
World that already exists:
1. Go to this location “~/Library/Application Support/minecraft”.
2. Choose the world folder you want to put the Data Pack in it.
3. Open datapacks folder, then put the data pack.zip in the datapacks folder.
4. Reload the world by /reload command or by Quit the world and rejoin it.
New World:
1. Open Minecraft, then click on “Singleplayer”.
2. Click on “Create New World”, then click “More World Options…”.
3. Click on “Data Packs” button, then drag the data pack file into Minecraft.
4. Click “Done” and “Create New World”.
———————————————-
Windows:
World that already exists:
1. Press Win + R, then type %appdata%, then press Enter.
2. Open “Roaming” folder, then “.minecraft” folder, then open “saves” (Make sure you are showing the Hidden Folders and Files by pressing Left Ctrl + Left Shift + . (period)).
4. Choose the world folder you want to put the Data Pack in it.
5. Open datapacks folder, then put the data pack.zip in the datapacks folder.
6. Reload the world by /reload command or by Quit the world and rejoin it.
New World:
1. Open Minecraft, then click on “Singleplayer”.
2. Click on “Create New World”, then click “More World Options…”.
3. Click on “Data Packs” button, then drag the data pack file into Minecraft.
4. Click “Done” and “Create New World”.
Enjoy.
# Important Thing!
I know this is a Minecraft Project and this project has Minecraft things but because my project is an open source, I will talk about this.
Starting September 2026, a silent update, nonconsensually pushed by Google, will block every Android app whose developer hasn’t registered with Google, signed their contract, paid up, and handed over government ID.
For more information: https://keepandroidopen.org/.