Chunk Tweaks
**This resourcepack requires the snapshot version 25w44a or anything above such as release 1.21.11 of Minecraft to run**
This resourcepack uses shaders to change and improve some small things about chunk rendering
Firstly, it adds transparency using dithering to chunks, especially at the fog transition. This allows the chunks to fade into the fog completely and not just changing color.
In Addition, it adds better animations to chunks while fading into view to make the transition less harsh. There are multiple effects like transparency, movement and sclae available. Each of them can be easily customized and layered ontop of the other ones to create even better animations!
The config can be found at *assets/minecraft/shaders/include/chunk_effects.glsl*
Chowder
## Showcase

For more previews of what the effect looks like, make sure to check out [the gallery](https://modrinth.com/resourcepack/chowder/gallery)
## Description
I’m sure most of you have heard of the Chowder effect in Minecraft now, because it has been all over the place. However, up until now there hasn’t been an easy and simple way to get the effect for yourself. This texture pack works in completely Vanilla Minecraft, which means you don’t need to do any work or install anything extra to make this pack function. However if you use Sodium, this pack won’t work for you. I may attempt at fixing this in a future update.
## How to Use
1. It’s very simple, just apply the pack as normal. No need to unzip, just put it in your resourcepacks folder or drag it into the resourcepacks screen.
2. If the pack is not working, it’s most likely because you have sodium installed. Make sure you uninstall it at least temporarily to try out the texture pack
3. If the pack doesn’t show up, it’s most likely because you have recursive resources, and you need to click “Folder View” in the bottom left and then search for the pack.
## Support
**Join [My Discord](https://discord.gg/gymTft2GbV)**
– Report bugs
– Create suggestions
– Vote on future packs
– Interact with the community
– Ask for help with texture packs
– This is the place to ask if you can use this pack in your own pack
**Check out [The Repository](https://github.com/AlphaLeoli/Texture-Packs)**
– Report bugs
– Create suggestions
– Contribute by creating a pull request
https://www.alphaleo.li/resourcepacks
Brightness Aura Classic
> [](https://modrinth.com/user/PrincParshia)
[](https://modrinth.com/organization/cre8to-team)
—
**!! MAY NOT BE APPRECIABLE WITH SOME MODS !!**
—
## 📗 DESCRIPTION
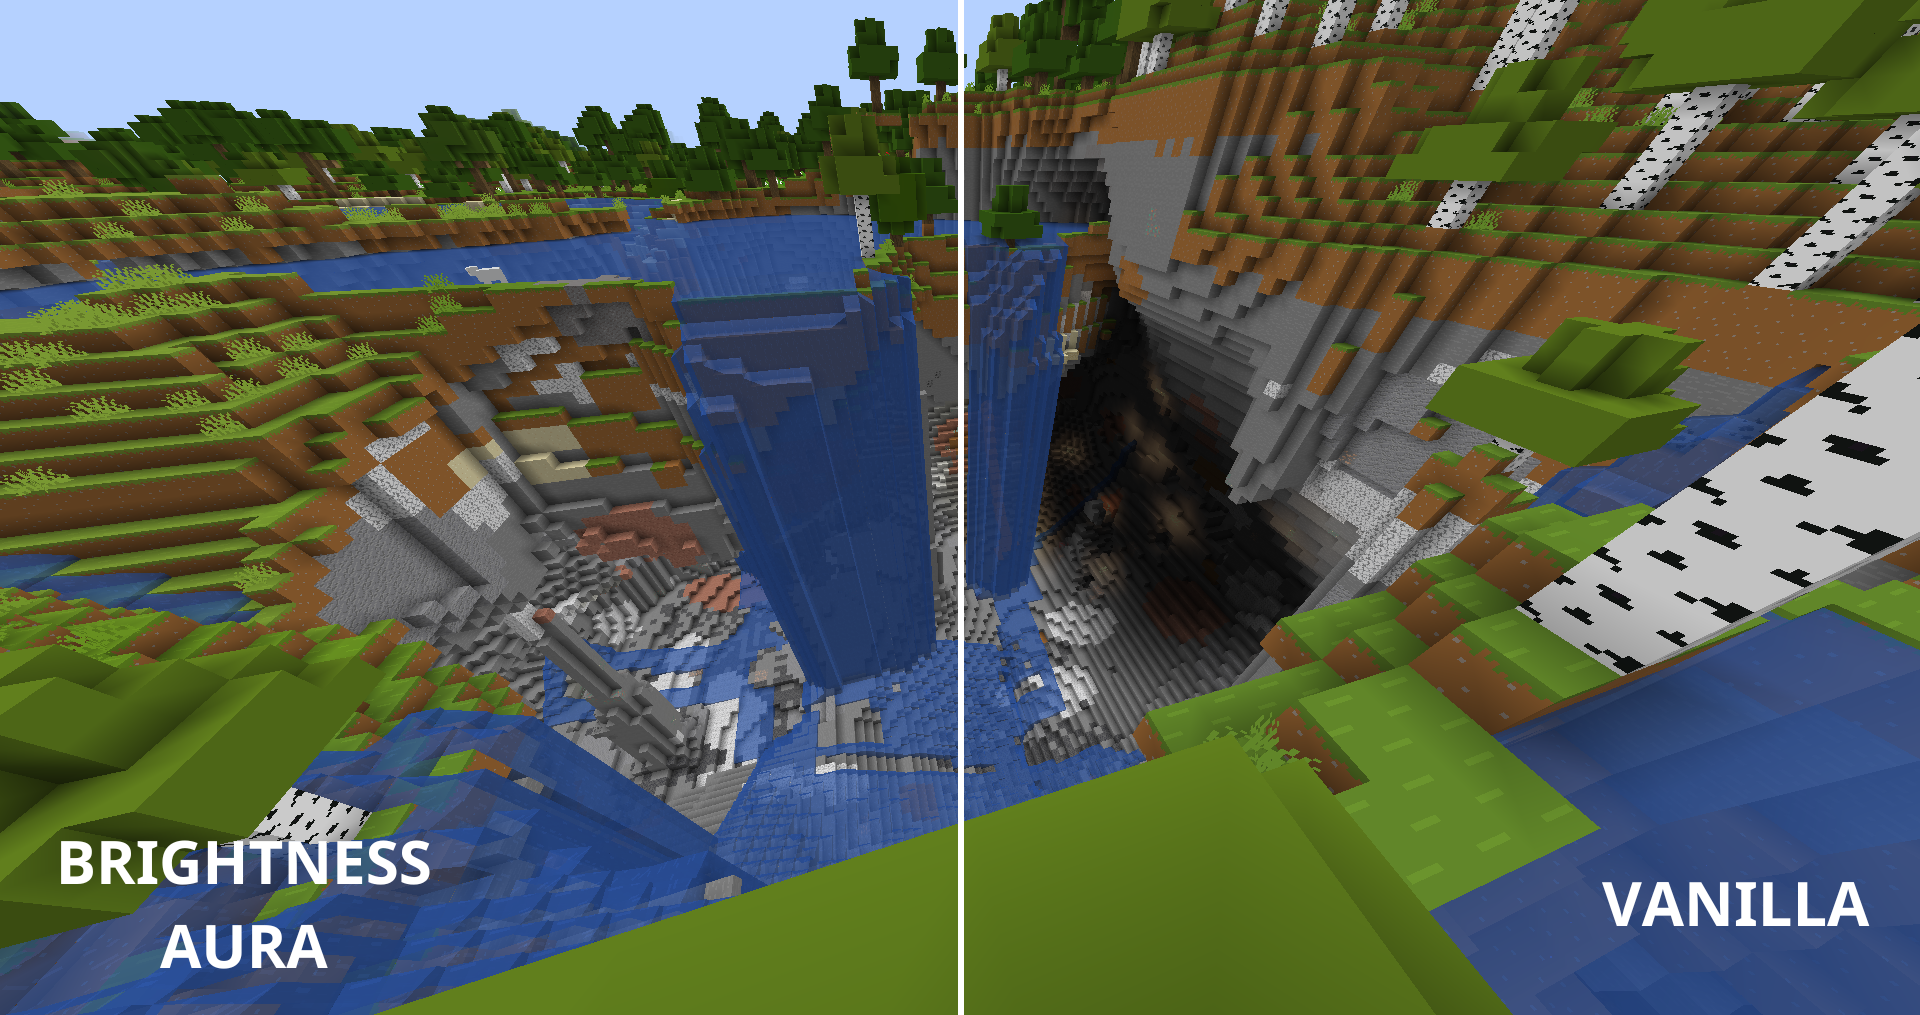
Allows the player to have max 1500% brightness instead of vanilla 100% eliminating the darkness. Giving the aura to see in darkness without any nightvision effect or else. It only affects the client side which had to be, meaning won’t cause bans on servers. Especially made for minecraft vanilla players or who dont want to use the mod. May not work with some mods. Use [Brightness Aura](https://modrinth.com/mod/brightness-aura) Mod for better experience.
—
100% = 1500% & 6% = 100%
Bright Shades
# 🌈 Bright Shades – Simple, Clean, and Colorful
**Bright Shades** is a small core-shader resourcepack that makes Minecraft look brighter, smoother, and more colorful without changing the original style.
It’s lightweight, doesn’t need any mods, and keeps the game running fast.
### ✨ What this pack does
– Makes the world feel more alive and vibrant
– Adds soft, brighter lighting in caves, forests, Nether, etc.
– Improves visibility without making things look washed out
– Works with any other texturepack (place Bright Shades on top)
– Keeps the vanilla look — just cleaner and nicer to explore
### 🎮 Works on
– Minecraft **1.21+**
– Any vanilla client (no OptiFine needed) also with sodium by using https://modrinth.com/mod/sodium-core-shader-support
### 📥 How to use
1. Download the pack
2. Put it in your `resourcepacks` folder
3. Turn it on in-game
4. Enjoy the brighter world!
bodycam_RP
**This is a small resource pack / shader pack that adds a BodyCam effect to your screen. It works with Minecraft’s built-in shaders and is perfect for horror, realism, server events, and recording videos.**


## How to enable it:
1. Install the resource pack
2. Go to **Graphics Settings** and set **Graphics: FABULOUS!**
3. Done!
## This version includes a watermark
This is **not** the full version of the shader — it has a small watermark at the top. This is intentional:

If you like this shader and want to use it in your own projects, you can download the full version on **Boosty**.
You can use this pack for regular gameplay, recording videos, or showcasing it. **However, you may not re-upload or redistribute it** unless you download the full version [here](https://boosty.to/sortex/posts/62e07489-12d1-4c6f-93d0-031a4939b4f5?share=post_link).
Blue’s Core Shaders
# Info
This resourcepack contains all my previous core shaders that are in their own packs. Normally you wouldn’t be able to combine them together so thats what this resourcepack is for.
### How to config
If you want to disable some of the packs embedded in this you can do so in the settings file.
The settings file can be found at “assets/bluebird/shaders/include/settings.glsl”.
In order to change the settings, just change true to false or vice versa next to the variables (**Case Sensitive**).
# Embedded in this pack



Bloom-Entity
This resource pack enhances selected hostile entities with a bloom glow effect using vanilla shaders only. Glowing eyes and subtle light effects make mobs feel more atmospheric and cinematic — without external shaders or mods. ✨
## Affected entities include:
Zombie, Drowned, Skeleton, Spider, Creeper, Ghast, Witch, Endermite.
### To enable the bloom effect, go to Settings → Video Settings → Graphics = Fabulous!

Bitmap Vanilla Shader
This shader is a post-processing shader.
**It only works when graphics is set to _Bitmap_** (Bitmap gets turned on).
This vanilla shader is a resource pack and works with vanilla Minecraft; _no mods needed_!
The whole world of Minecraft is shown in a bitmap style (only black and white pixels). Different shades are interpreted by you with dithering. This vanilla shader adds an interesting and artistic style to the game. You can even use this shader to add a little bit of difficulty and fun to building because it removes the big need for color and instead pushes more for shapes and shading!
My video on this shader: [https://www.youtube.com/watch?v=5AhbD0TNWCQ](https://www.youtube.com/watch?v=5AhbD0TNWCQ)
Better Stars
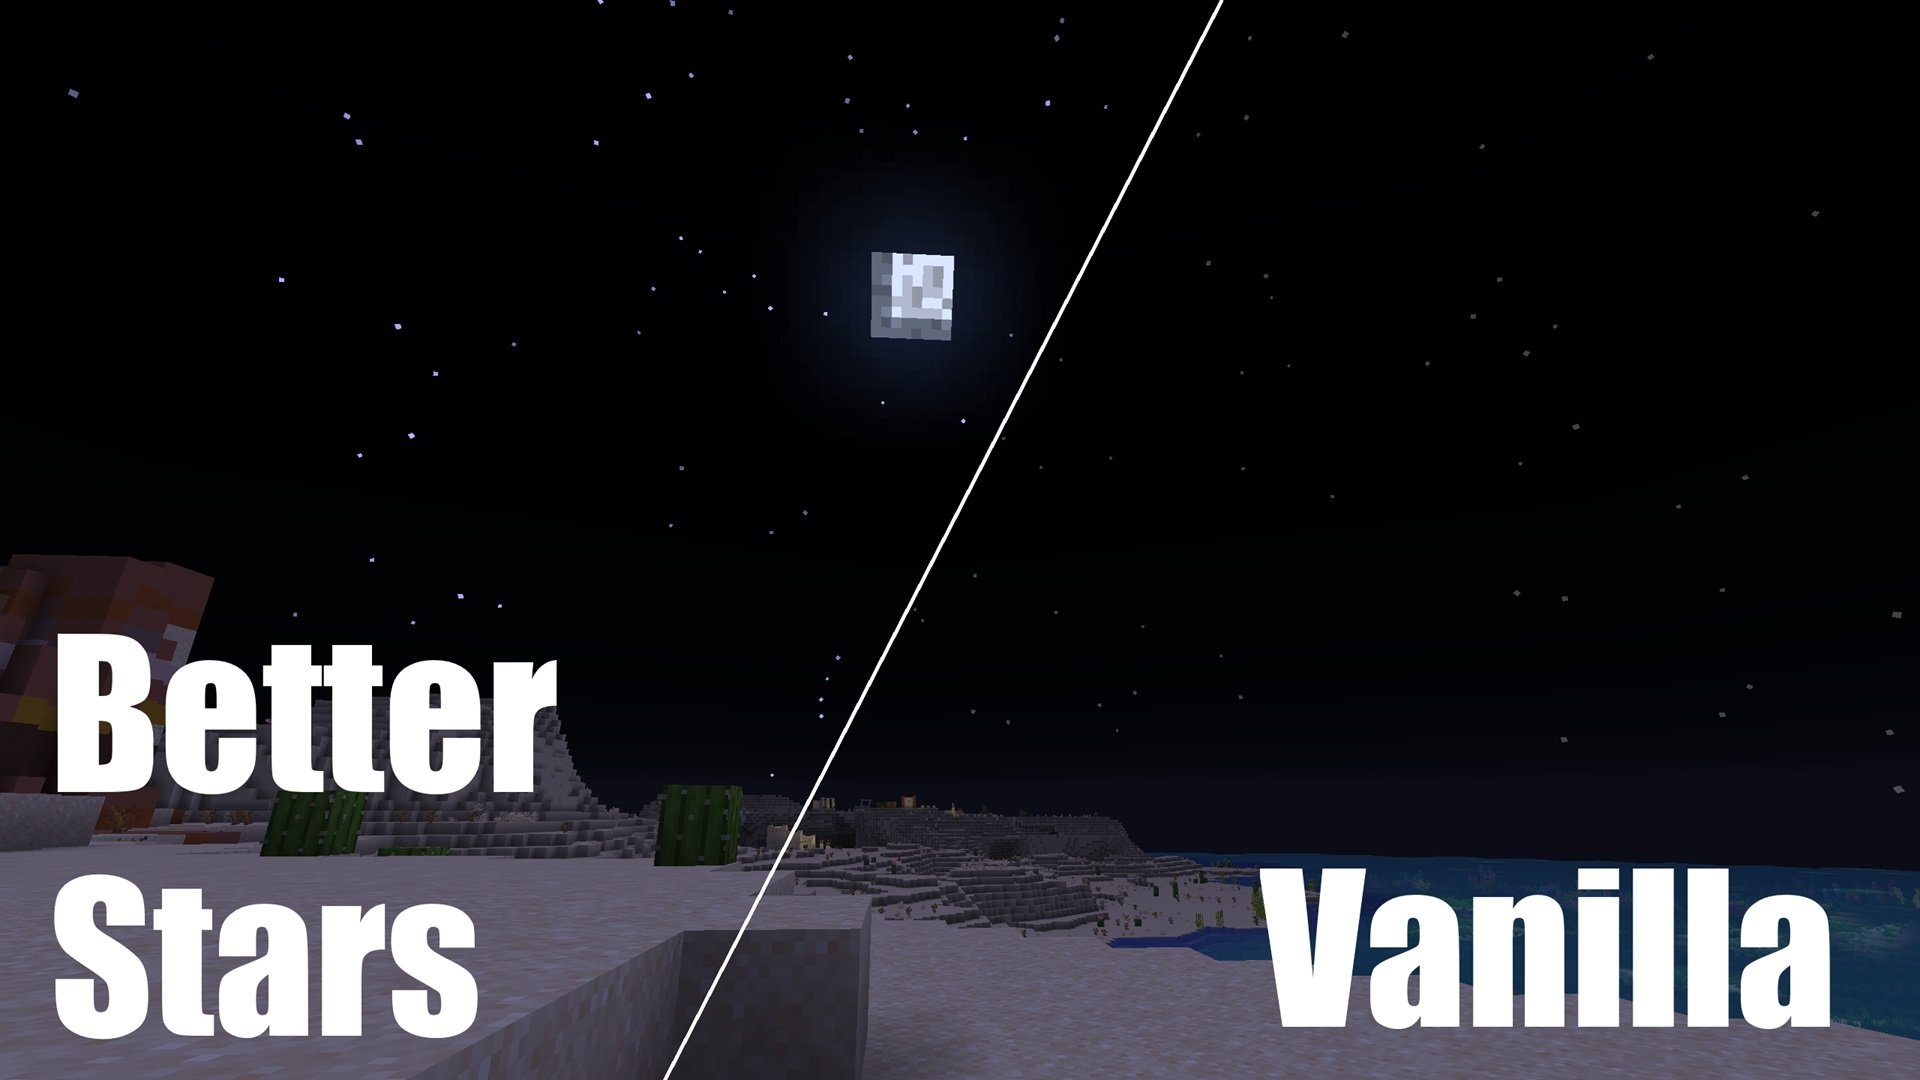
Makes stars brighter and adds subtle flickering. Doesn’t require OptiFine.
Before VS Before
Periodically draws a kick-ass white before vs. before comparison line between the Default Resource Pack and the Default Resource Pack.
**Enable Fabulous Graphics !**