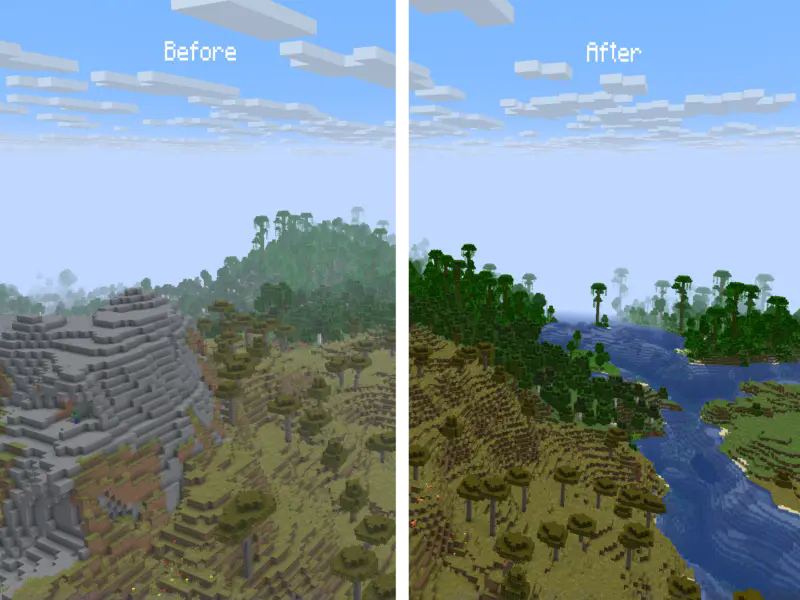
Floodfill Lights
A resource pack that adds colored lighting to Minecraft using vanilla shaders.
Enable the [_Fabulous!_](https://minecraft.wiki/w/Graphics_settings) graphics mode before loading the pack.
Incompatible with Sodium.

ExShade
# ExShade
Experimental resourcepack for experimenting with shaders in vanilla minecraft.


## Features
– Rainbow lines (hitbox, block outline, etc).
– The xyz axis crosshair in the f3 menu still remains the same (filtered out).
Energy Shaders Java
# Energy Shaders [Java]
[](https://modrinth.com/shader/energy-shaders-java)
[](https://www.curseforge.com/minecraft/shaders/energy-shaders-java)
[](https://discord.gg/shVe3cR)
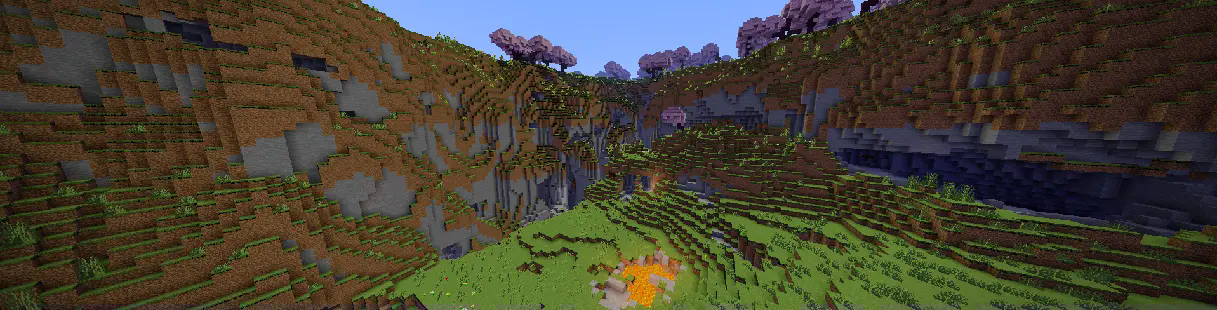
Energy Shaders is a shaderpack/resourcepack that provides a more colorful vanilla expierience. Without requiring
any mods or a frame rate drop.
If you like this pack consider supporting the development by buying me a coffee:
[](https://ko-fi.com/T6T41BS1C9)
### Features
It is best to take a look at the
(https://modrinth.com/shader/energy-shaders-java/gallery) or to
try the shaderpack out. Here is a list of some features:
– Custom lightning (different for day, night and in caves)
– Custom fog (different for day, night and in caves)
– Custom Nether
– Custom End
– Custom torch light (different for day, night and in caves)
– Vignette effect
### Enabling the resourcepack
You can simply enable it as resourcepack (Copy the `.zip` into the `resourcepack` directory).
If you are using Sodium, the [Sodium Core Shader Support](https://modrinth.com/mod/sodium-core-shader-support) mod is required.
The pack does not work with Optifine!
### Video
### Customization
Energy Shaders also offers a lot of customization. Since this is a vanilla shader-pack, these settings have to be
manually edited.
#### Getting started with customizing energy shaders
First download the [settings template](https://github.com/lni-dev/MinecraftShaders/raw/refs/heads/master/ES%20Java%20Settings/versions/1/ES%20Java%20Settings.zip).
Then copy the downloaded zip file to your resourcepacks directory. You can find it by pressing `Open Pack Folder` in
Minecraft’s Resourcepack selection screen. Next extract the zip file and delete it, so that only the extracted
directory `ES Settings Java` remains. You can rename the directory to your liking.
Now edit `ES Settings Java/pack.mcmeta` with a text editor of your choosing and change `YOUR_NAME` to your name or your alias.
Next you should test if everything works. Activate `Energy Shaders [Java]` and the ES Settings Java pack you just created. Make
sure the `ES Settings Java` pack is above `Energy Shaders [Java]`. Open a world and Minecraft should not crash. Keep the
Now you can start to actually change some settings. Open `ES Settings Java/assets/minecraft/shaders/include/es-settings.glsl`
in your favorite text editor.
In there you will find a lot of lines starting with `// #define`. These are the settings, which can be changed. All Settings
must be enabled first (**by removing the `//`**) before its value can be changed. Some settings do not have a value. These simply enable or disable
a feature.
After changing a setting go back in game and press `F3 + T`, which will reload all resourcepacks. Thus, applying your changes.
##### Example 1
The line
“`glsl
// #define DISABLE_SHADOW
“`
can be changed to
“`glsl
#define DISABLE_SHADOW
“`
which will disable shadows cast by blocks, trees, etc.
NOTE: The `//` must be removed as seen above!
##### Example 2
The line
“`glsl
// #define SATURATION 1.2
“`
can be changed to
“`glsl
#define SATURATION 0.0
“`
which will make the game look grayscale.
NOTE: The `//` must be removed as seen above!
If you want to switch back to the default value simple add the `//` again:
“`glsl
//#define SATURATION 0.0
“`
##### How do I know which setting does what?
Some settings are explained in the `es-settings.glsl`. Some may be hard to explain, and you just have to try around
and find out. Generally, if a setting contains a `VEC3(…)`, it is a setting with three values (red, green, blue).
Of course, you can always ask for help in my discord server: https://discord.gg/shVe3cR
##### Why are the settings in a different pack and not just contained in Energy Shaders directly
Actually, the settings are contained in Energy Shaders too! But it is much more convenient if the settings are in an
additional pack, because you can update Energy Shaders without losing your settings!
### Feedback
Feel free to leave any feedback on my [Discord server](https://discord.com/invite/AMvbguJFB9). Please respect,
that vanilla Minecraft is very limited.
Emissive Twitch Cape
# Info
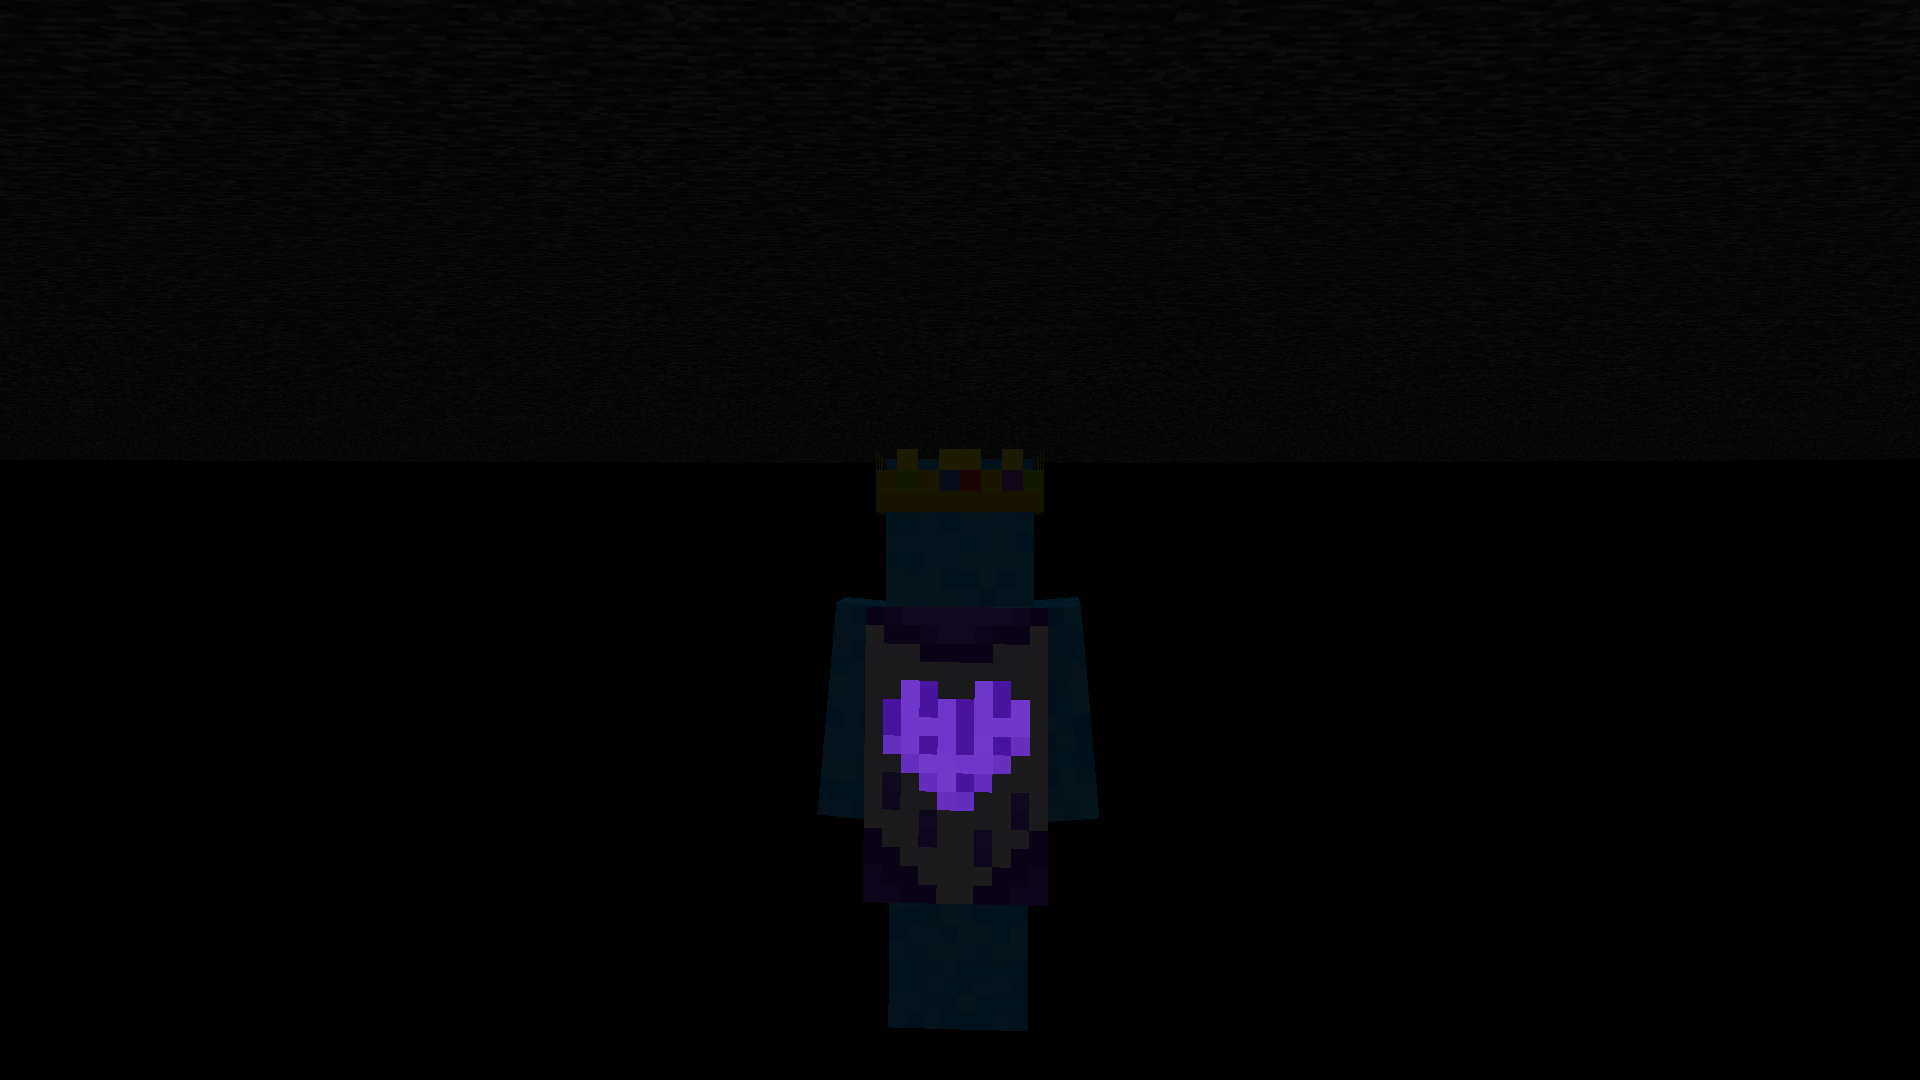
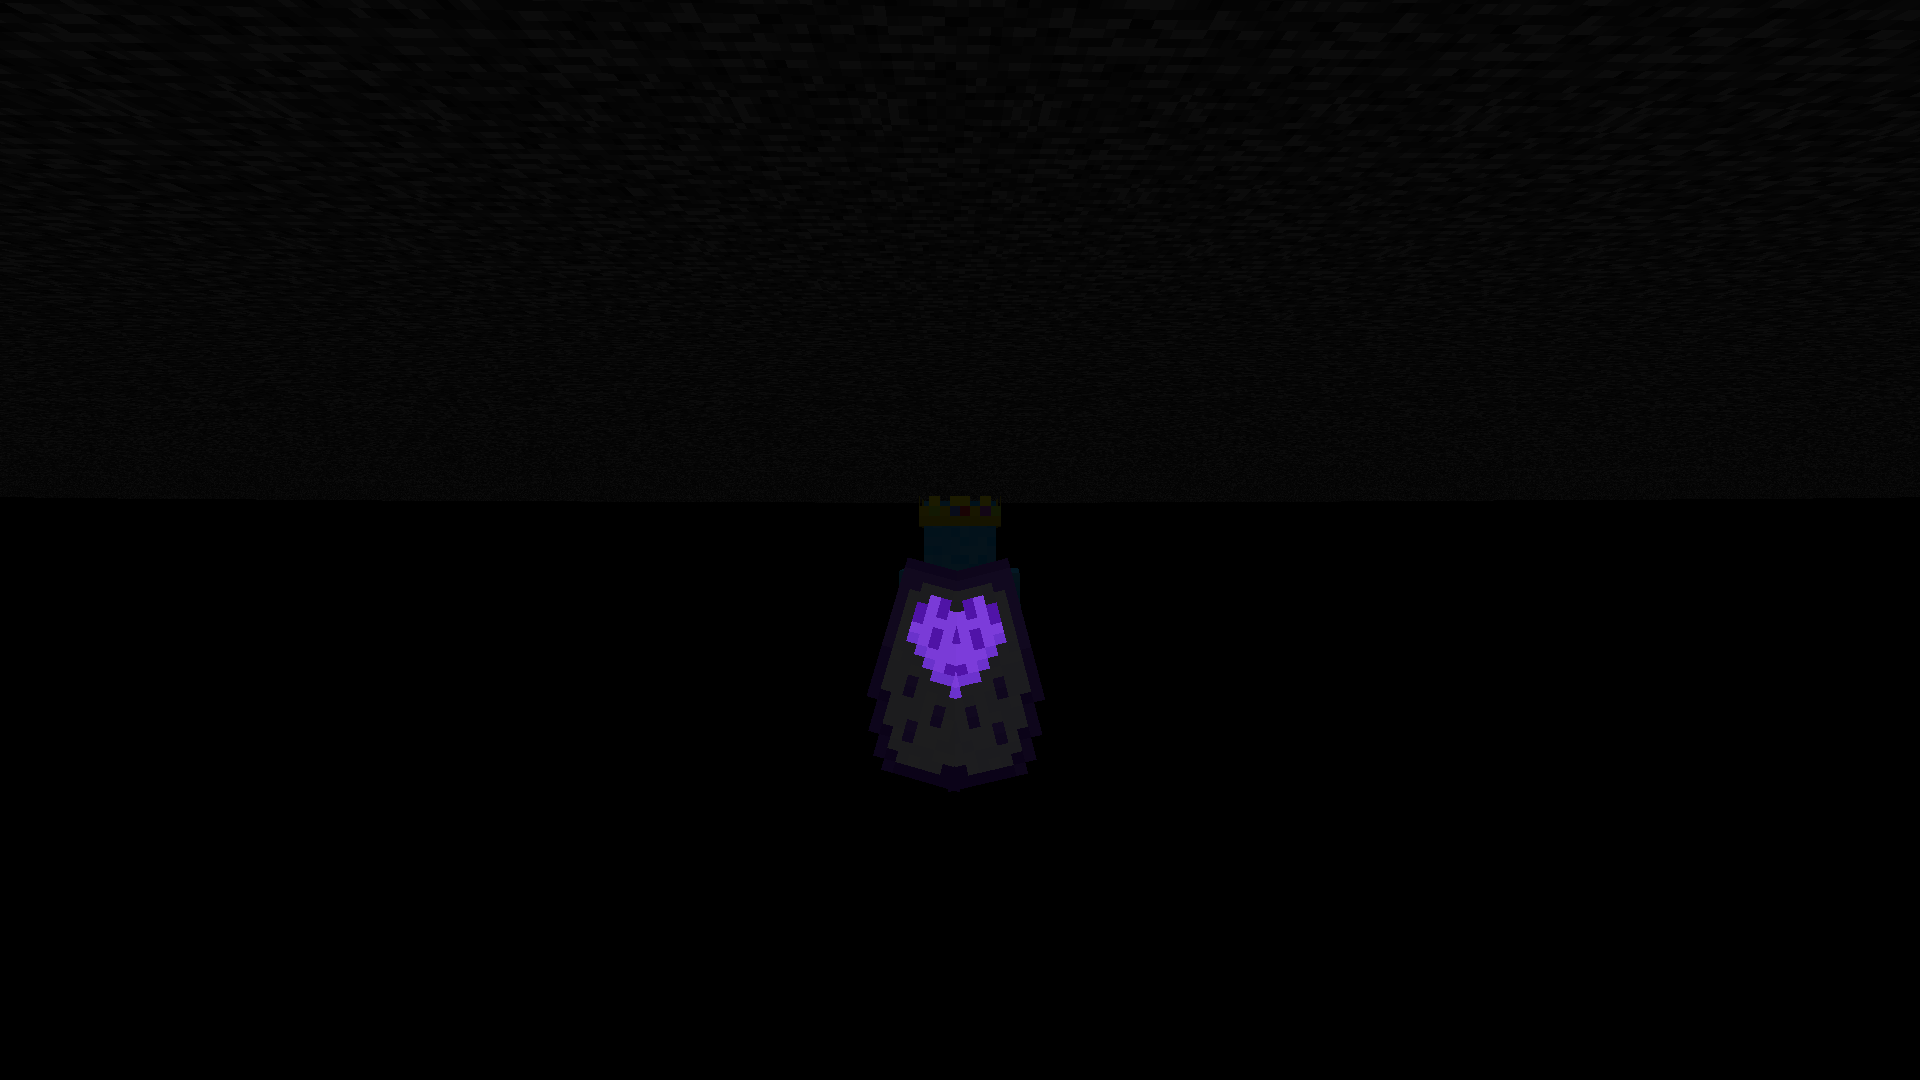
This will make the Twitch Purple Heart Cape’s purple heart glow.
Warning: This resourcepack uses core shaders to make it emissive / glow. Due to this, it may not work with optifine and iris shaders. It does however work in vanilla & with sodium.
# Screenshots
### The cape texture
### The elytra texture
# Other
### Want to use this with my other packs?

The above pack combines all of the following:



Emissive Trims
[](https://billing.sparkedhost.com/aff.php?aff=3158)
# Info
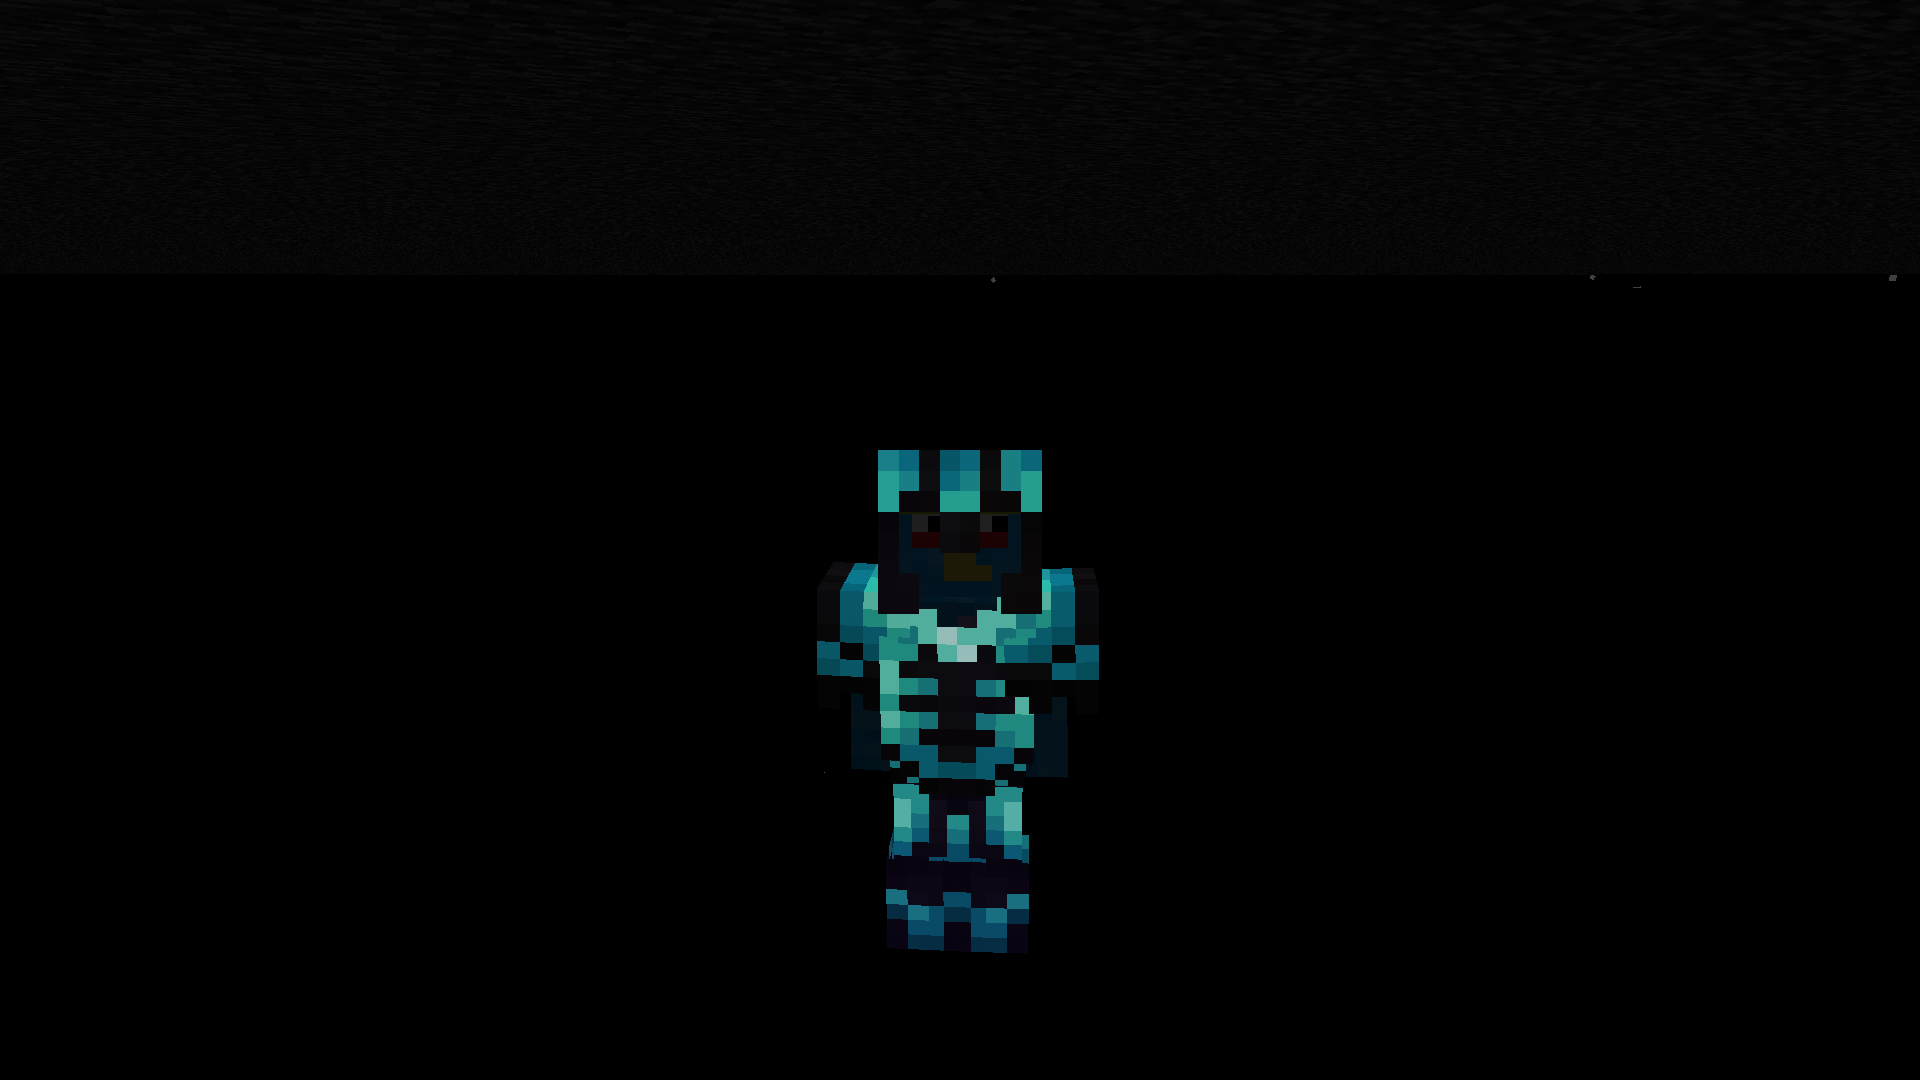
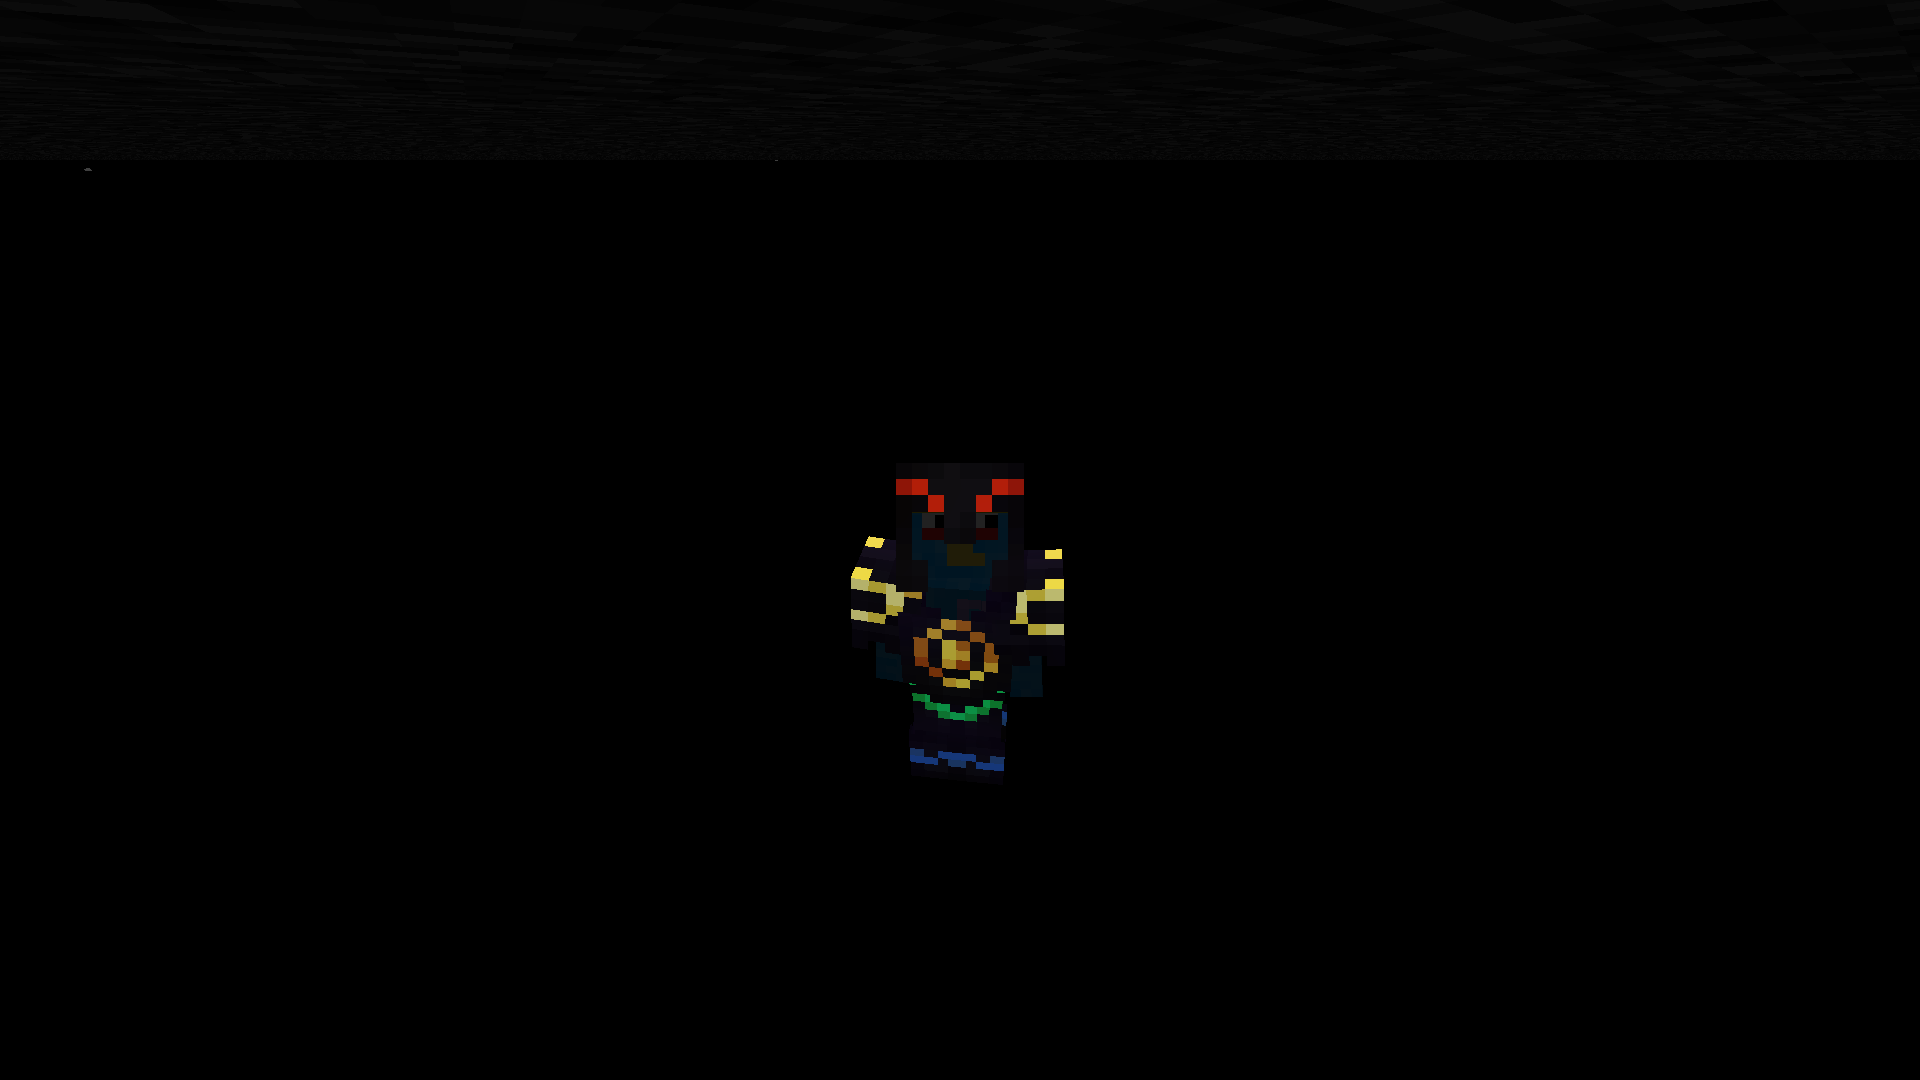
This resourcepack makes armor trims glow in the dark. This should also work with all datapacks and resourcepacks that add/change armor trims. It even works with my own Colorful Trims datapack (Scroll down for more info).
Warning: This resourcepack uses core shaders to make it emissive / glow. Due to this, it may not work with optifine and iris shaders. It does however work in vanilla & with sodium.
# Screenshots
### Diamond silence trimmed
### Random trim combination
# Other
You can also use this with my datapack, Colorful Trims!
[](https://modrinth.com/datapack/colorful-trims)
### Want to use this with my other packs?
The above pack combines all of the following:
Emissive Office Cape
# Info
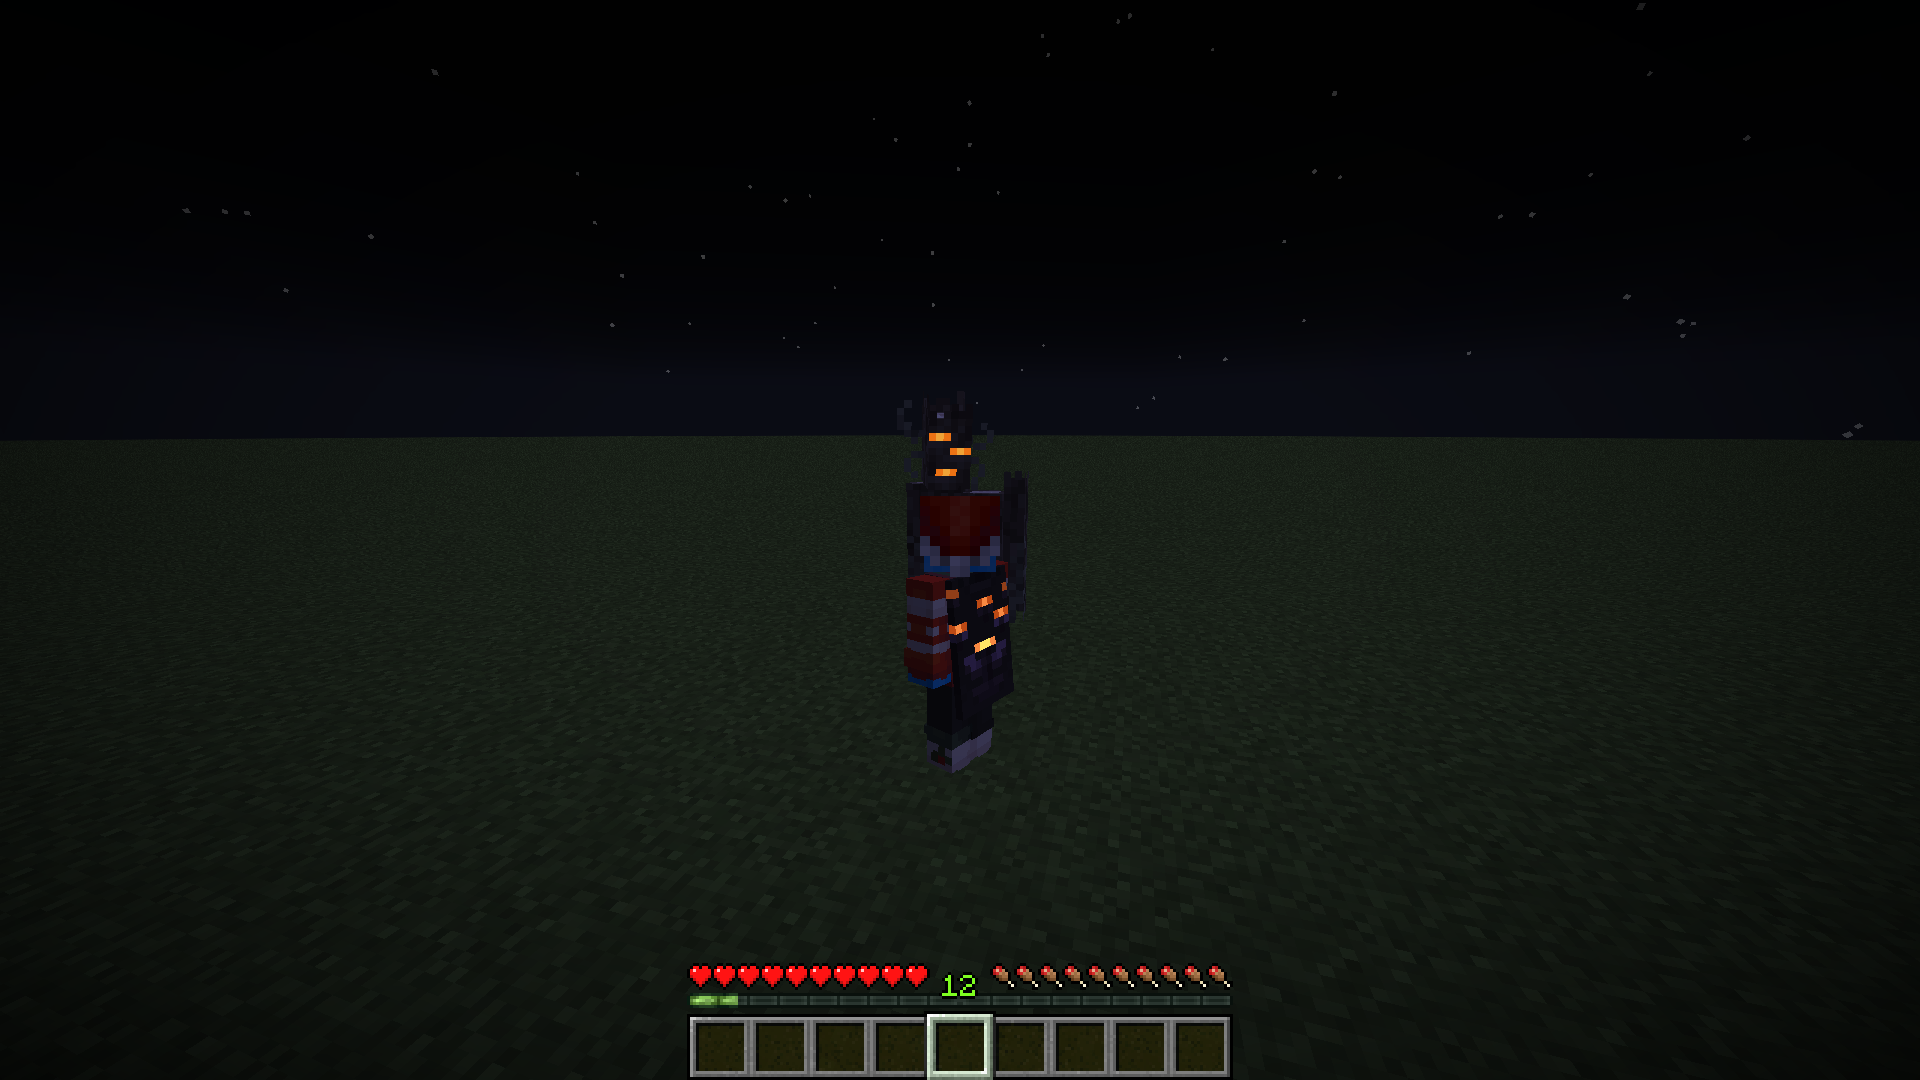
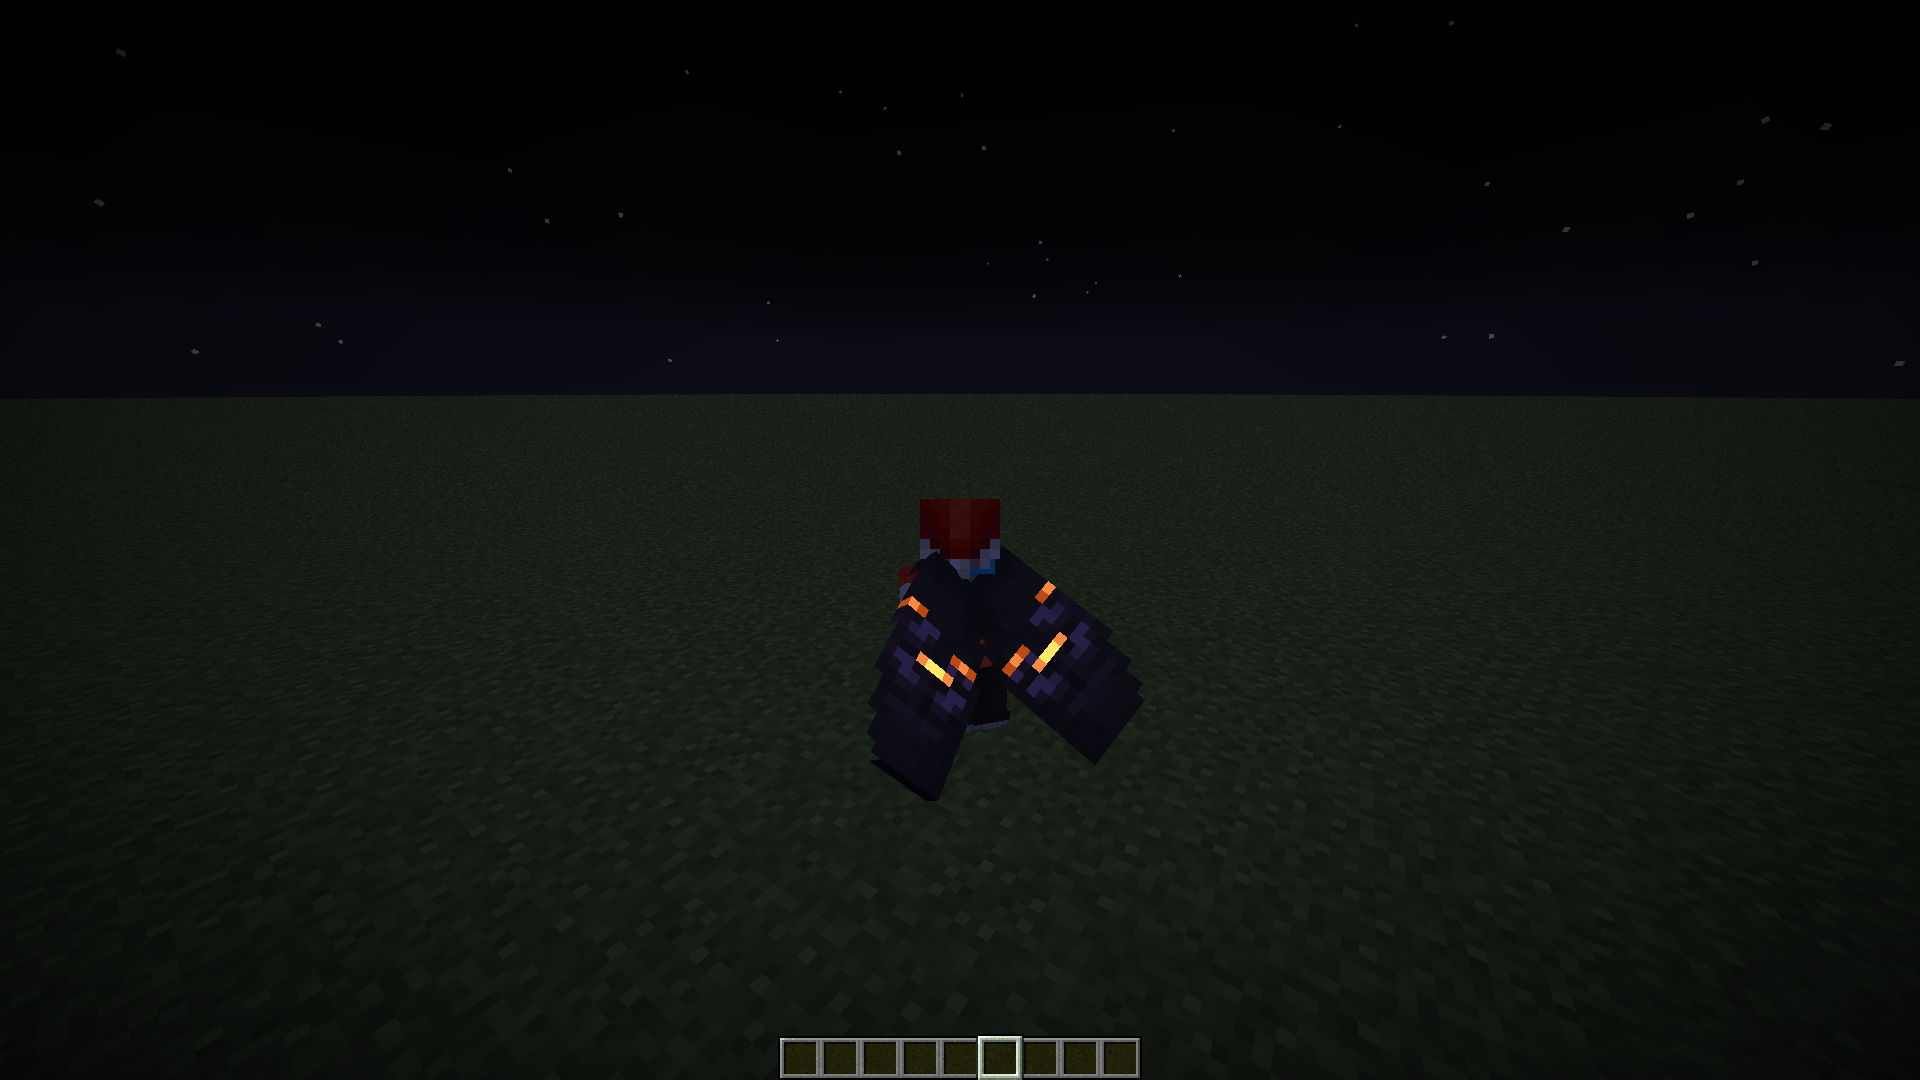
This will make the Mojang Office Cape orange glowing eyeblossom eyes glow like how normal open eyeblossoms do in game.
Warning: This resourcepack uses core shaders to make it emissive / glow. Due to this, it may not work with optifine and iris shaders. It does however work in vanilla & with sodium.
# Screenshots
### Next to a creaking
### Elytra Showcase
# Other
### Want to use this with my other packs?
The above pack combines all of the following:
Emissive Cape Portals
# Info
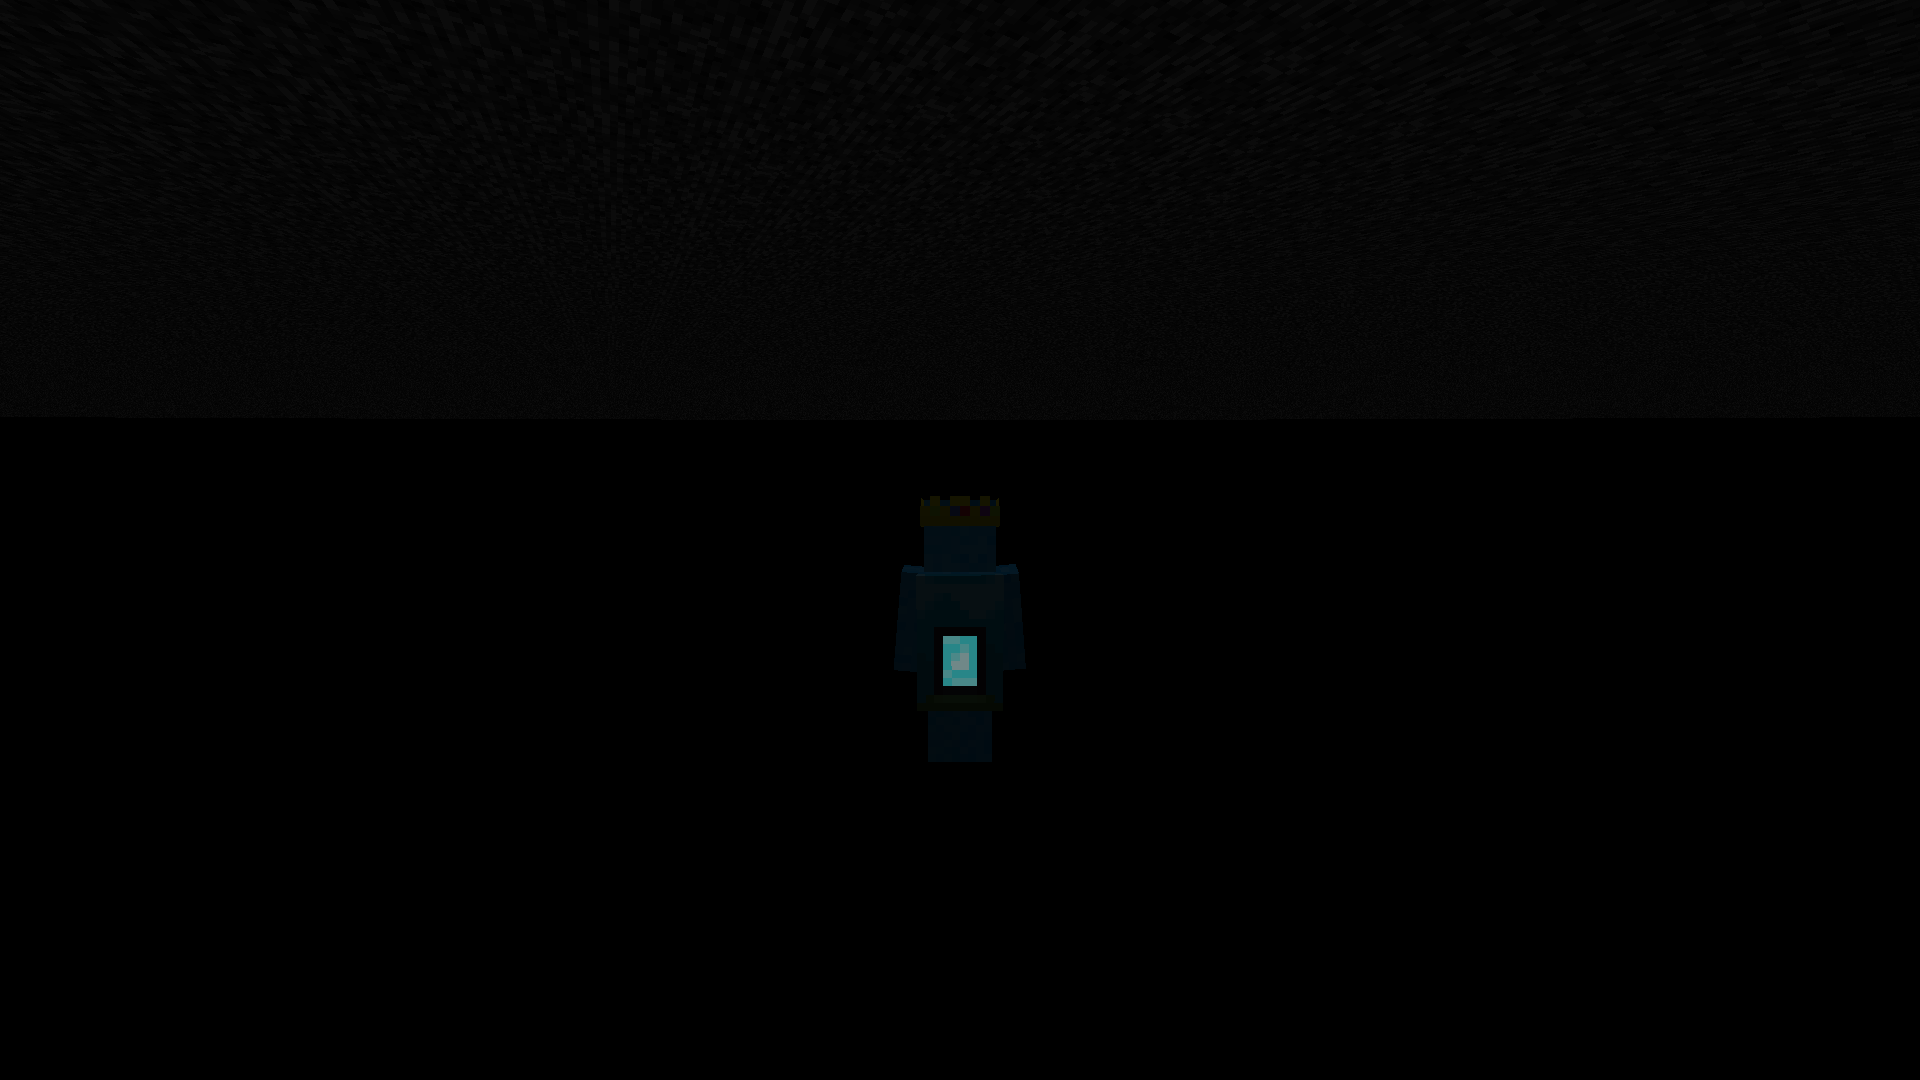
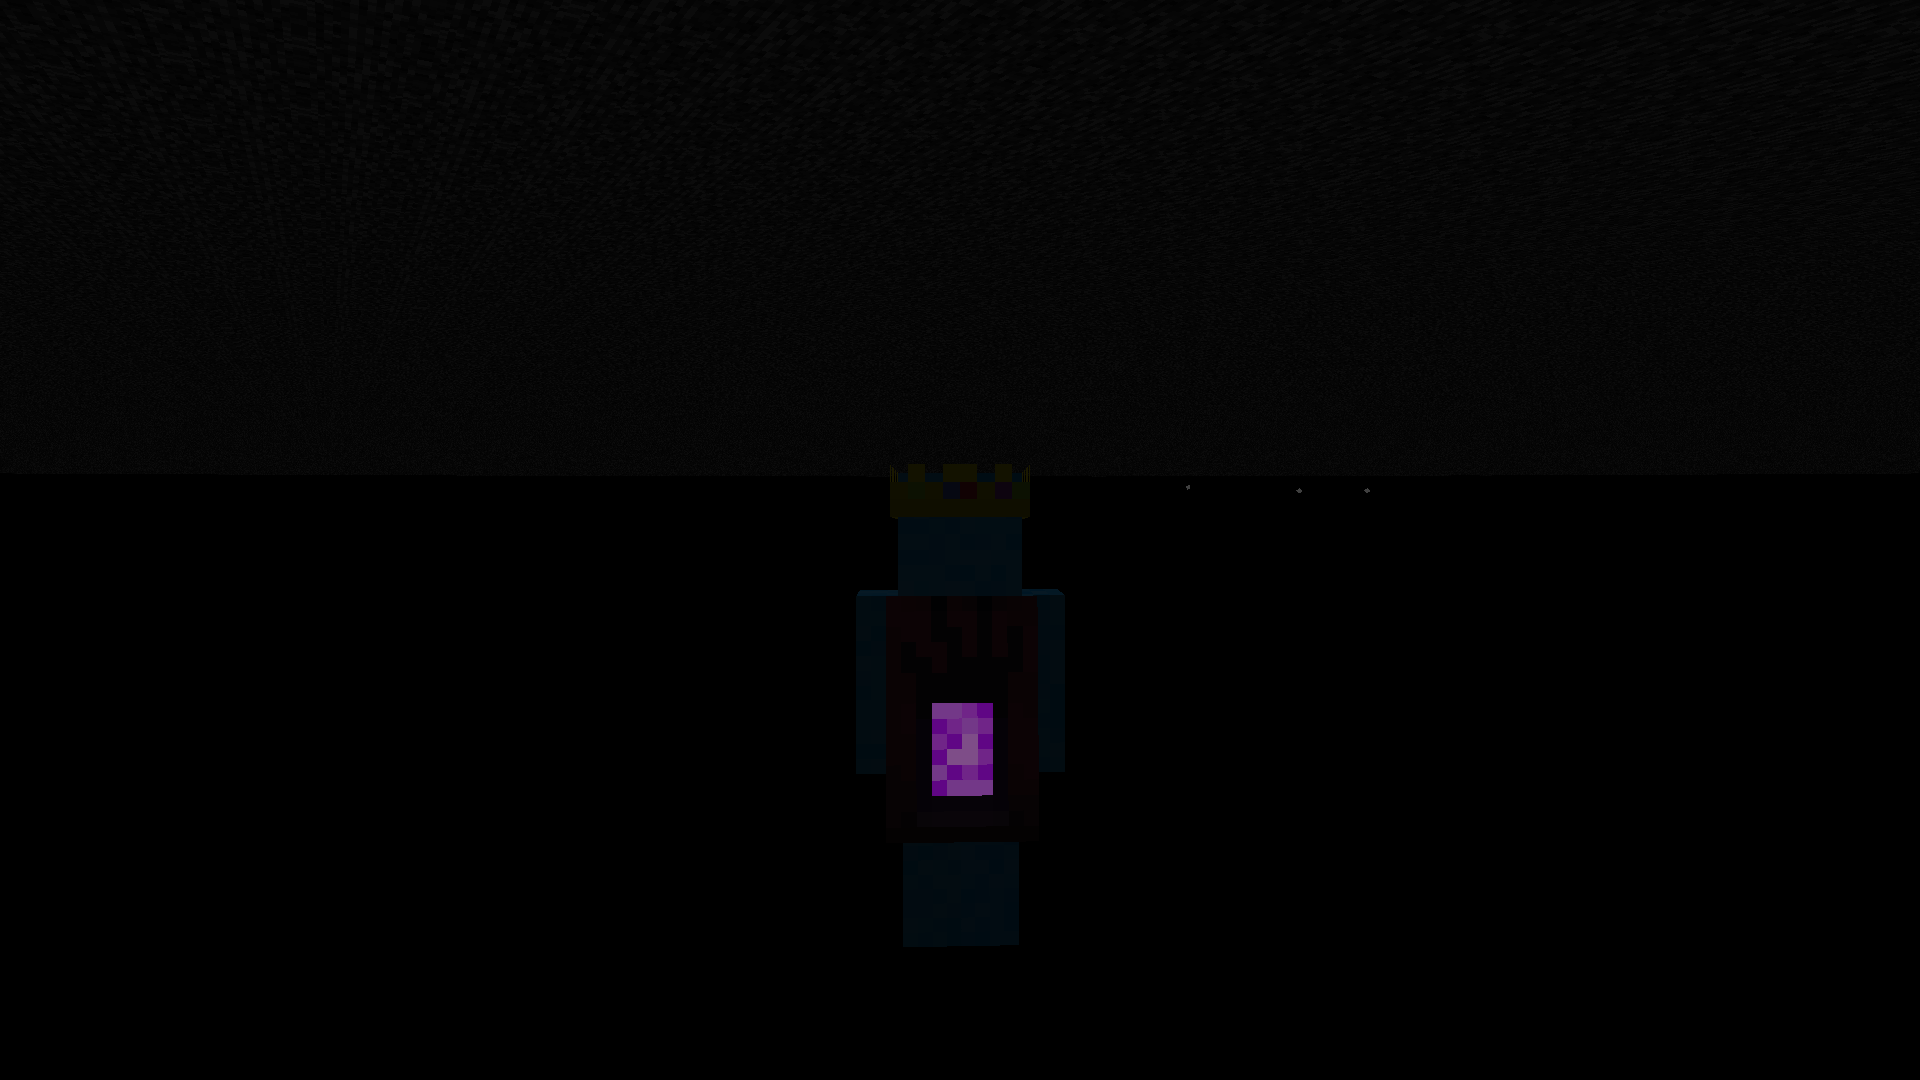
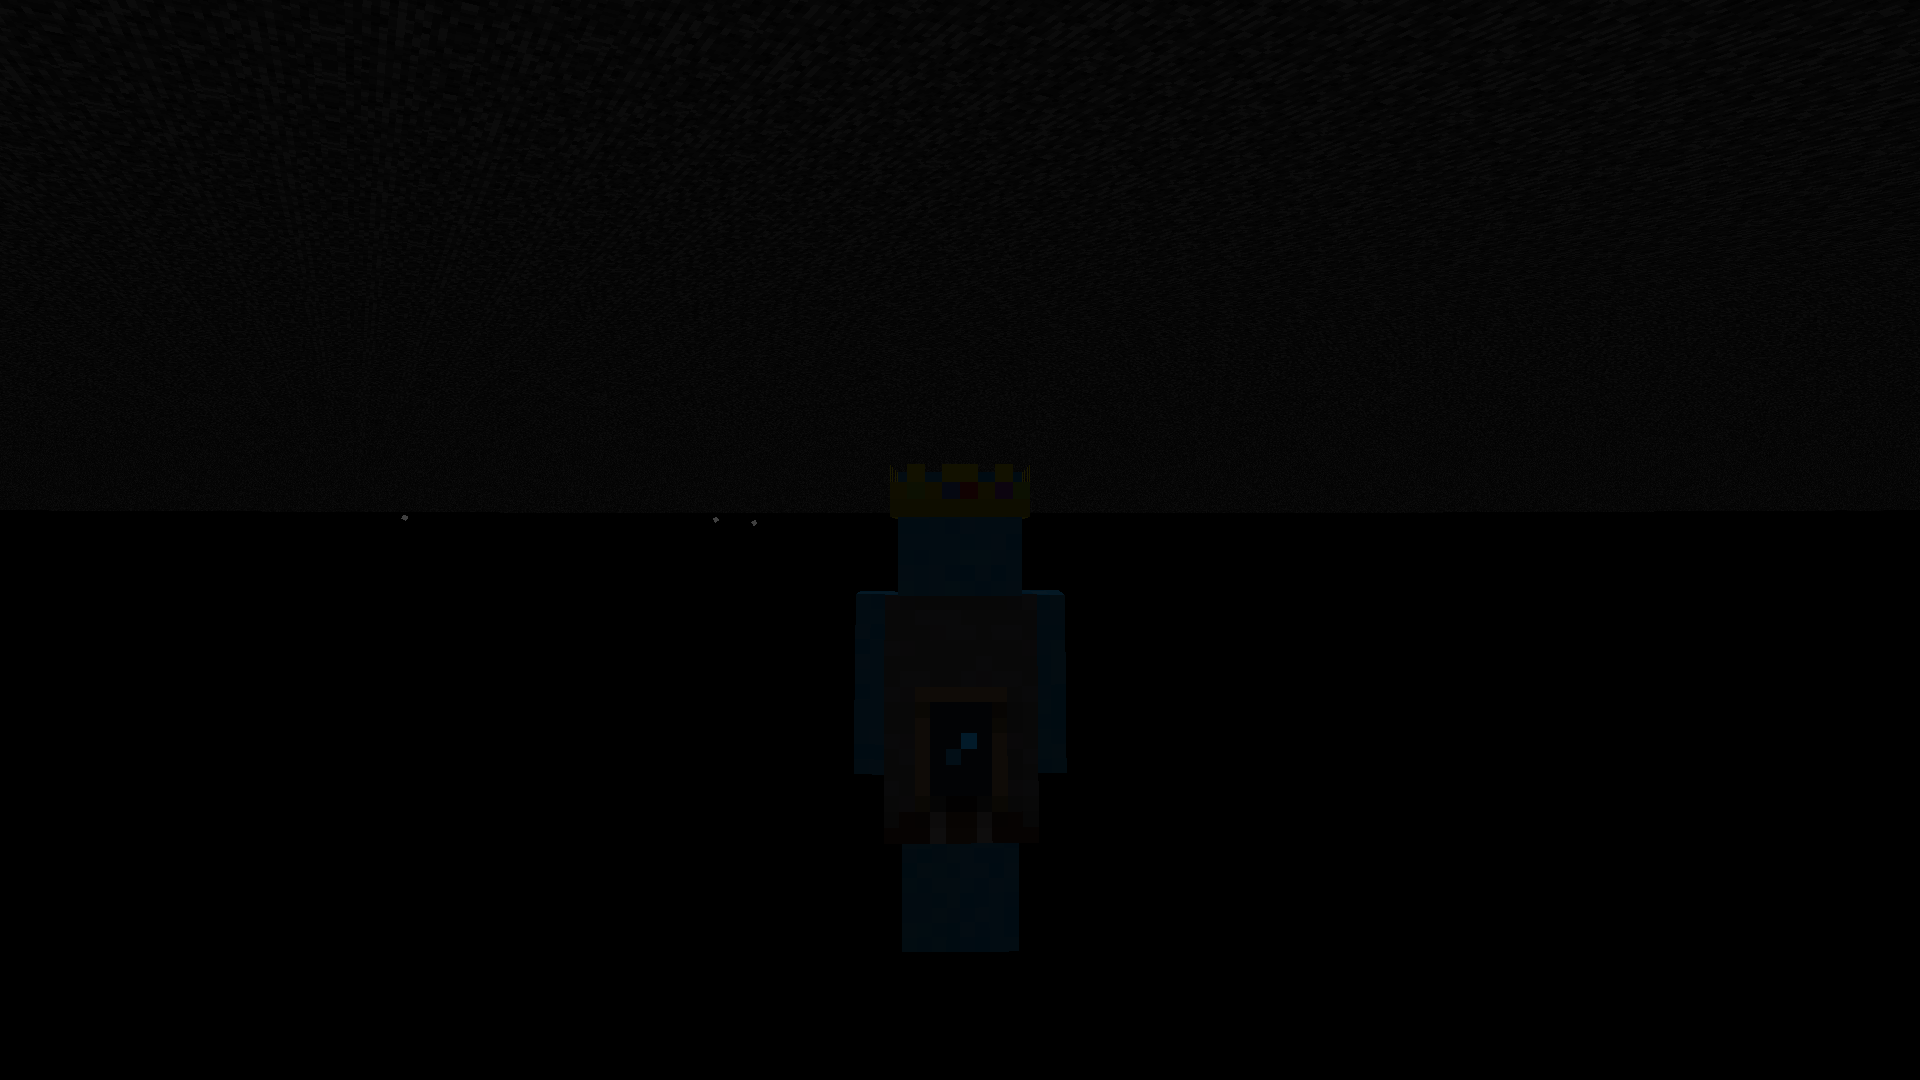
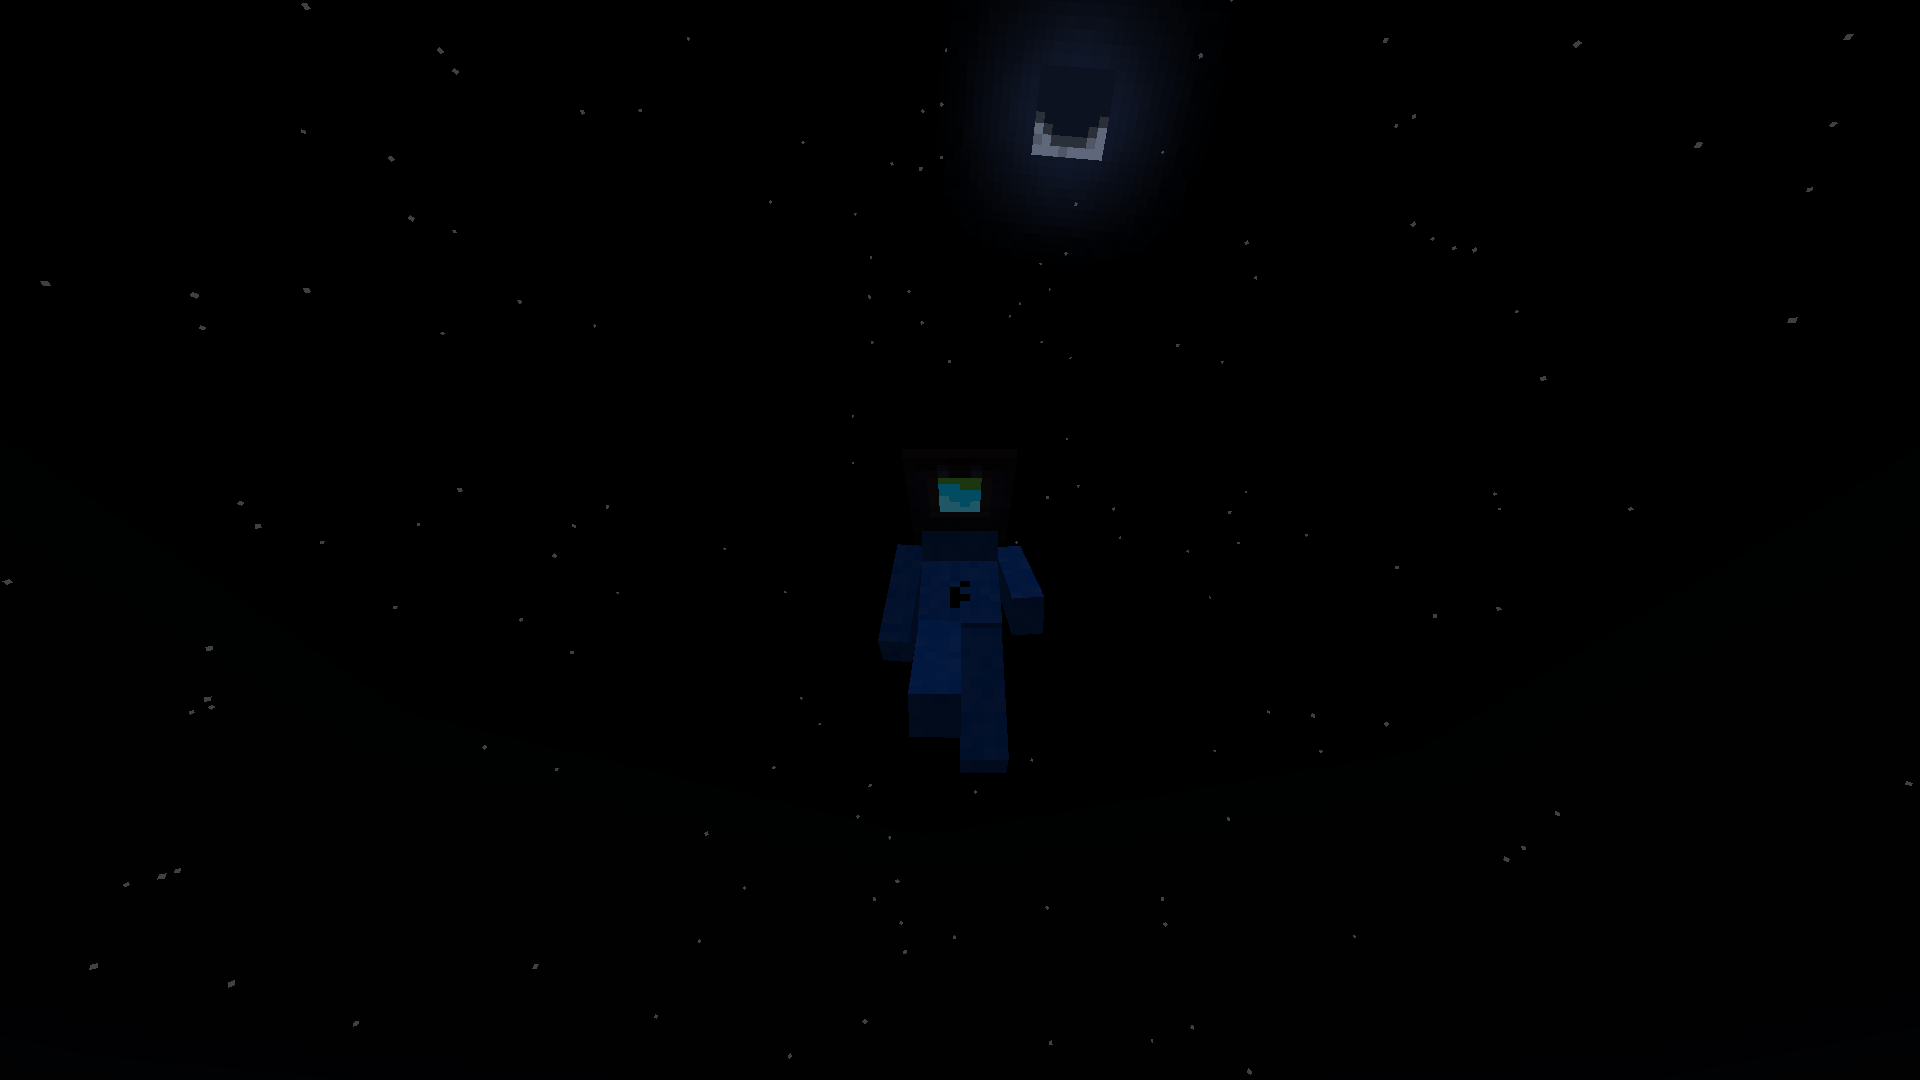
This resourcepack makes all of the minecraft movie cape portals glow in the dark. Both the front and back portals glow. This makes them look awesome at night or in a dark cave.
Warning: This resourcepack uses core shaders to make it emissive / glow. Due to this, it may not work with optifine and iris shaders. It does however work in vanilla & with sodium.
# Screenshots
### Home cape
### Menace cape
### Yearn cape
A bit hard to tell but its there.
# Other
### Want to use this with my other packs?
The above pack combines all of the following:
Custom Damage Overlay Color
## Custom Damage Overlay Color
This resource pack allows to change overlay color of all entities when they take damage. By defult this resource pack changes it to green, as an example.
### Versions: 1.17 — 1.21.11
### Works with both **Optifine** and **Sodium**.
—
### How to change the color
Go into the resource pack and open a file `assets/minecraft/shaders/include/change_damage_overlay.glsl`, choose a color and put it into the second line of the file. For example if you want to change the color to purple (`#AA00FF`) with 50% transparency, the second line of the file would look like this:
“`js
vec4 RGBColor = vec4(170,0,255,127);
“`
And if you want cyan (`#00FFFF`) color with the same transparency as in vanilla, it would look like this:
“`js
vec4 RGBColor = vec4(0,255,255,178);
“`
Color Palette Switcher
## Showcase
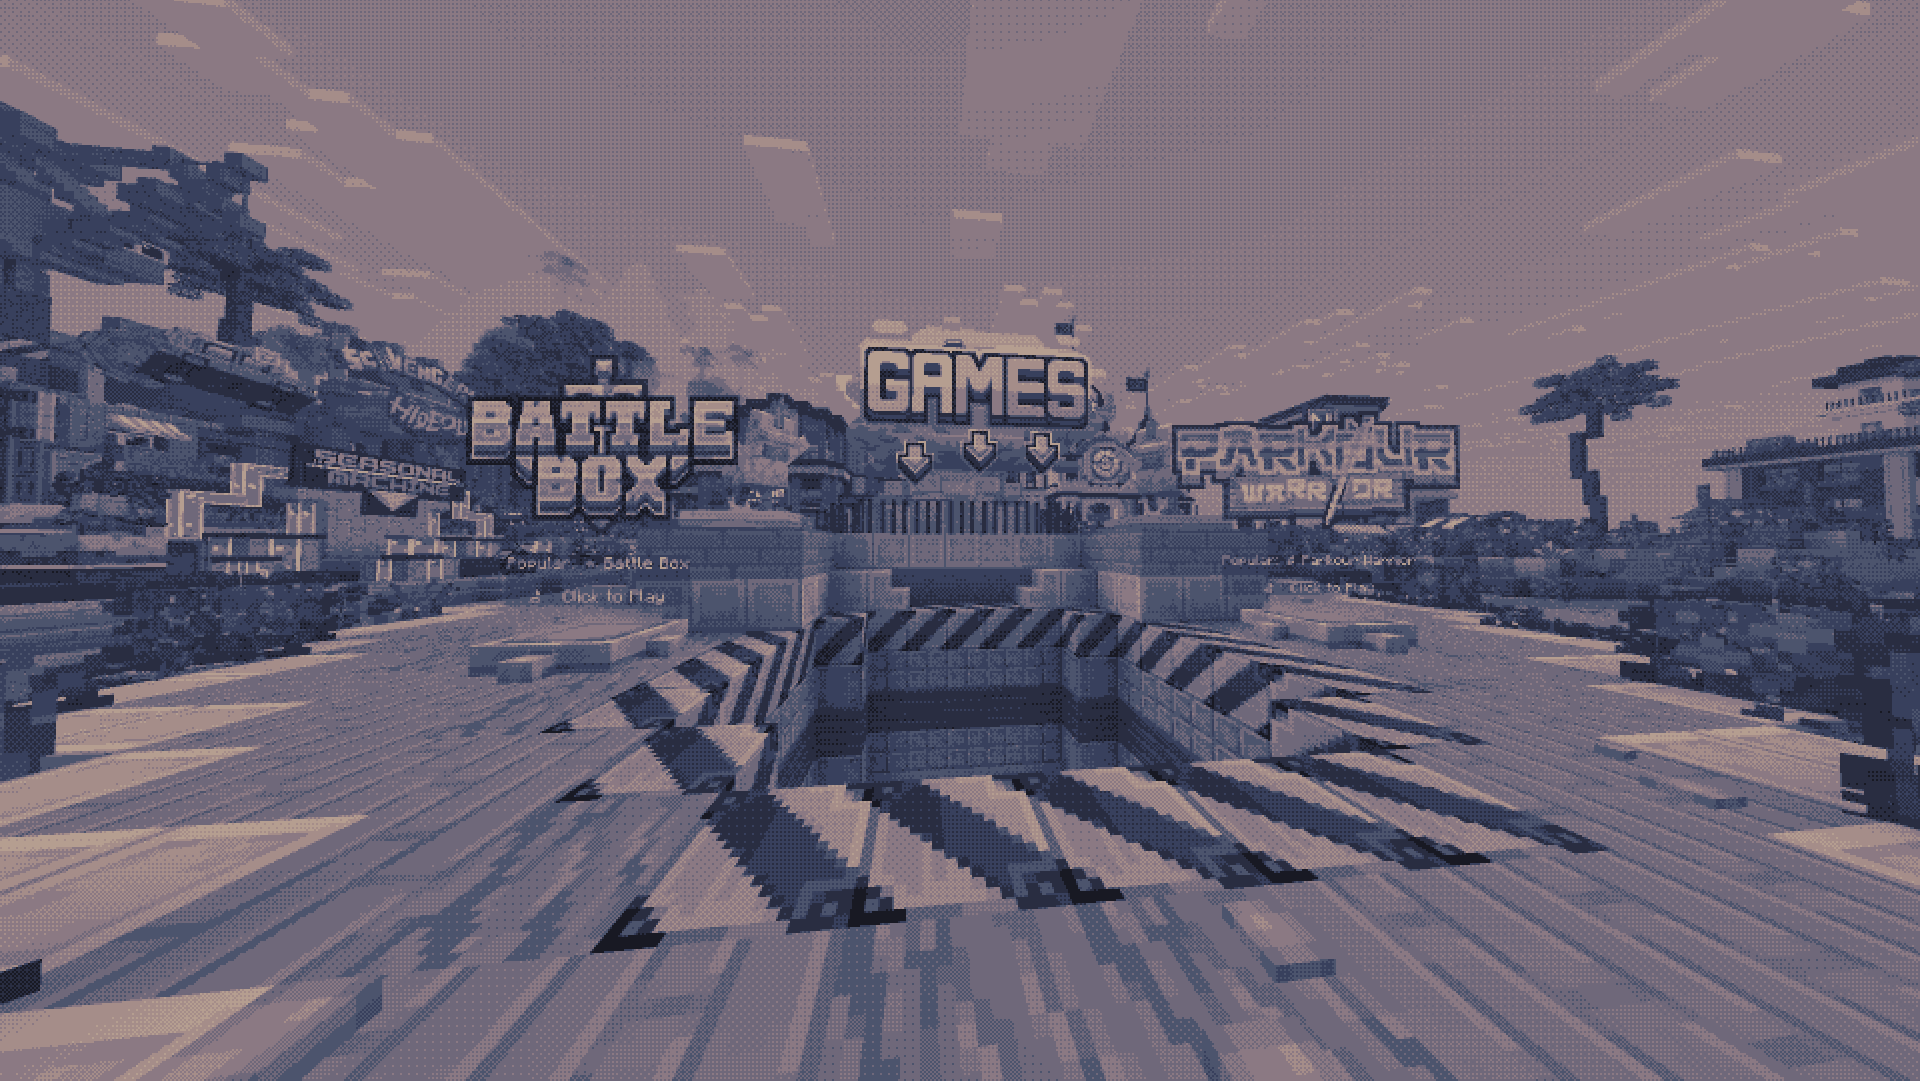
This image was taken using a monochromatic color palette on color mode 0 (Closest Luminance)
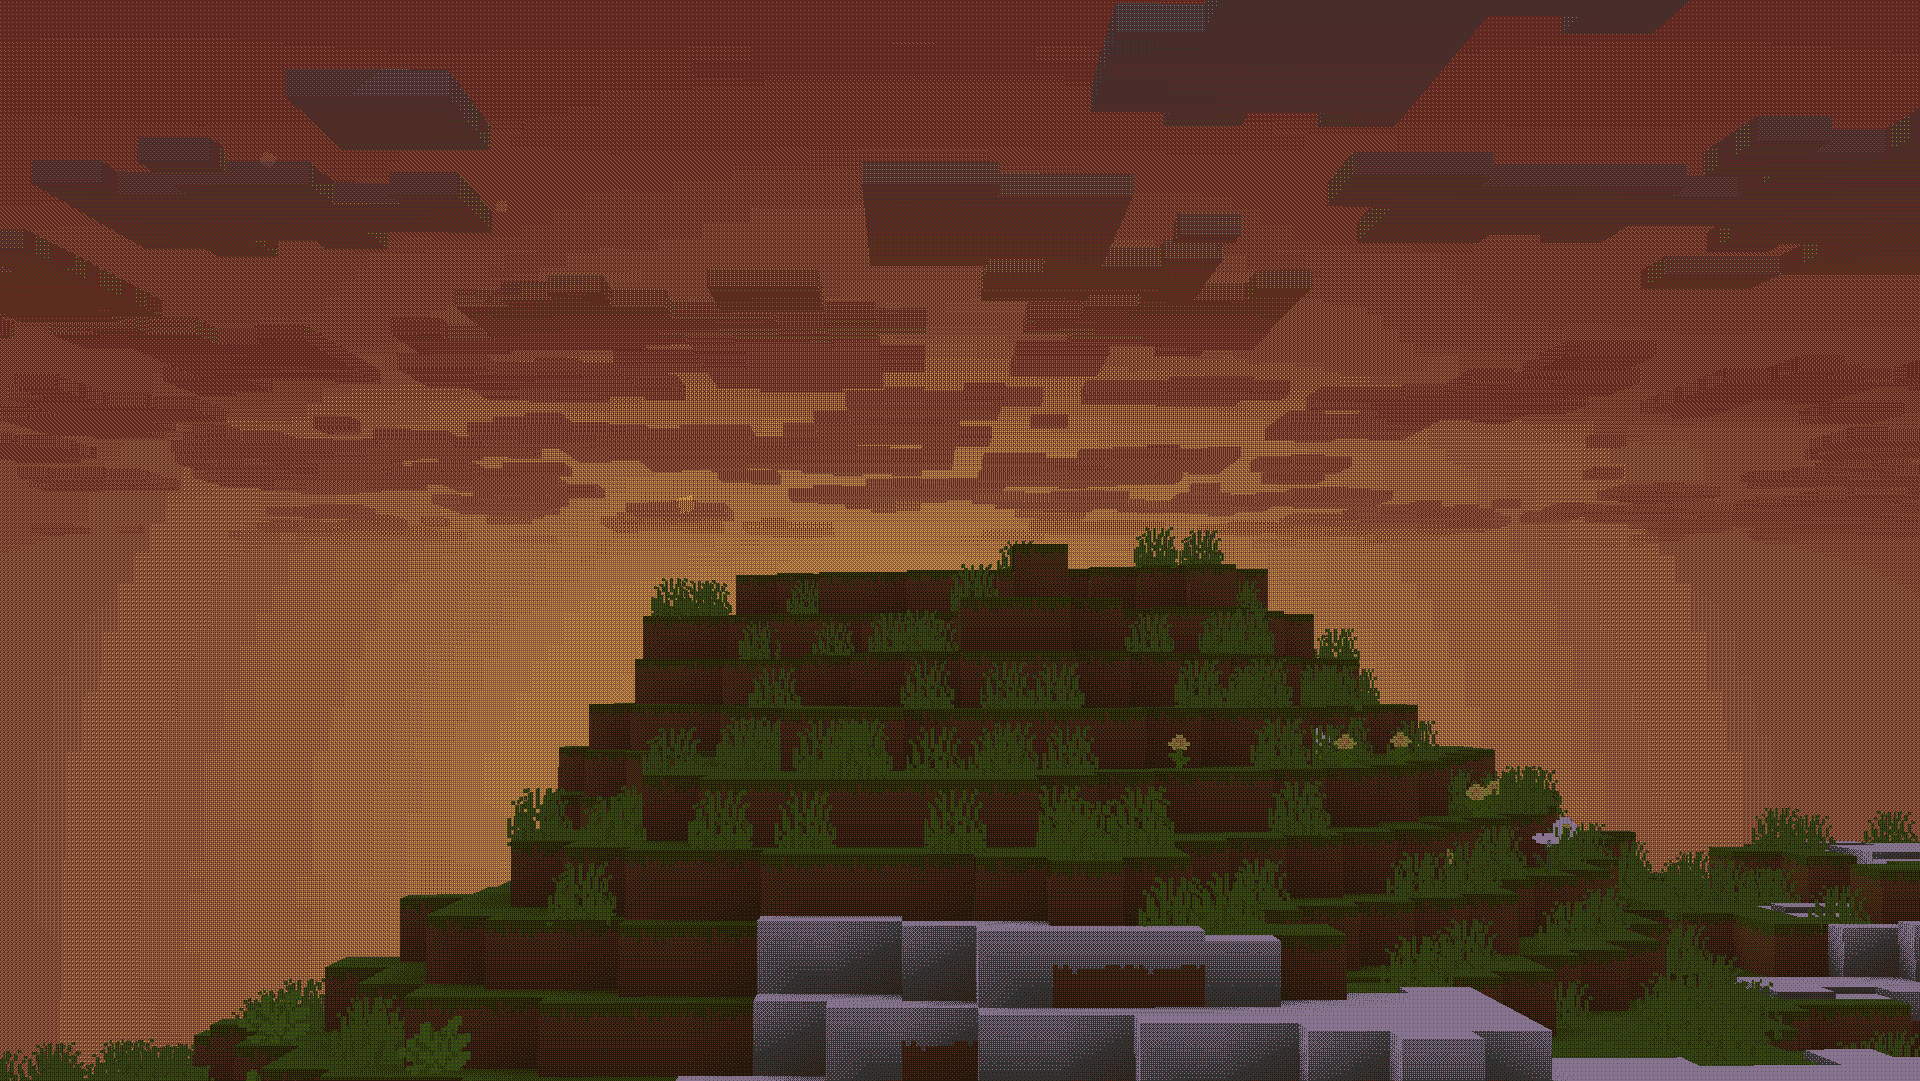
This image was taken using a polychromatic color palette on color mode 1 (Closest Color)
There are more images to show you what the pack looks like, all you need to do is go look at [the gallery](https://modrinth.com/project/color/gallery)
## Description
This is a texture pack that allows you to make Minecraft use whatever color palette you want. You can have up to 32 colors in a single palette, which may get expanded upon in a future update. You can use [respackopts](https://modrinth.com/mod/respackopts) if you want an easier experience configuring the pack, but it’s entirely possible (and quite simple) to do without it. You can find instructions on using the pack below, for both with respackopts and without.
This texture pack was inspired in part by [Acerola’s video about color](https://www.youtube.com/watch?v=fv-wlo8yVhk). I recommend you give it a watch, because very near the beginning it shows both how this pack works in concept, and it’s also very interesting. Note that this pack is not a LUT (Lookup Table) pack, and instead chooses the colors in real time using one of two color modes.
## How to Use (No Respackopts)
1. Install and apply the pack as normal. By default, it will be using the Starry color palette with Dither Mode 2, which you can see a preview of [here](https://cdn.modrinth.com/data/yLU7Op2S/images/68492467f72d16da6b2eef1855eebbba6e00d694.png)
2. In order to configure the pack, you must open the resourcepack. Once you are in, click on `assets`, `minecraft`, `textures`, `effect`. This is where you will find all the palettes that are included by default, and also where you can add your own. Palettes should be sized anywhere from `1×1` to `32×1`, and you can find many premade palettes on [Lospec](https://lospec.com/palette-list). Just make sure you download the `PNG Image (1x)` version of whatever palette you want.
3. After importing your preferred palette, you need to apply it. For this, go back to the start of the texture pack. If you are on 1.21.2 or above, go into `(your version)`, `assets`, `minecraft`, `post_effect`, then `transparency.json`. If you are on 1.21.1 or below, go into `1_20_5-1_21_1`, `assets`, `minecraft`, `shaders`, `post`, then `transparency.json`. For both versions, you must then press `ctrl+f` on your keyboard and search up `starry`. You will replace that with the name of your palette. Note that you cannot include spaces, so you should probably replace them with an underscore. You do not need to change the width of the texture, just leave it as is.
4. After changing the name, make sure to save the file. Then, head back into Minecraft and press `ctrl+f` to reload your resources. You should see the game using your color palette.
5. If it doesn’t look quite right, then open the texture pack back up again. This time, head to `assets`, `minecraft`, `shaders`, `include`, then `config.glsl`. Open the file, and you should see a list of options. Above each option will have text telling you how to configure it and what it does. If you’re using a monochrome color palette (single colored), then make sure the `COLOR_MODE` option is set to `0`. If not, set it to `1`. If you’re using a multi-colored color palette and you have it set to the right value, then try changing the `OKLAB_COMPARISONS` option to `0`, or the other way around if it is already.
## How to Use (Respackopts)
1. This tutorial is for people who have the [repackopts](https://modrinth.com/mod/respackopts) mod installed. If you are not using this, either follow the tutorial above or install it using the link.
2. First, make sure you have the texture pack properly installed (you should see your game change to some pinkish colors)
3. If you don’t want to upload your own color palette and instead want to choose one of the defaults (some are shown in [the gallery](https://modrinth.com/project/color/gallery)), click the top left of the respackopts settings screen where it says `Presets`. Here, you can choose between some premade ones.
4. You can choose between a few different options. Hovering over them will tell you what they are used for.
5. If at this point you would like to upload your own palette, you must first open the texture pack folder. Then, go to `assets`, `minecraft`, `textures`, then `effect`. In here, you should see many color palettes that are preinstalled. In order to upload your own, you must choose (or create) a color palette. A good website for choosing premade color palettes is called [Lospec](https://lospec.com/palette-list).
6. Make sure the palette you downloaded or created is between the size of `1×1` and `32×1` pixels, otherwise your extra colors won’t work. It must also be a png, not a jpg or any other image file format. Another thing to remember is the name must not include spaces or special characters, so make sure you remove any special characters and replace spaces with underscores. After making sure your palette follows all these rules, you can upload it. Make sure you remember what you named it.
7. After uploading your custom color palette, you must go back into the respackopts settings. There, you change the color palette that it’s currently using to the name of your own file. If everything was done correctly, you should be able to see your color palette ingame! If it doesn’t look quite right, try playing around with the settings until it looks good. If you have any trouble, you can refer to the troubleshooting section below.
## Troubleshooting
1. If you can’t even find the pack in your pack list, it might be because you have recursive resources. If you have it, click “Folder View” in the bottom left and then search for it manually. It’s called “Palette Switcher”.
2. If you changed a setting in respackopts and it doesn’t show the change ingame, try reloading resources manually by clicking `F3+T` on your keyboard. You can also install a mod like [Shader Reload](https://modrinth.com/mod/shader-reload) (for versions 1.21.5 and below) or [SUMR](https://modrinth.com/mod/stop-unloading-my-resourcepacks) (for versions 1.21.6 and above), which will make it load a lot quicker by pressing `F3+R` to reload it instead.
3. If this did not fix your issue, have a look at the support section below.
## Support
**Join [My Discord](https://discord.gg/gymTft2GbV)**
– Report bugs
– Create suggestions
– Vote on future packs
– Interact with the community
– Ask for help with texture packs
– This is the place to ask if you can use this pack in your own pack
**Check out [The Repository](https://github.com/AlphaLeoli/Texture-Packs)**
– Report bugs
– Create suggestions
– Contribute by creating a pull request
https://www.alphaleo.li/resourcepacks
Classic Sky
# Classic Sky – Resource Pack
This resource pack reverts the clouds and fog that normally appears in the sky in th newer versions of Minecraft, giving you a clearer and more immersive view of landscapes, skies, and builds.
### Features:
– Completely removes the newly added sky fog in 1.21.6 from the overworld.
– Reverts the new clouds from 1.21.6+ to the old clouds from 1.21.5 and before.
– Enhances visibility of far-off terrain, structures, and skies.
– Keeps all other fog types (such as water fog or blindness effects) untouched.
### Visual Improvements:
– Makes the sky feel more open and realistic by eliminating the distant haze.
– Improves the experience for players who build tall structures, large bases, or scenic vistas.
– Makes the world seem more vibrant
### Compatibility:
– Works with most modern Minecraft versions (check supported versions).
– Fully client-side – no server installation needed.
**Note:** This resource pack is not compatible with most shaders (such as OptiFine, Iris, or Sodium) because these shaders use custom rendering engines that bypass Minecraft’s built-in fog settings. Most shaders also include their own fog controls, which override resource pack behavior.
### Preview